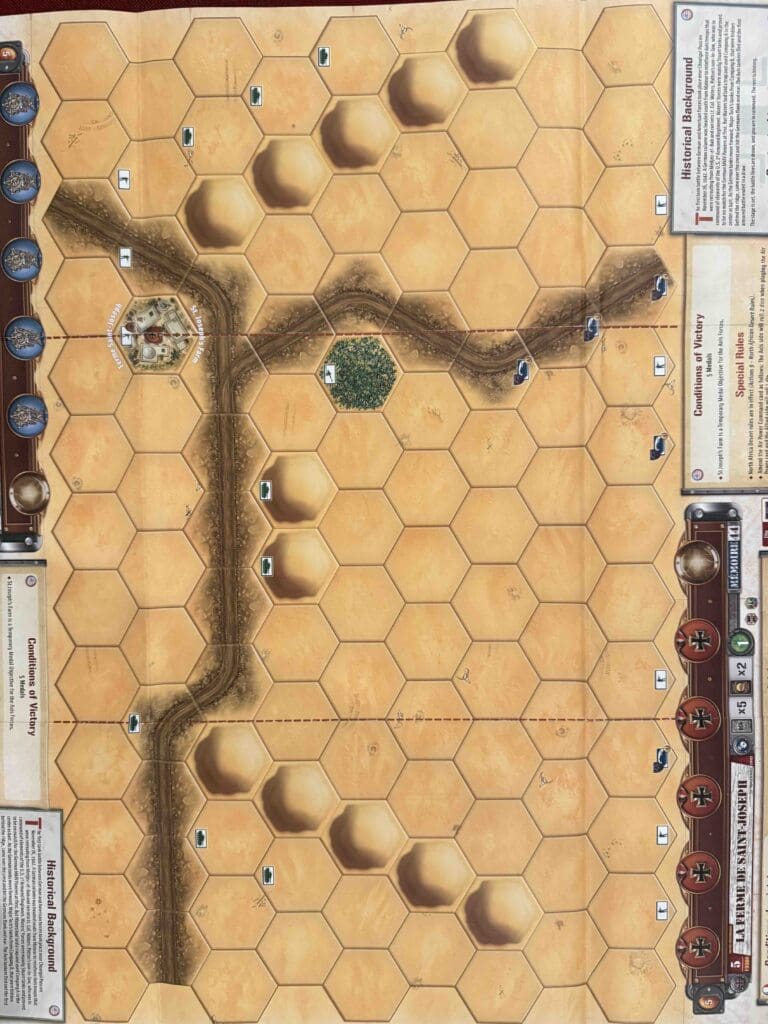
St. Joseph’s Farm
St. Joseph's Farm
Chouigui Pass—November 1942. One hell of a day for the U.S. Army, and the first time our boys showed the Krauts what American steel could do.
We were green, no doubt about it. The 1st Battalion, 1st Armored Regiment—part of my beloved 1st Armored Division—rolled into action near a place called Chouigui Pass, northwest of Tebourba. The brass might call it St. Joseph’s Farm, but I’ll tell you—there was nothing holy about what went down there.
Our men, riding those M3 Stuarts and M4 Shermans, spotted a German convoy and didn’t hesitate. They tore into it with everything they had. And wouldn’t you know it? A short time later, they ran into the 10th Panzer Division—real hardened bastards—but our boys didn’t back down.
We hit ’em hard. Burned up their vehicles, shattered their lines, and let ’em know the Americans were here and we weren’t playing. It wasn’t some grand campaign-ending victory, but it mattered. It was the first time U.S. armor took the fight to the Wehrmacht and came out standing.
That fight at Chouigui Pass proved something: our tanks could run, our boys could fight, and American grit was just getting started. North Africa wasn’t going to be easy—but after that day, the Germans knew we were in the game.
And from there, we only got meaner, faster, and a whole lot more dangerous.
~~ General Howitzer
5 VP’s
Card Balance:
Allies – 5 + 2 Combat Cards
Axis – 5 + 2 Combat Cards
Complexity:
2
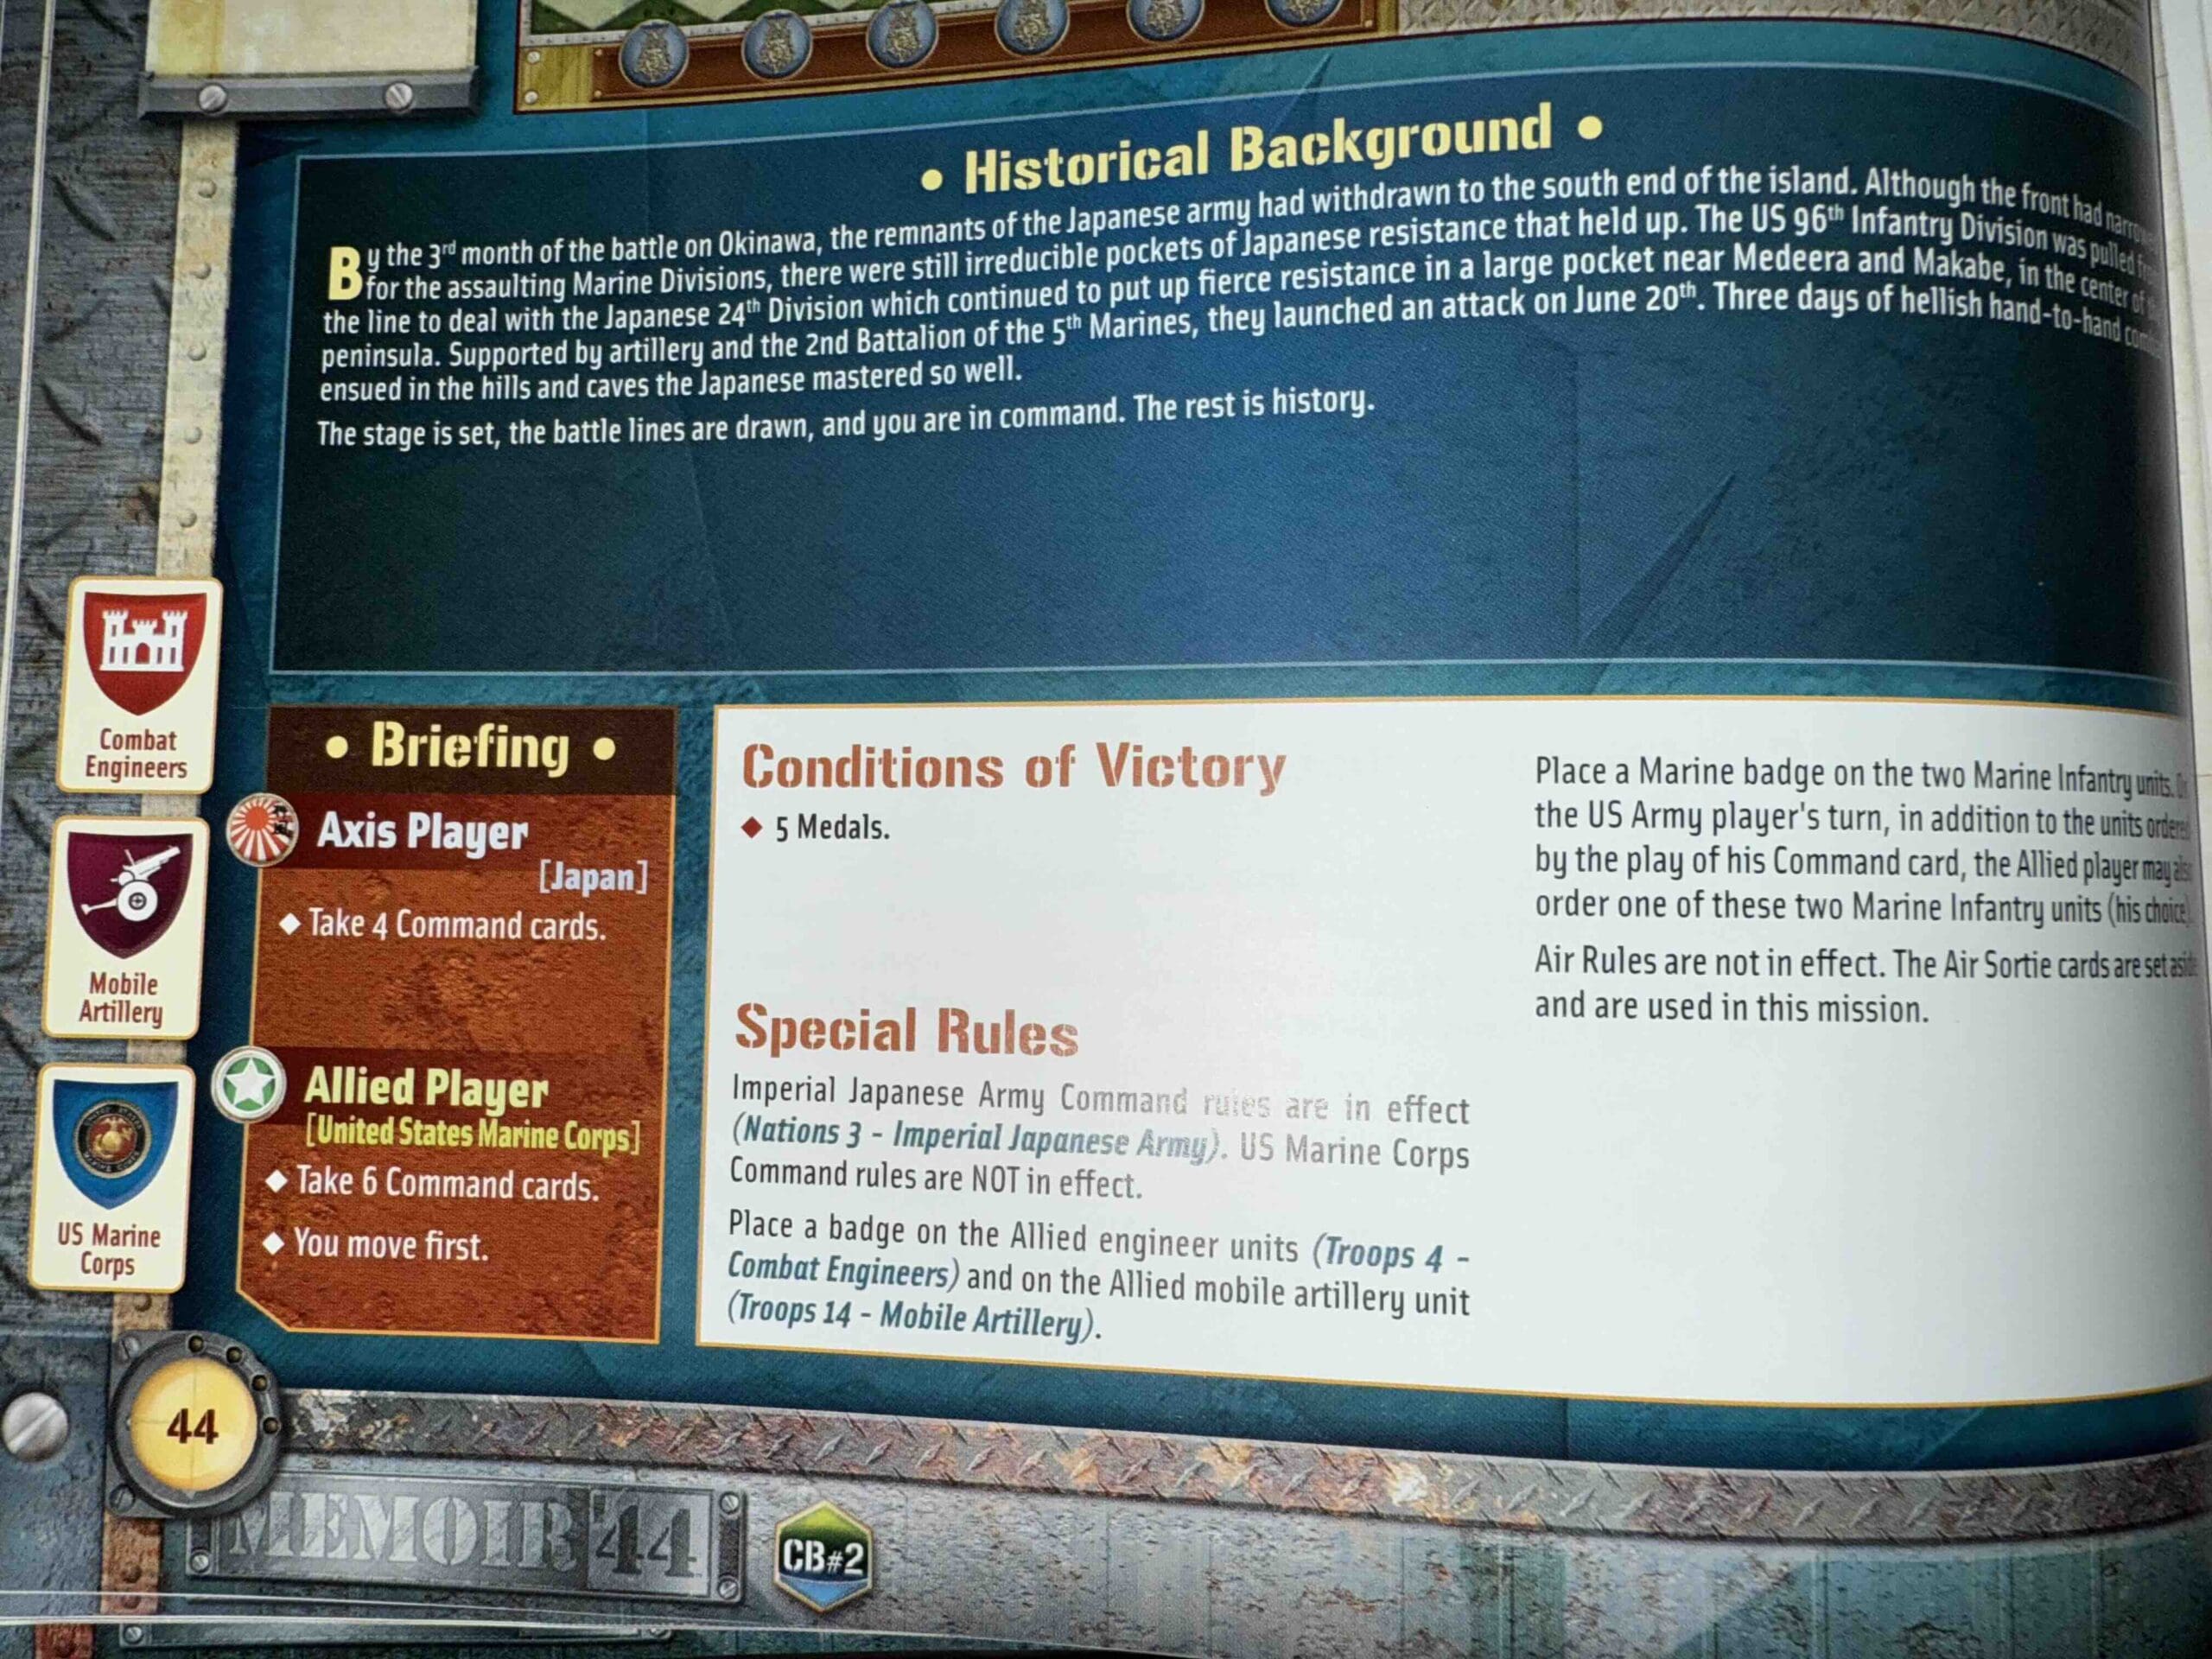
Conditions:
Desert

Context:
Historical
Location:
Tunisia
Year:
1942
Theater:
Mediterranean
Campaign:
Tunisia Campaign
Codename:
Summary:
Objectives:
5 VP’s, including St. Joseph’s Farm as a Temporary Objective for the Axis.
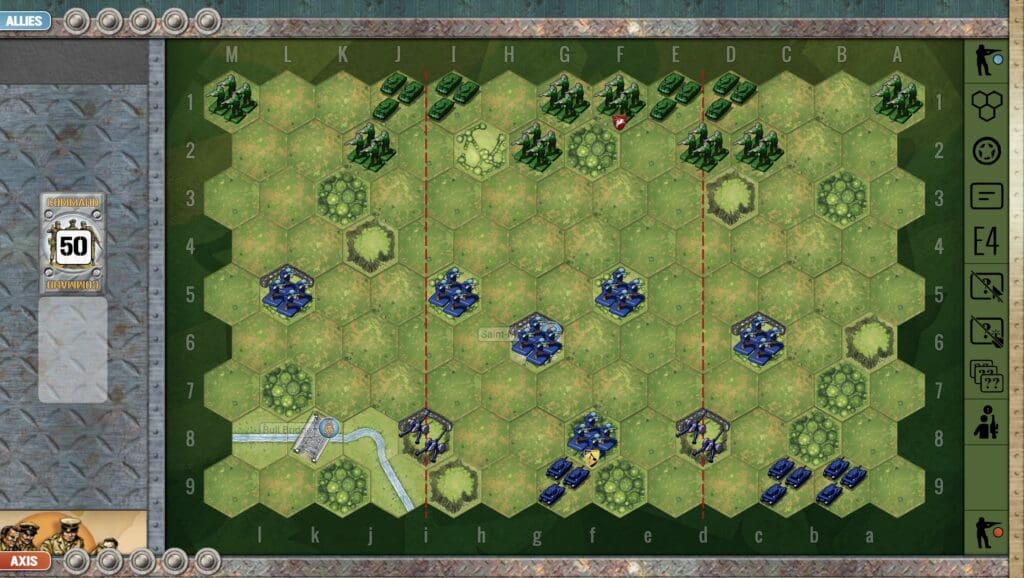
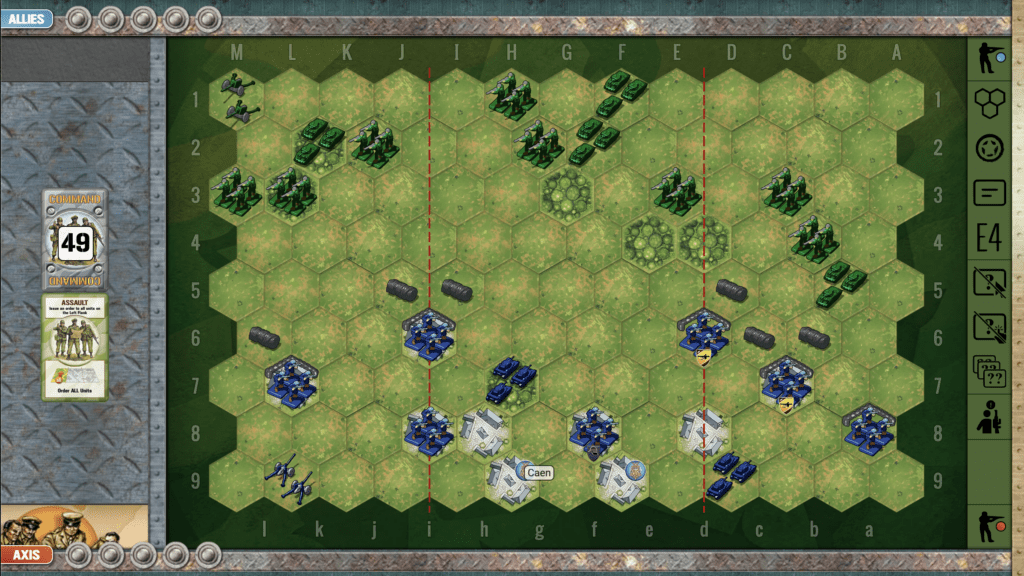
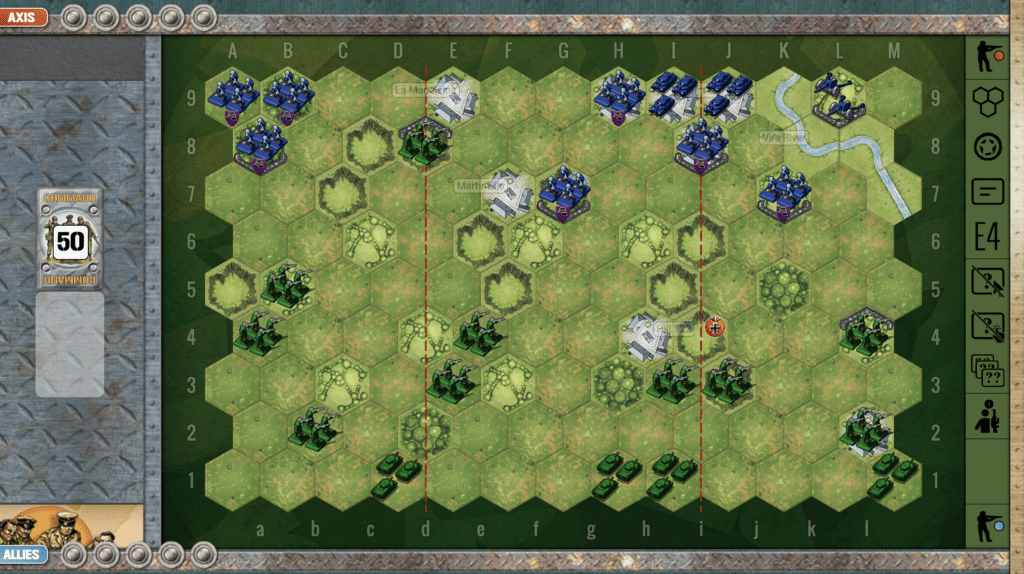
Battlefield:
Desert terrain with a branching road running through it, and ridges on each flank, which provide the defensive surprise that historically occurred.
Troops:
Allies – 3 Infantry, 8 Armor, 1 Artillery
Axis – 5 Infantry, 5 Armor
Allied Strategy:
1. Historically, the Allies surprised the Germans by hiding their Armor reserves behind the ridges. In this scenario, the enemy obviously knows you are there, but you can still use the ridges as defensive protection until the Axis Armor gets close enough for you to launch your Armor assault, and maybe recreate history with an Allied victory.
Axis Strategy
1. Historically, the Axis were surprised by the Allied forces hiding behind the ridges. You know they are there, and they outnumber your forces, so you will need to score some quick hits against the forces in the center, to take them out of the action before their support shows up on the flanks.
Battle Reports
Author:
Days of Wonder
Link: