Night Withdrawal
Night Withdrawal
5 VP’s
![]()
Card Balance:
Allies – 4
Axis – 5
Complexity:
2
Conditions:
Countryside

Context:
Historical
Location:
France
Year:
1944
Theater:
Western Front
Campaign:
Normandy Campaign
Summary:
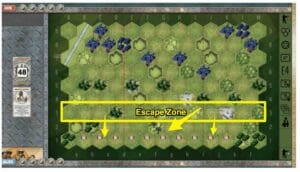
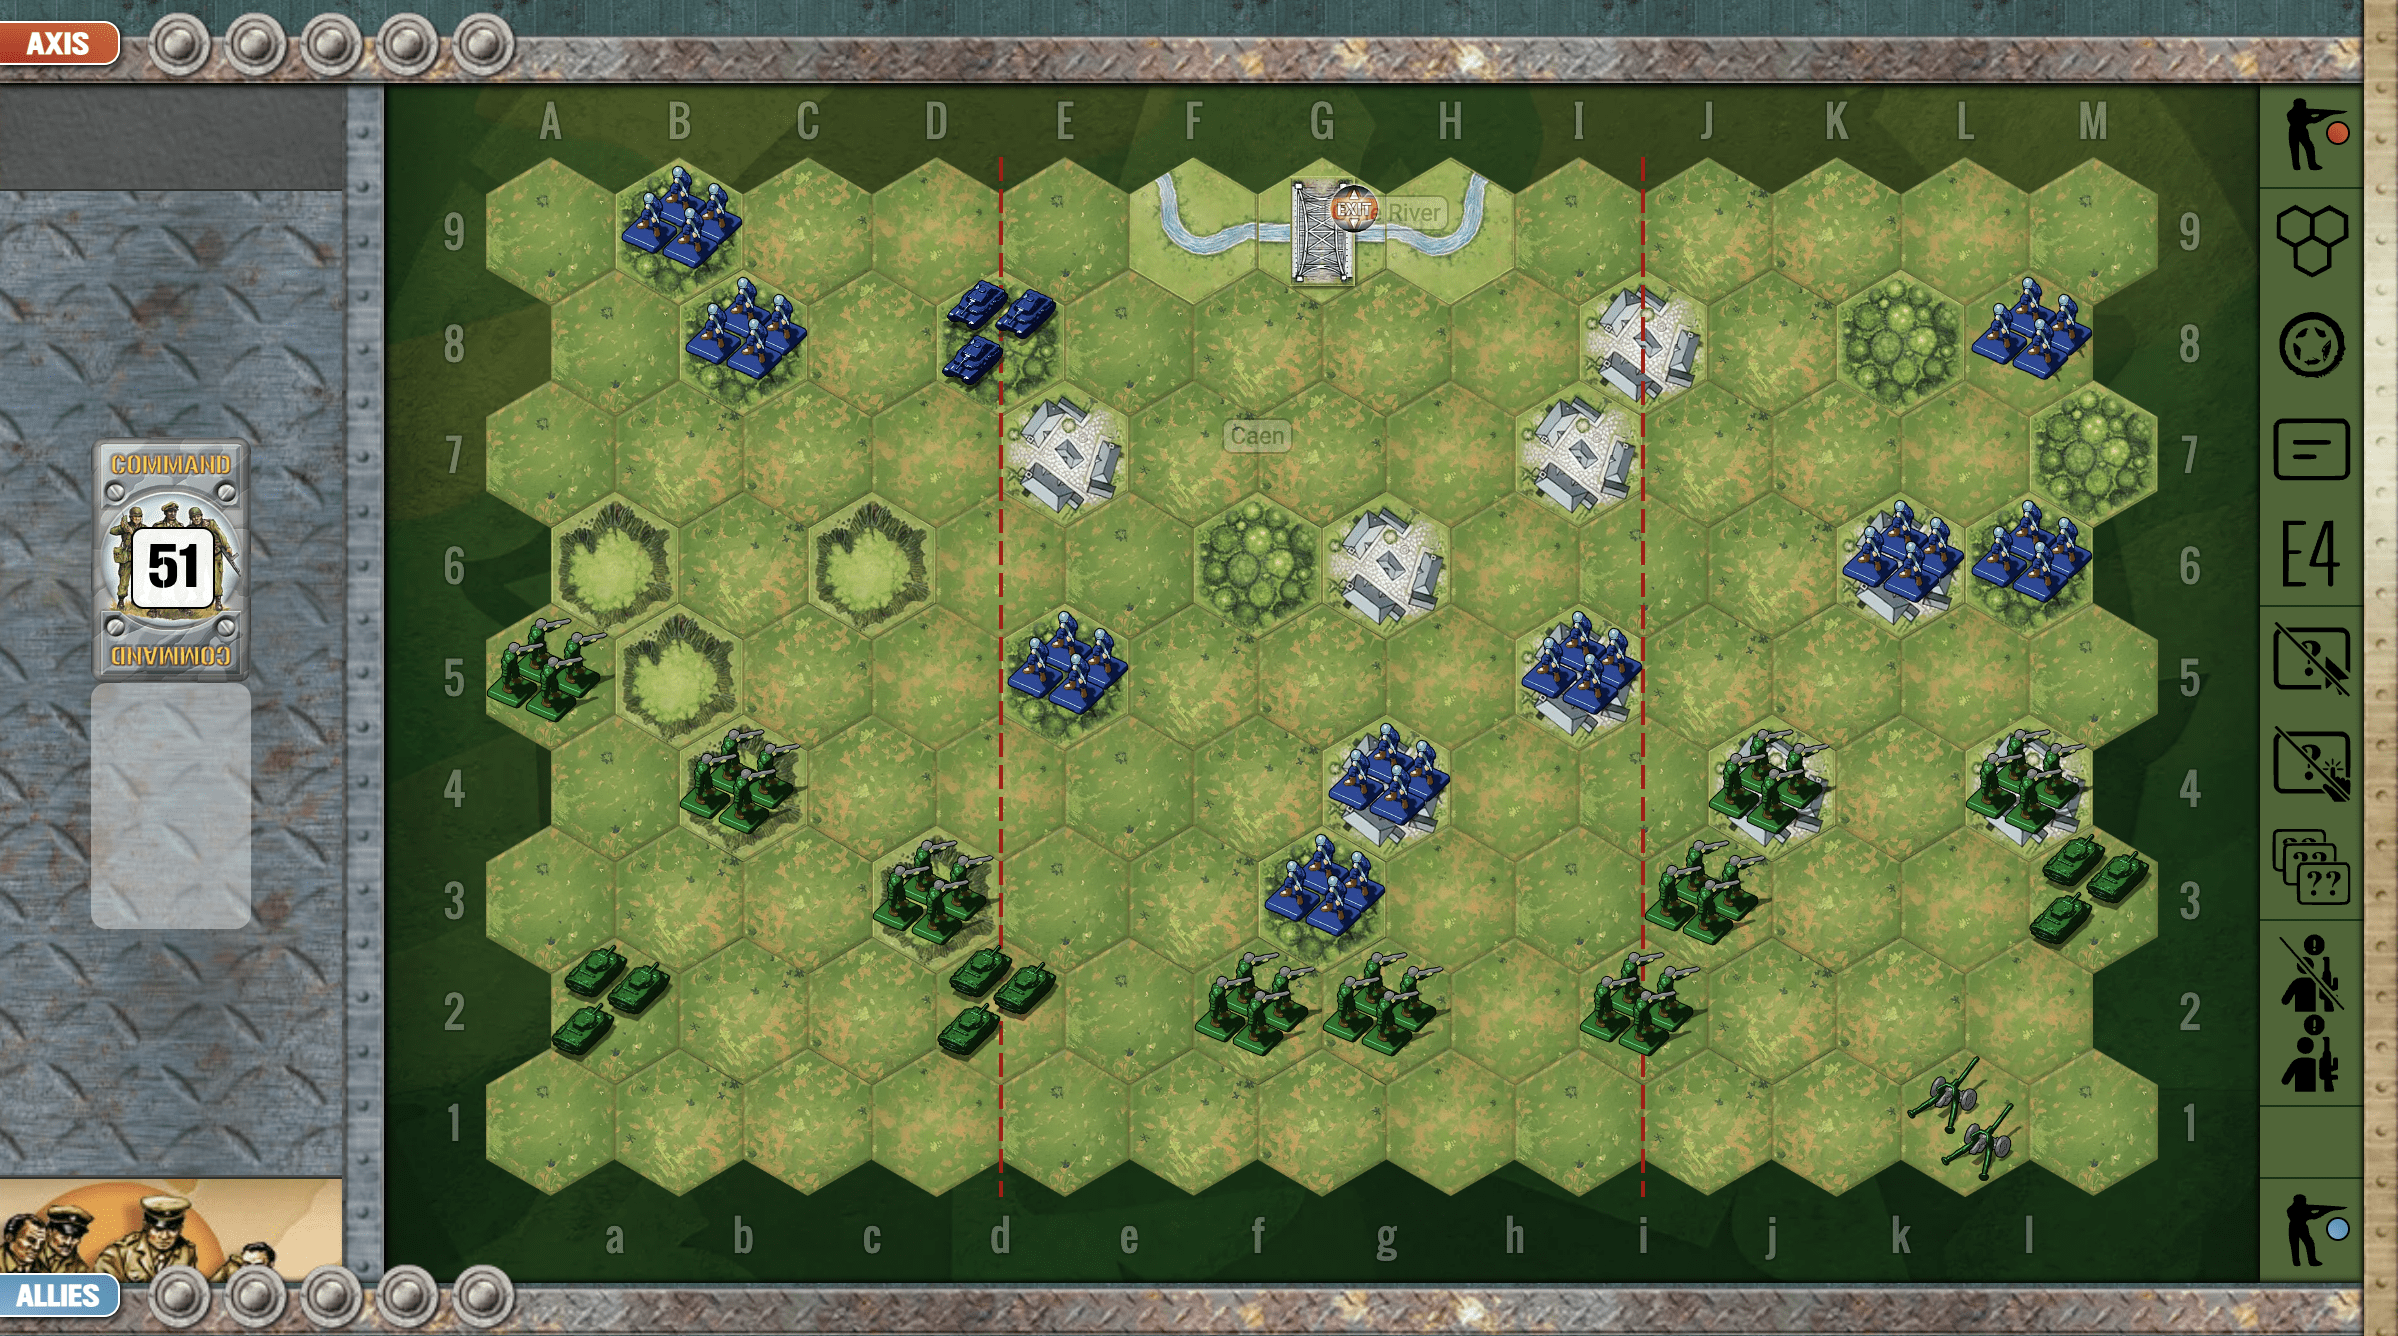
Objectives:
5 VP’s, plus the a exit row medals for the Axis(!) forces.
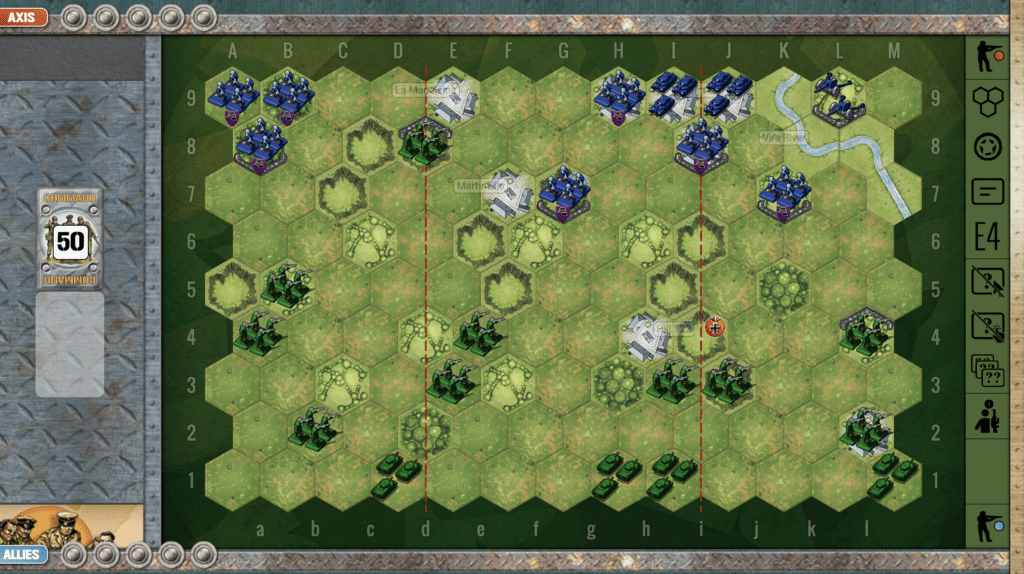
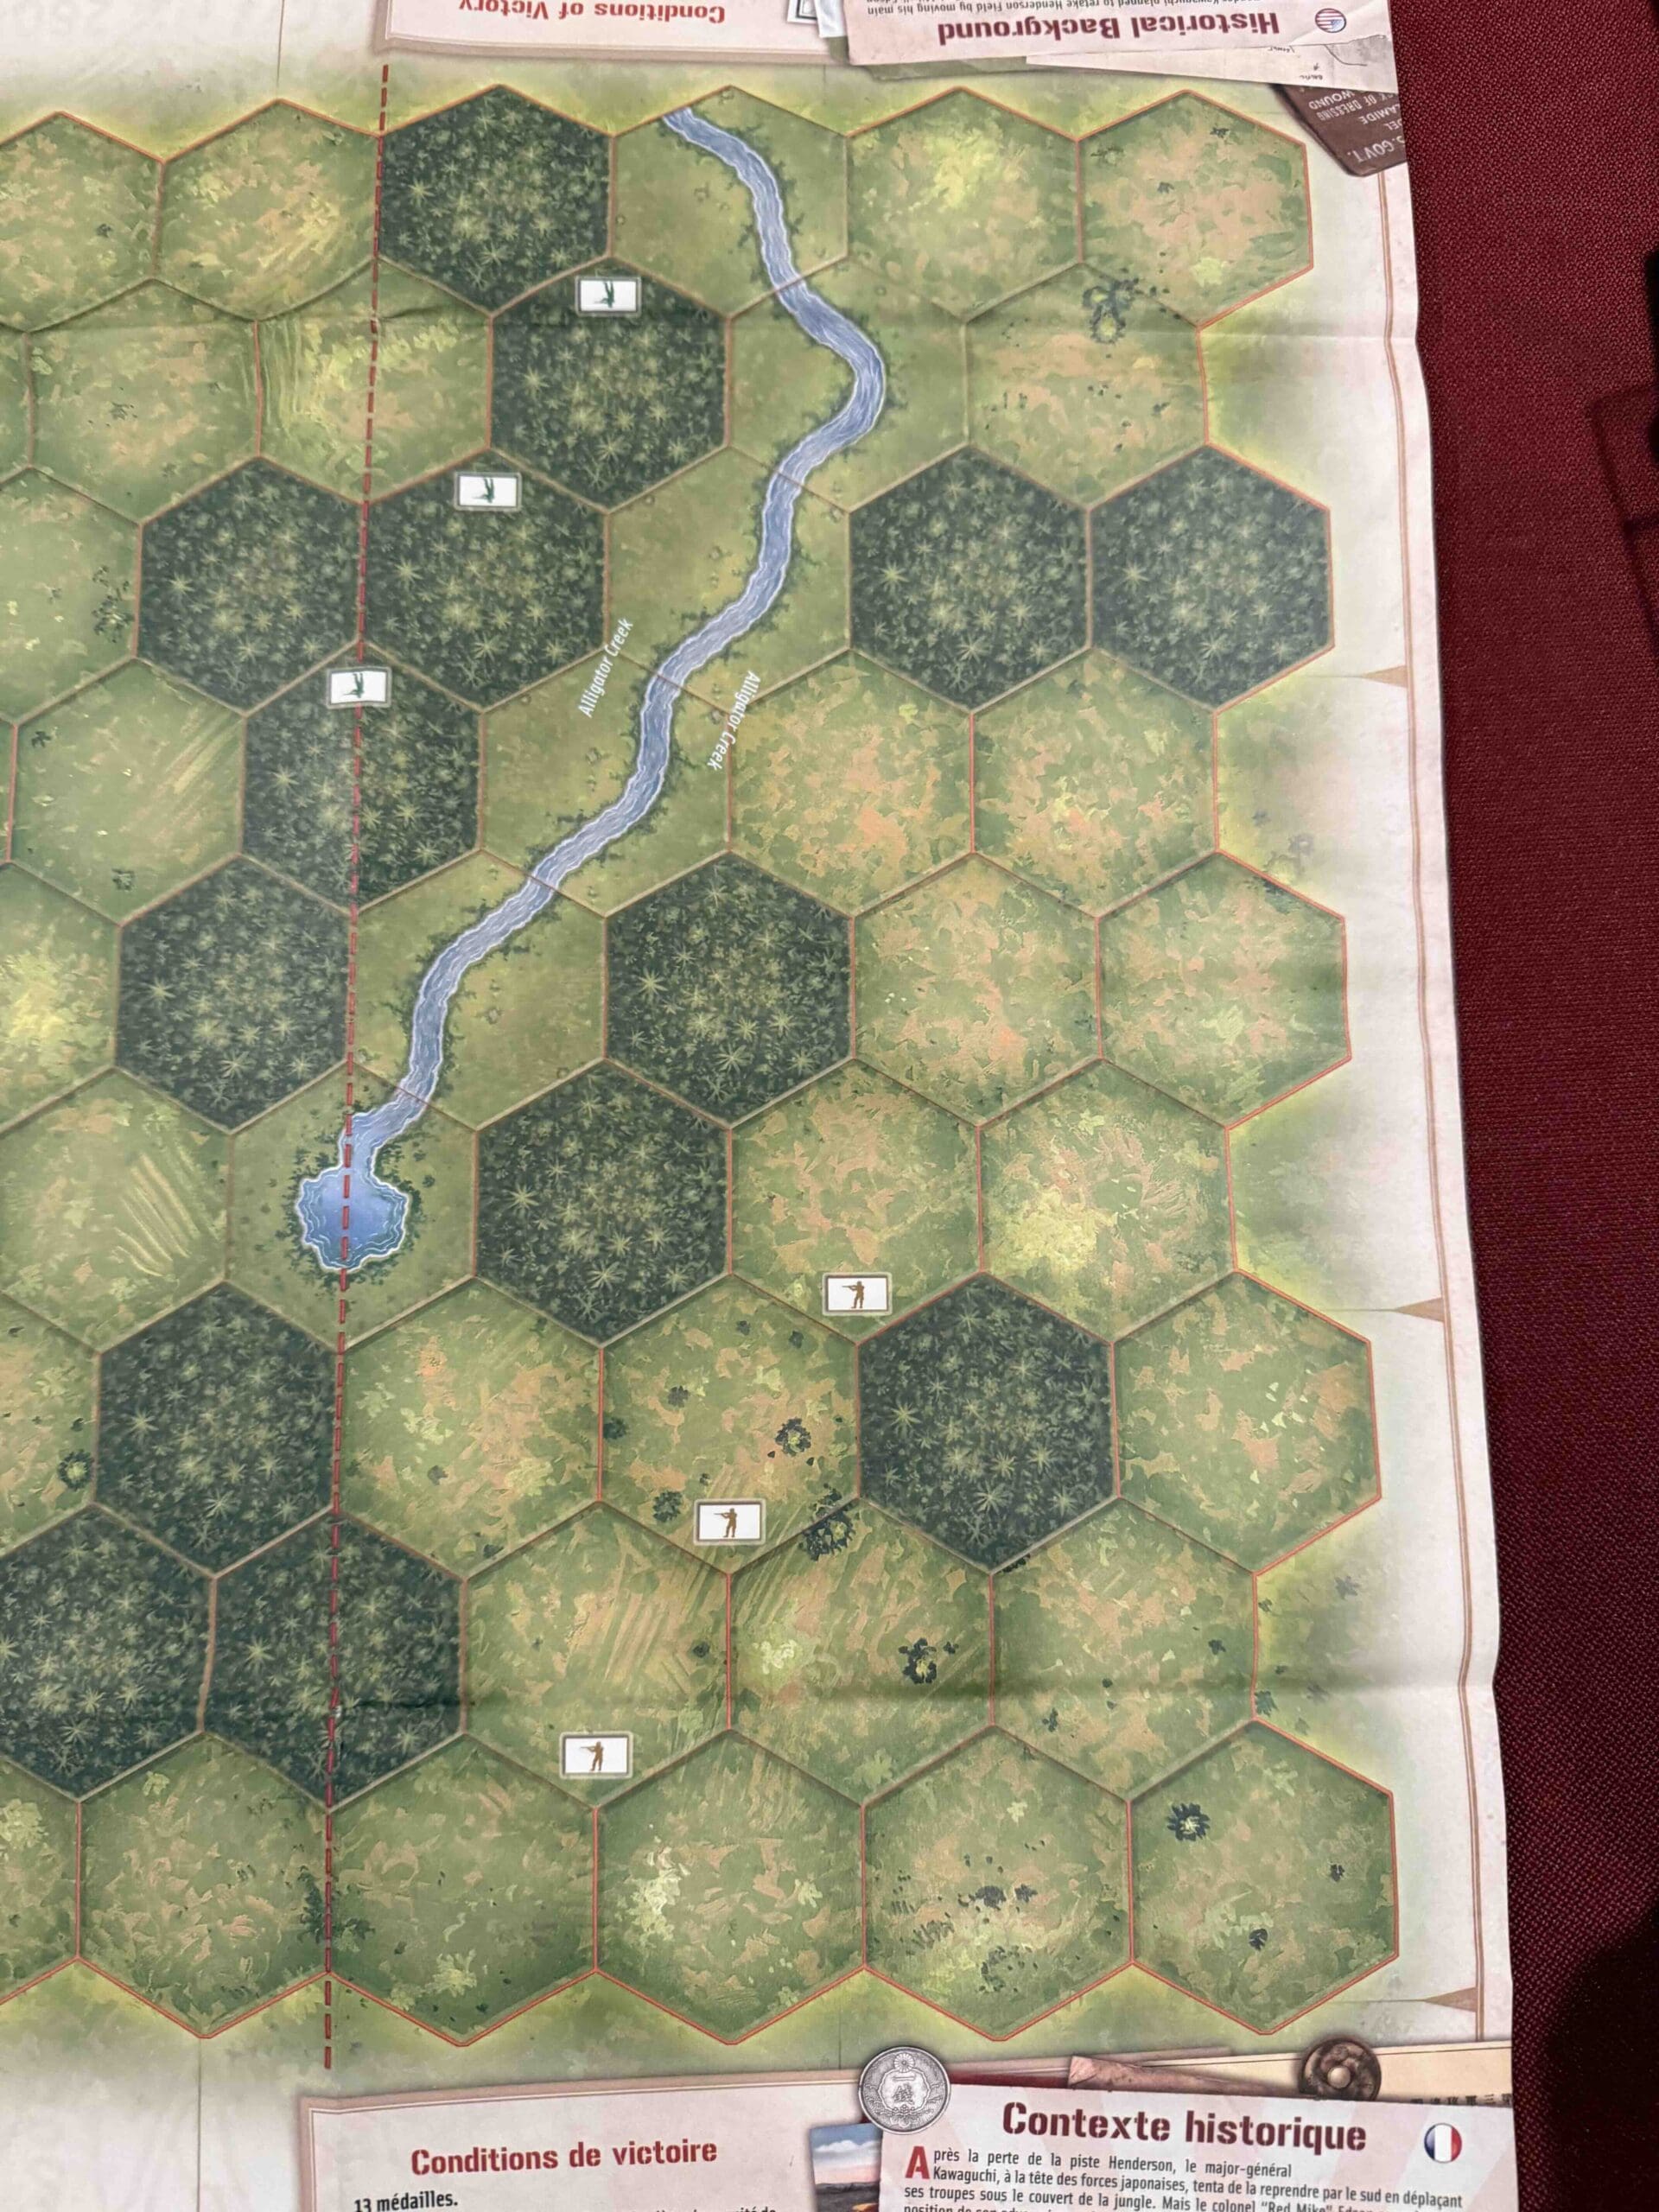
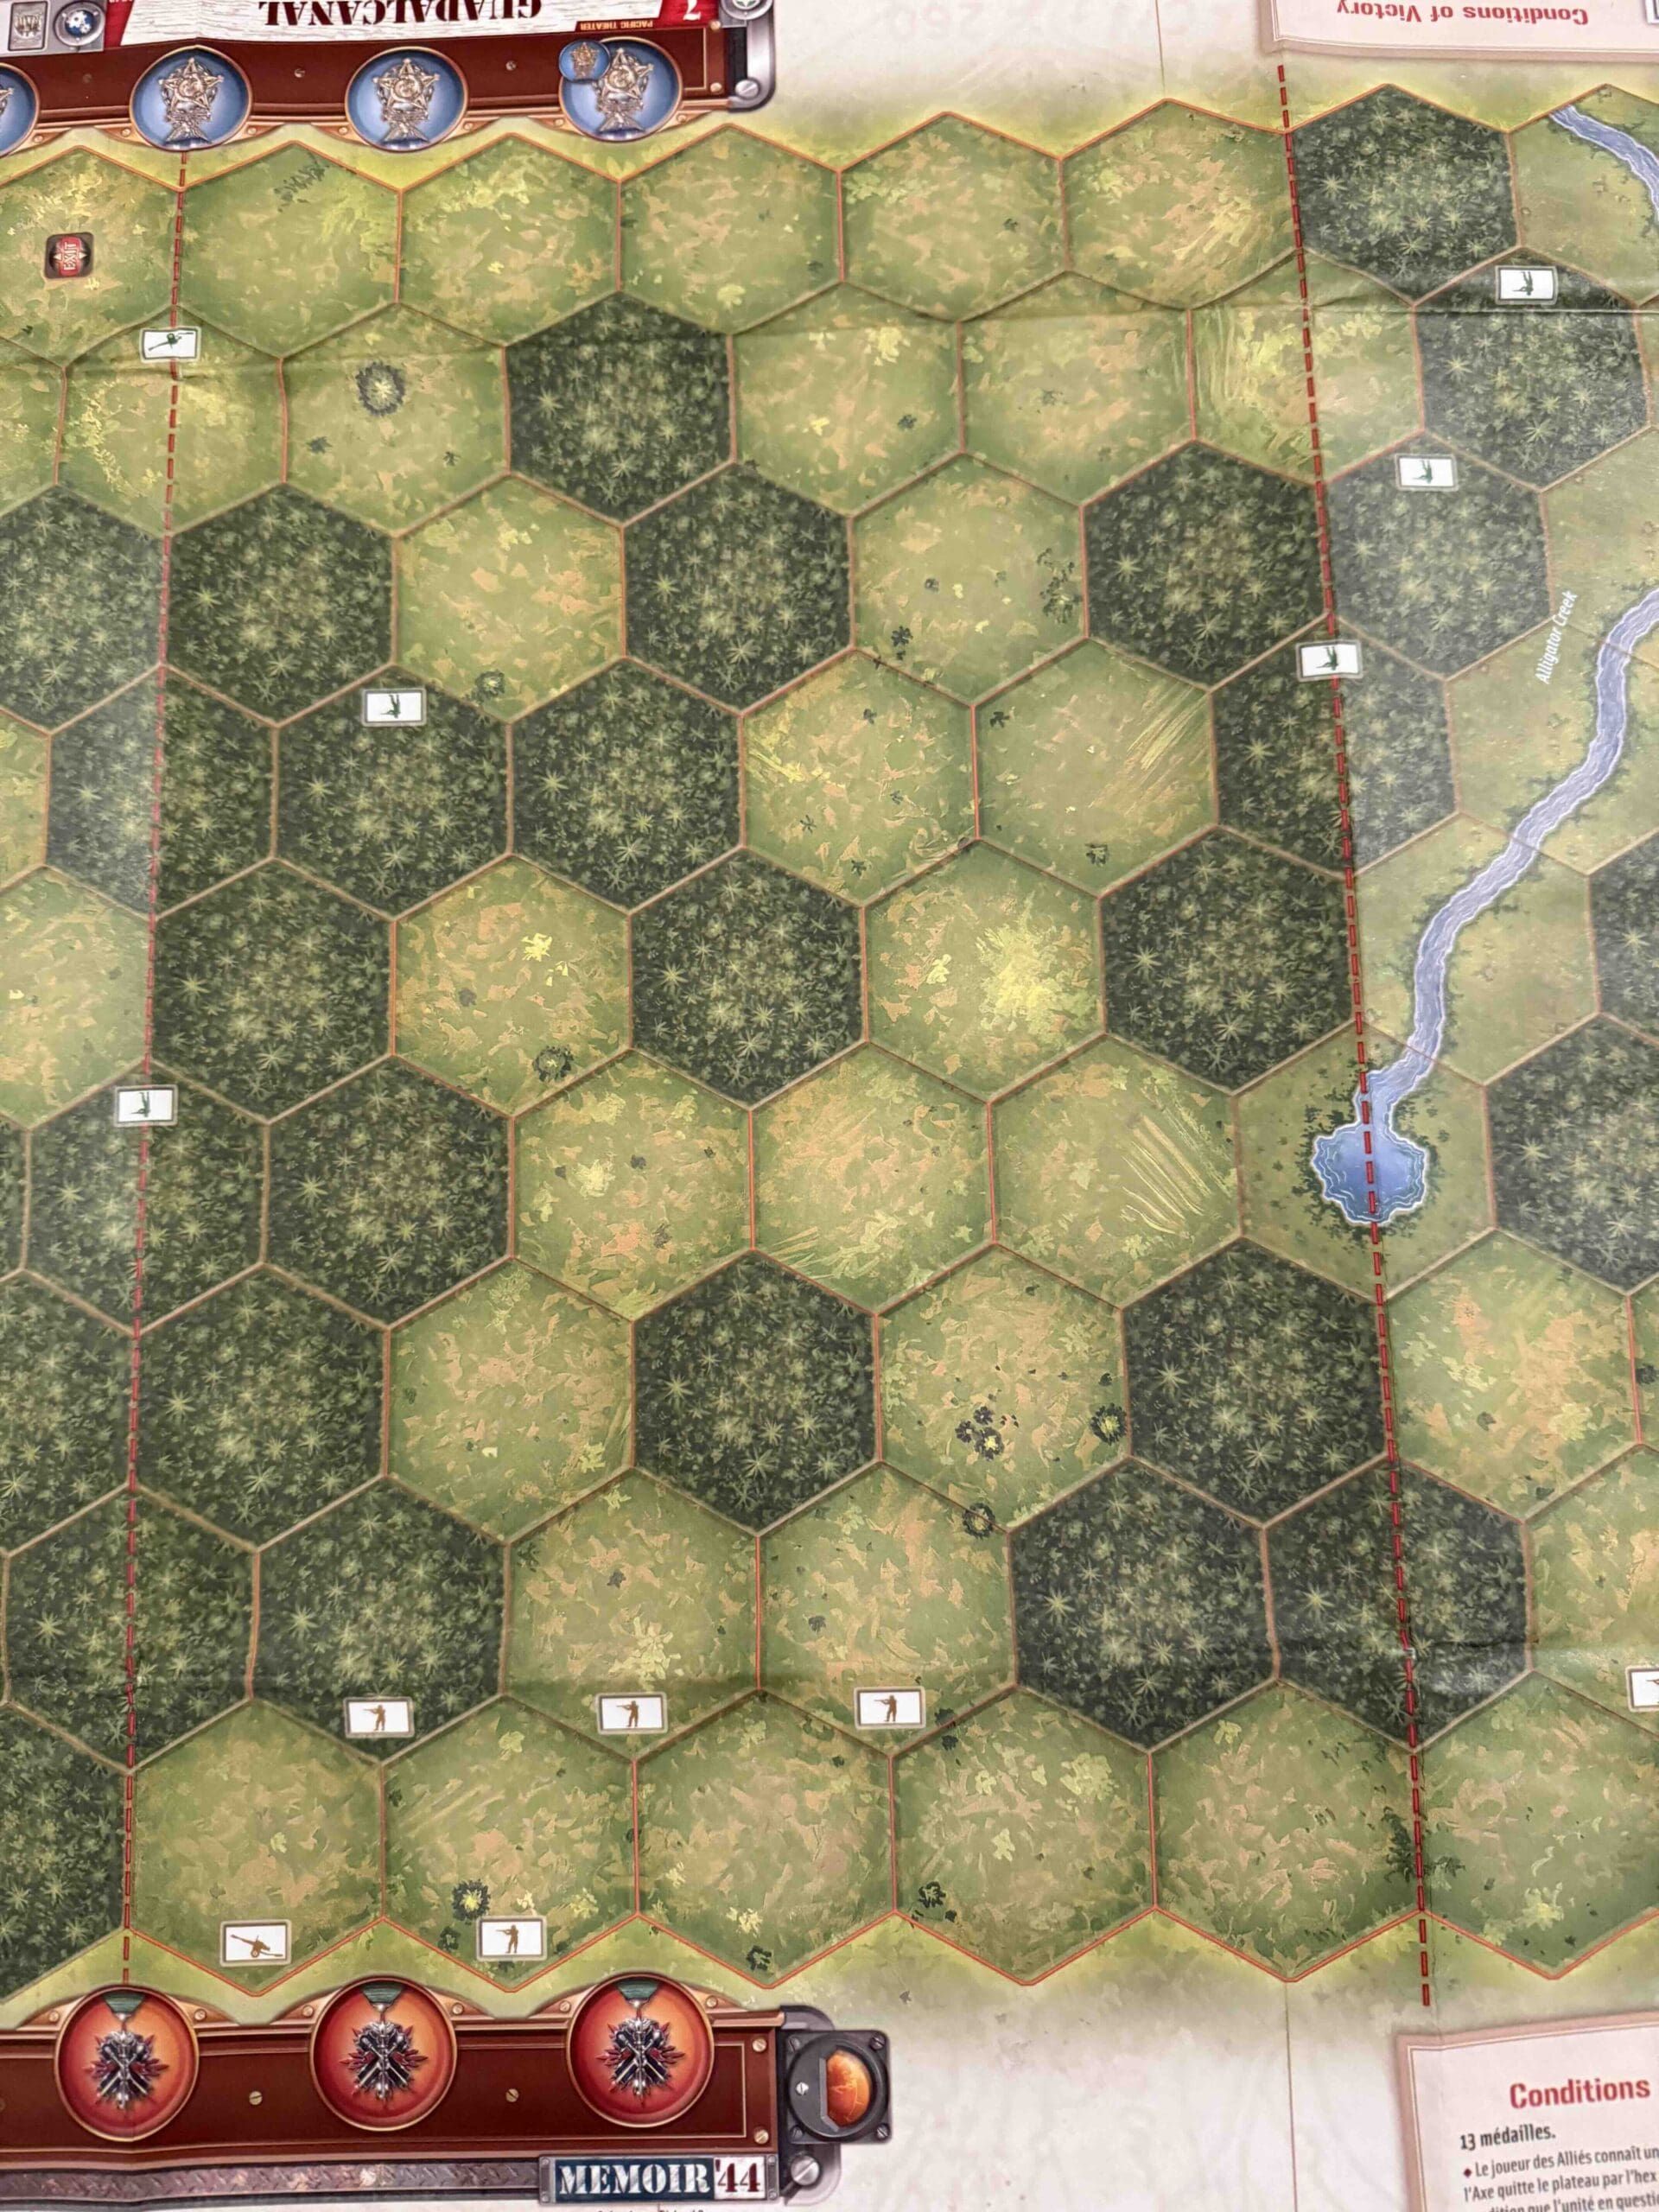
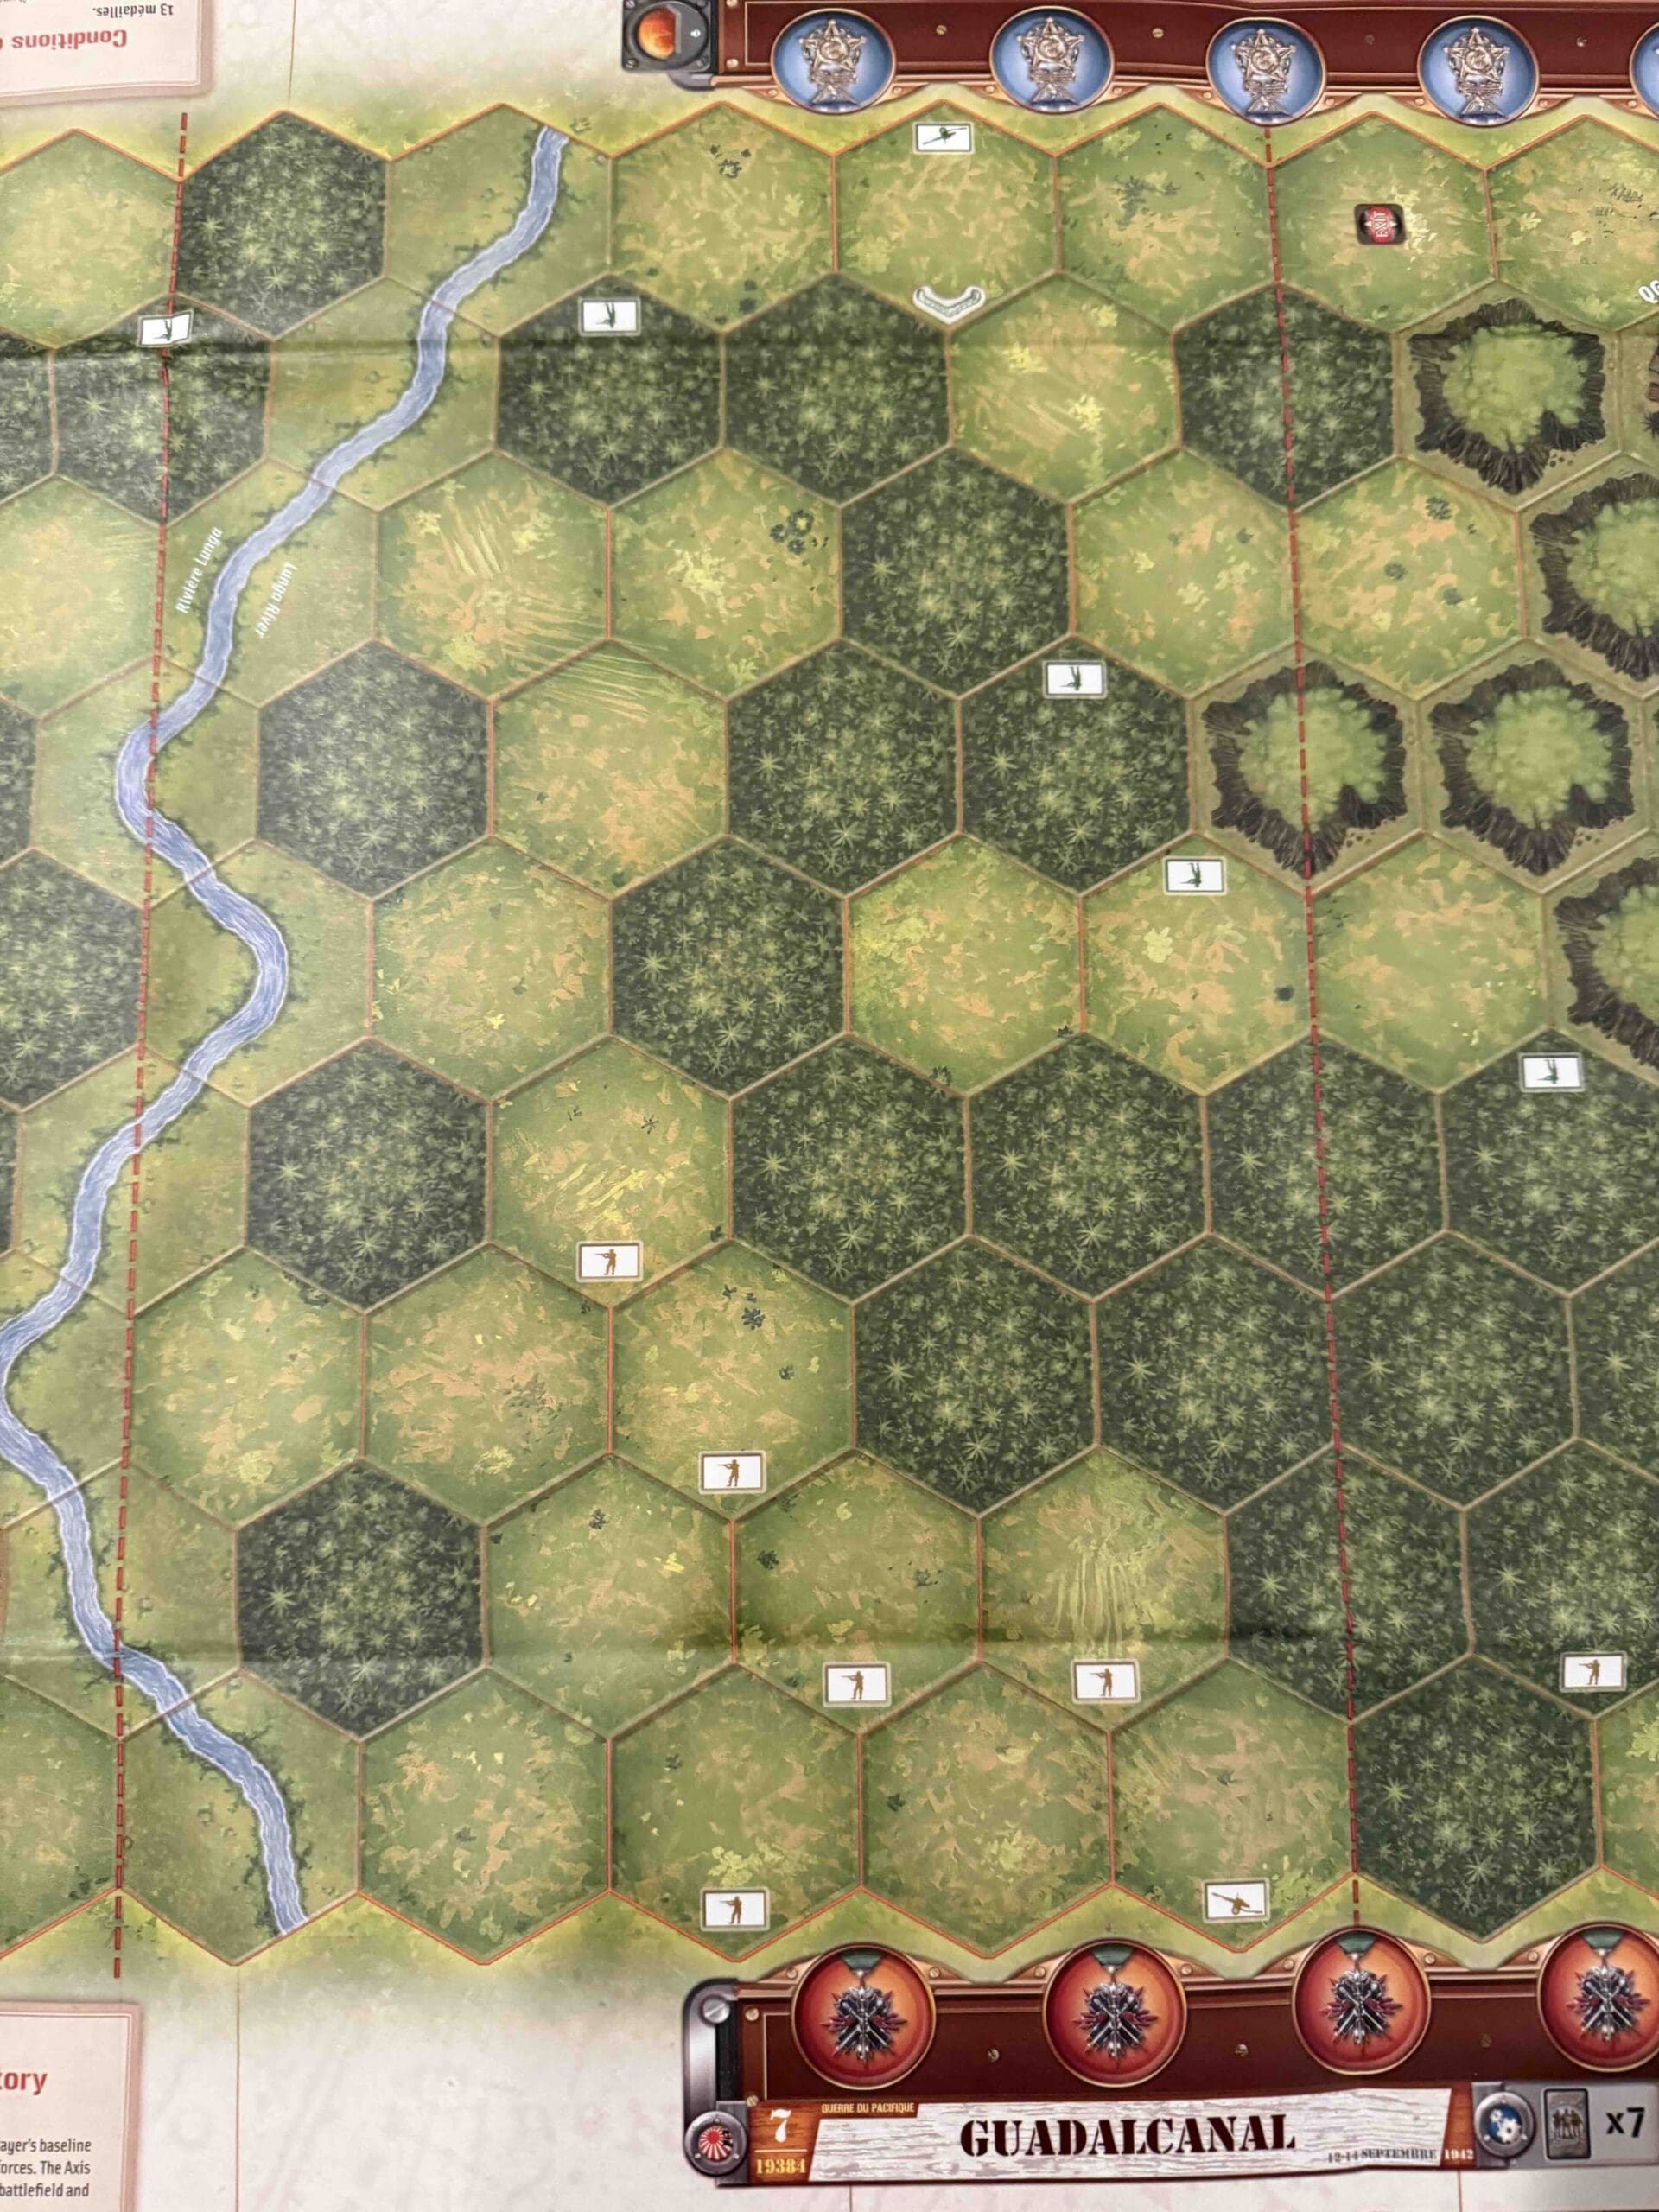
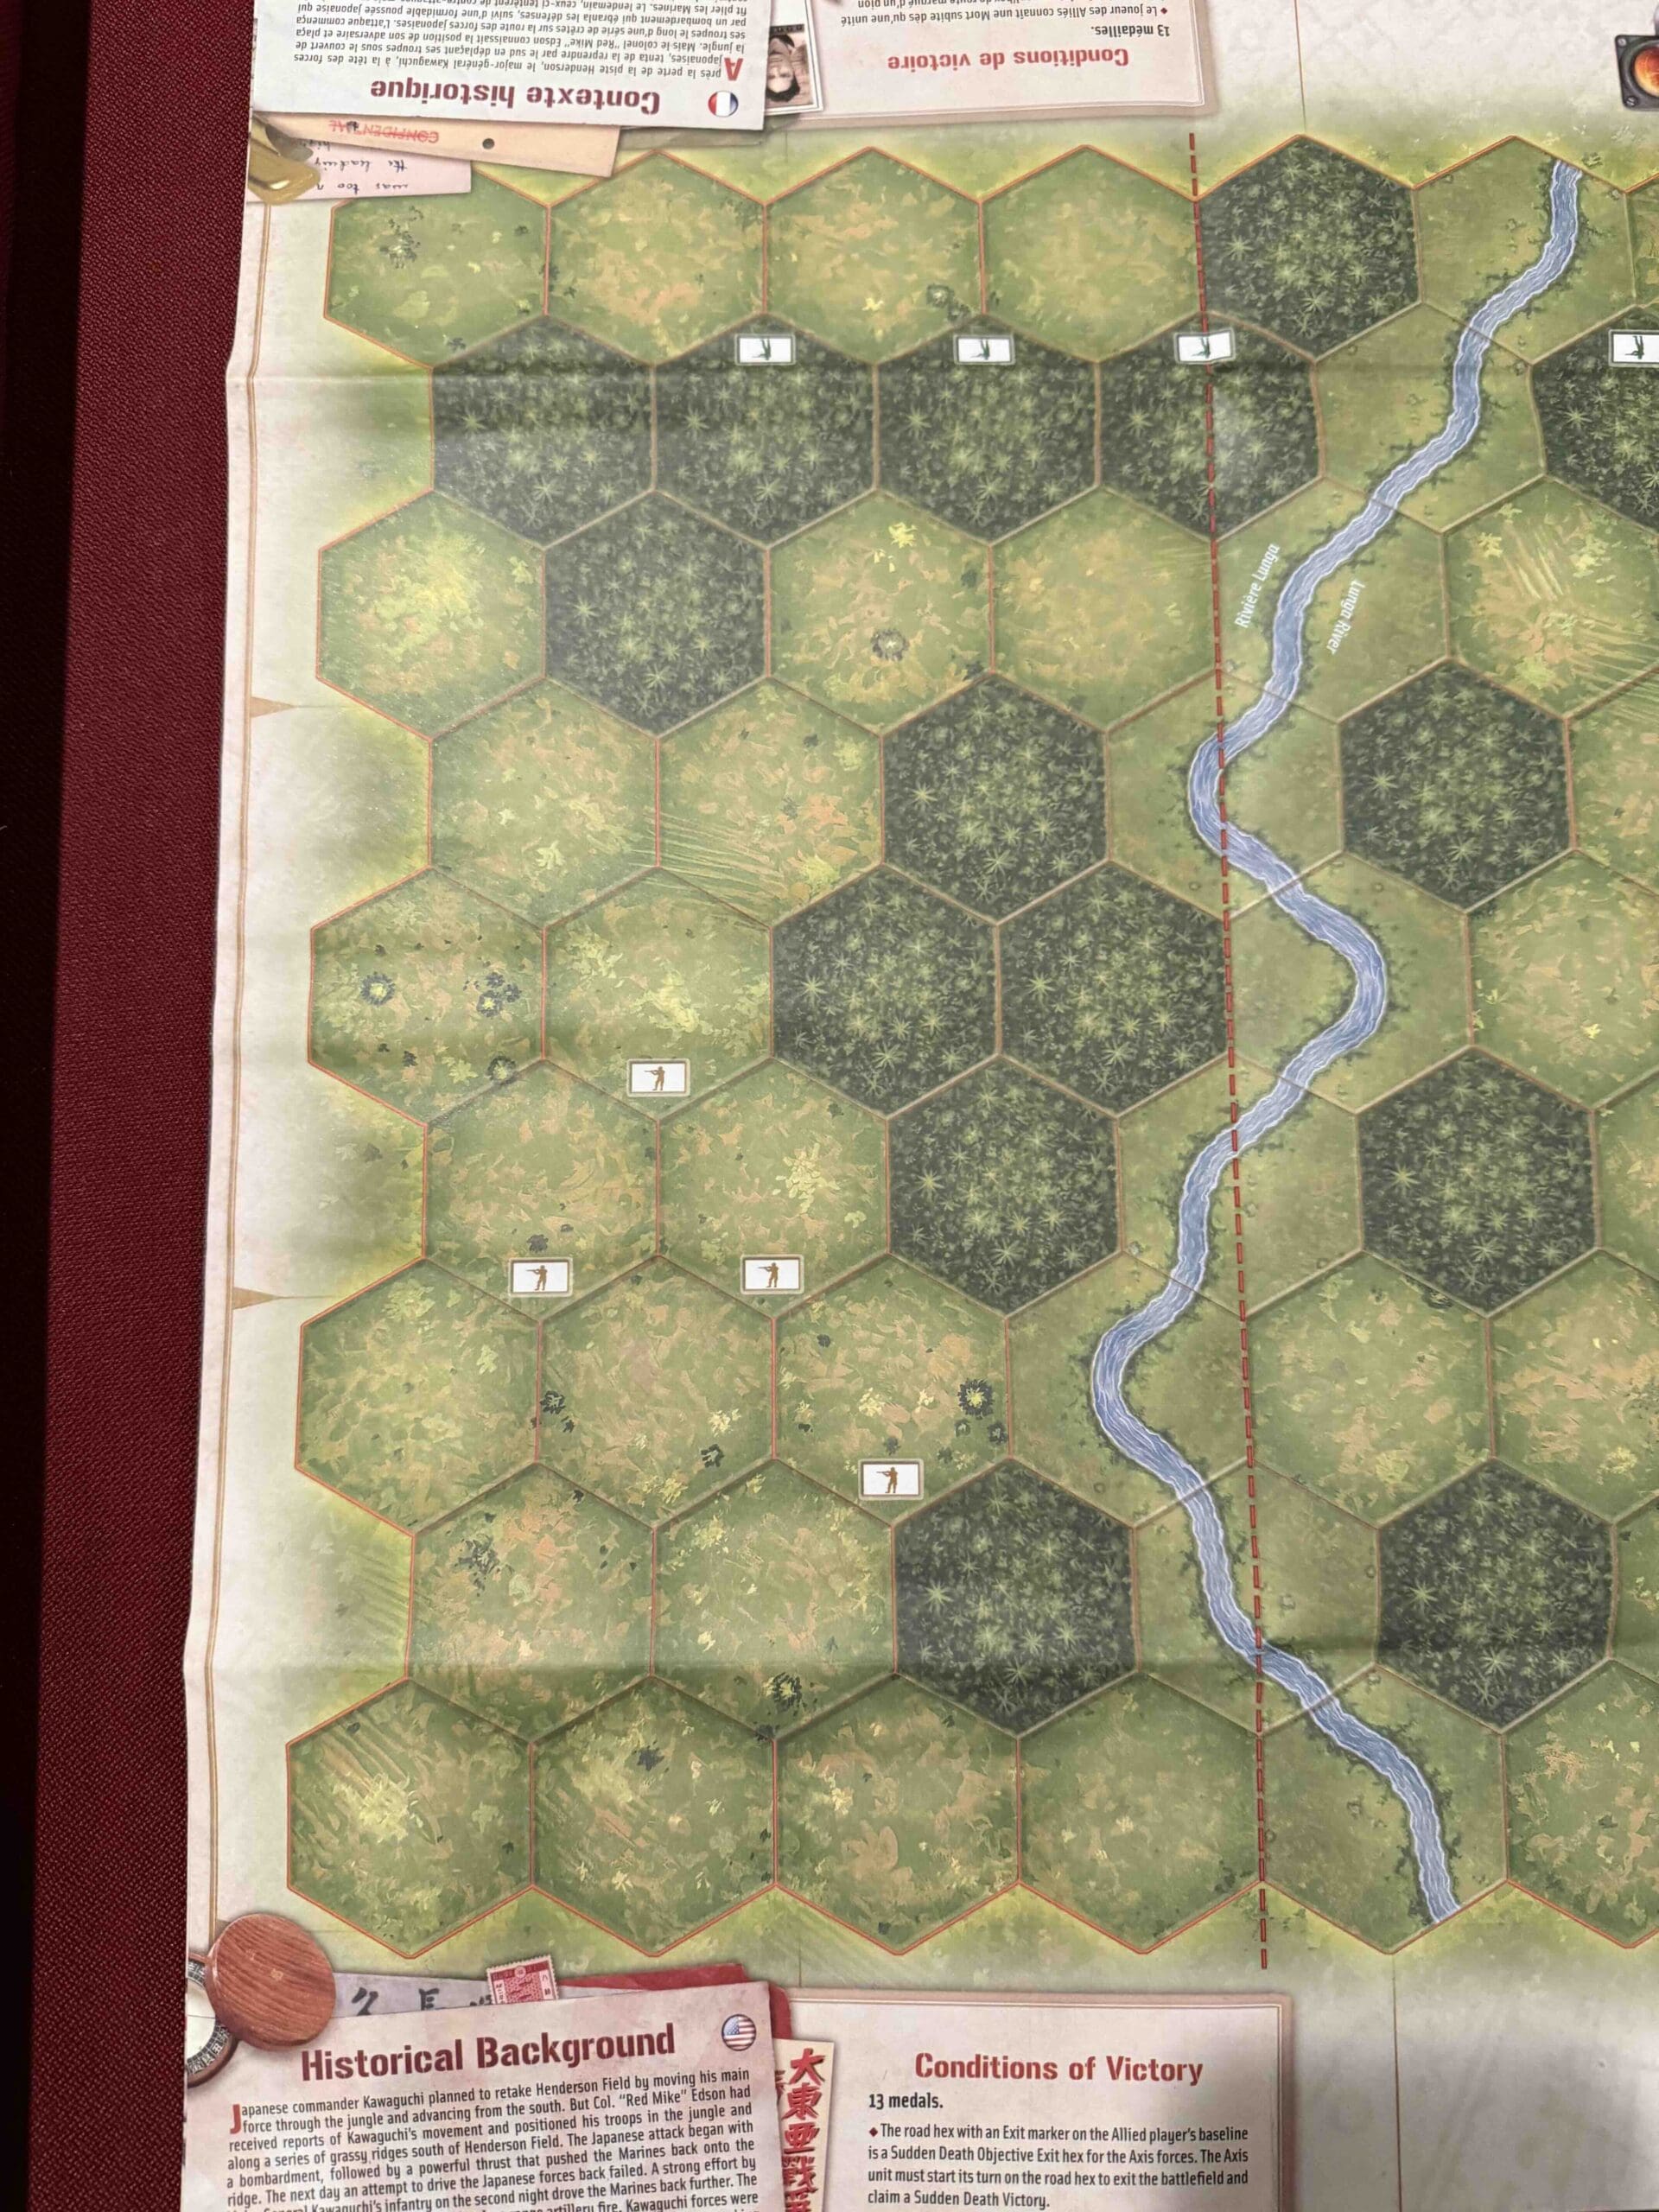
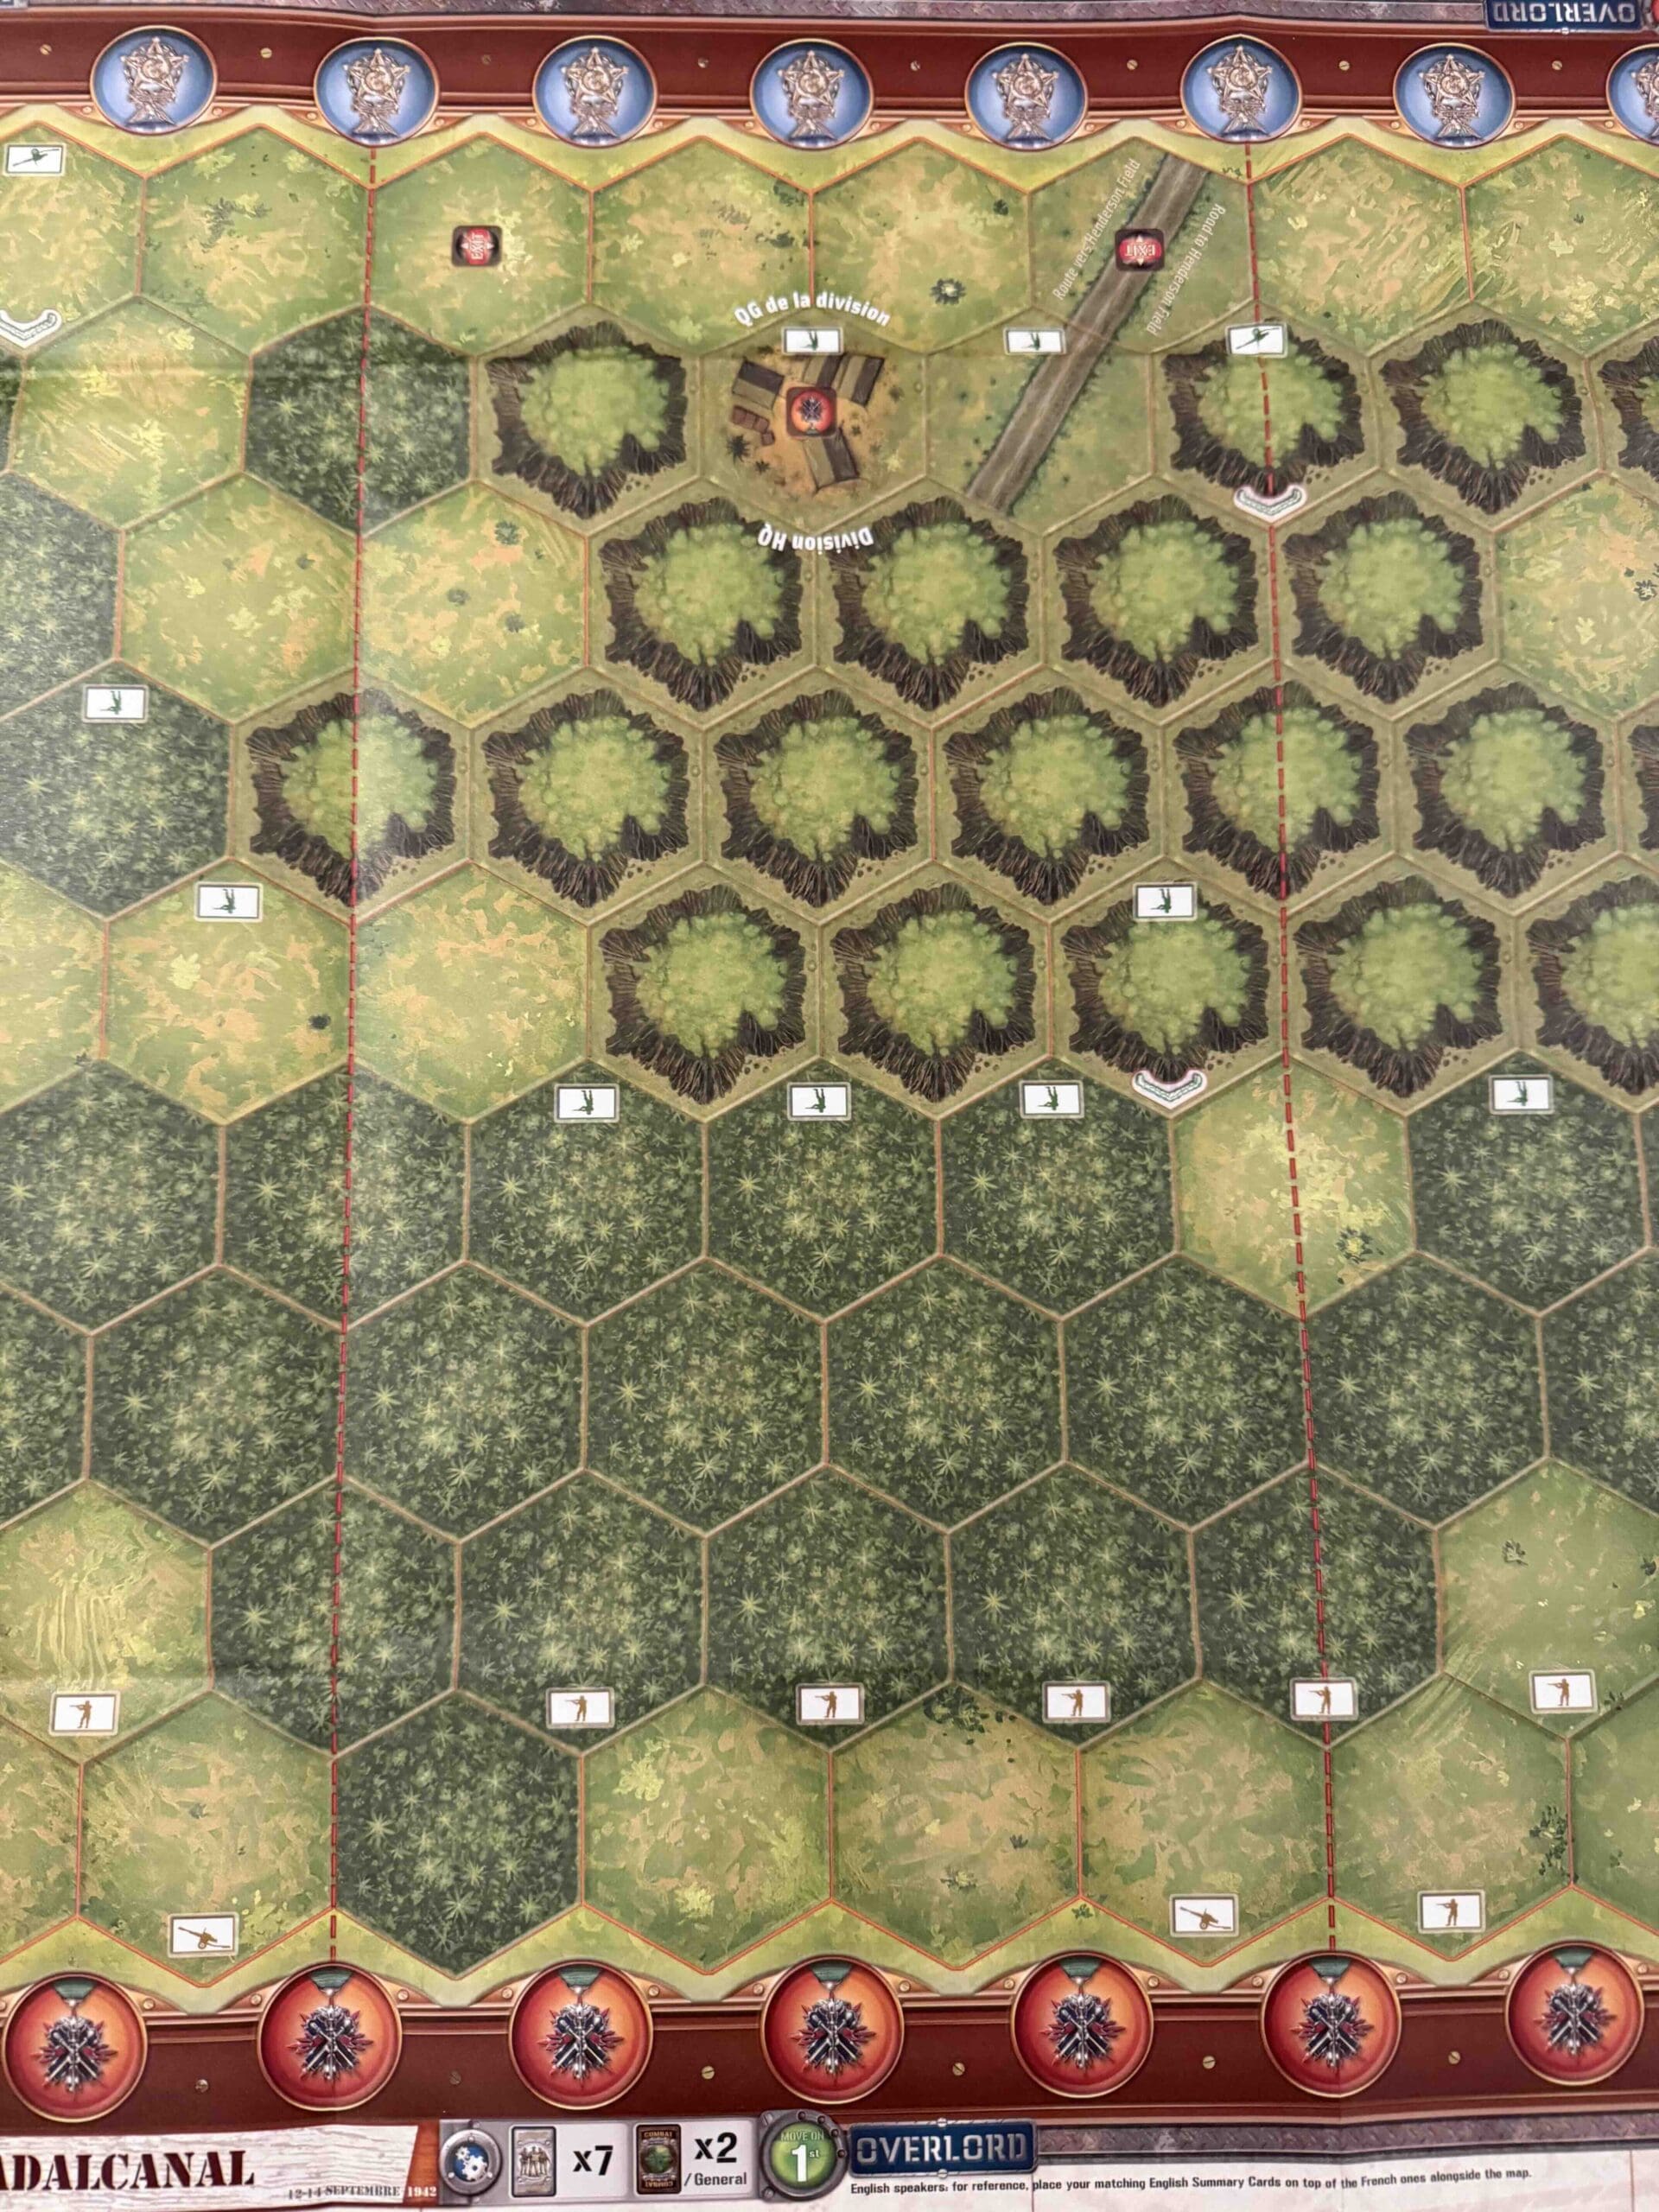
Terrain:
The battlefield is scattered with hills, towns, hedgerows, and forests.
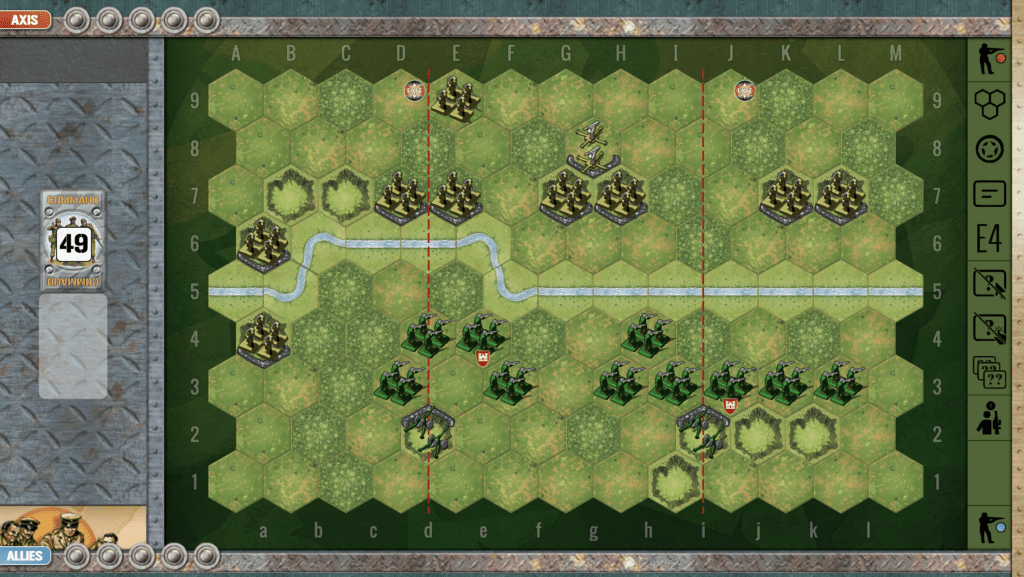
Troops:
Allies – 9 Infantry, 3 Armor, 1 Artillery
Axis – 9 Infantry, 1 Armor

🔥 Winning as Allies
1. The goal for the Allies is to pick off the Axis forces as they seek to escape across the Orne River. If you can get one of your armor units in front of the bridge, you are almost guaranteed a victory.

Overall Strategy:
1. You will need to play any powerful Tactic cards like Airpower and Barrage within the first one or two turns before night falls. Once a single star is rolled on the night meter, those two cards will be reduced to simple one unit command cards.
🔥 Winning as Axis
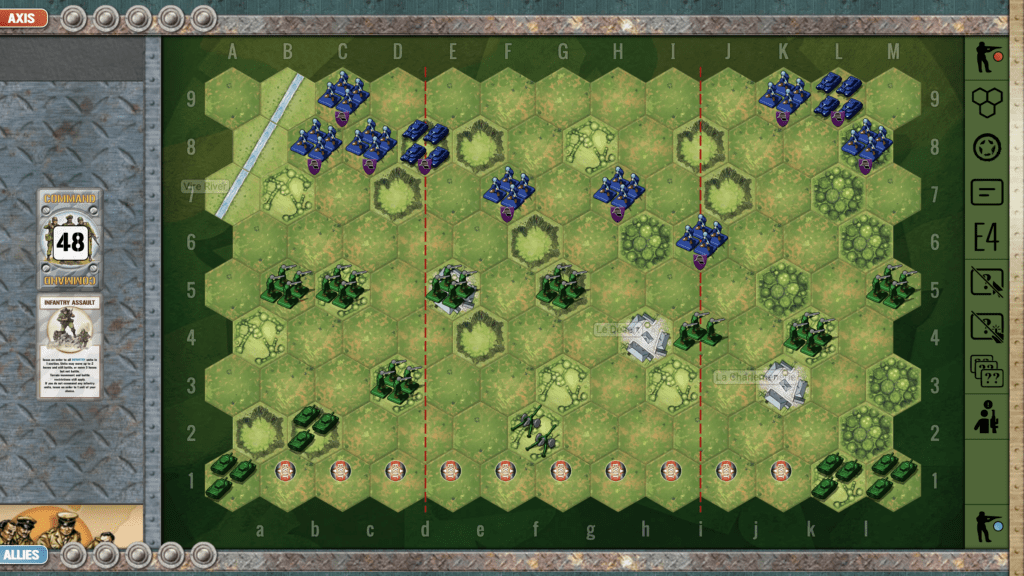
1. The goal for the Axis is to make a successful ‘Night Withdrawal’. But the scenarios starts in daylight, while the Allies are able to blast you with Barrage, Air Power, and Artillery Bombardment, and Armor at a distance of three hexes. So escape out the backdoor as soon as you are able to do so.
2. Be wary of just running, as your forces will be picked off by the overwhelming Allied force before you can get away. So you need to do a strategic retreat in which some of your forces which are better positioned to either battle, or quickly escape, can do so.
3. A great card to start with, if you are fortunate enough, is Infantry Assault. With this, you can very quickly get your troops much closer to the exit, with a three-hex run for each.

Author:
Days of Wonder
Link: