Battle Of Tannenburg Line (BT,EF,TP)

Battle Of Tannenburg Line (BT,EF,TP)
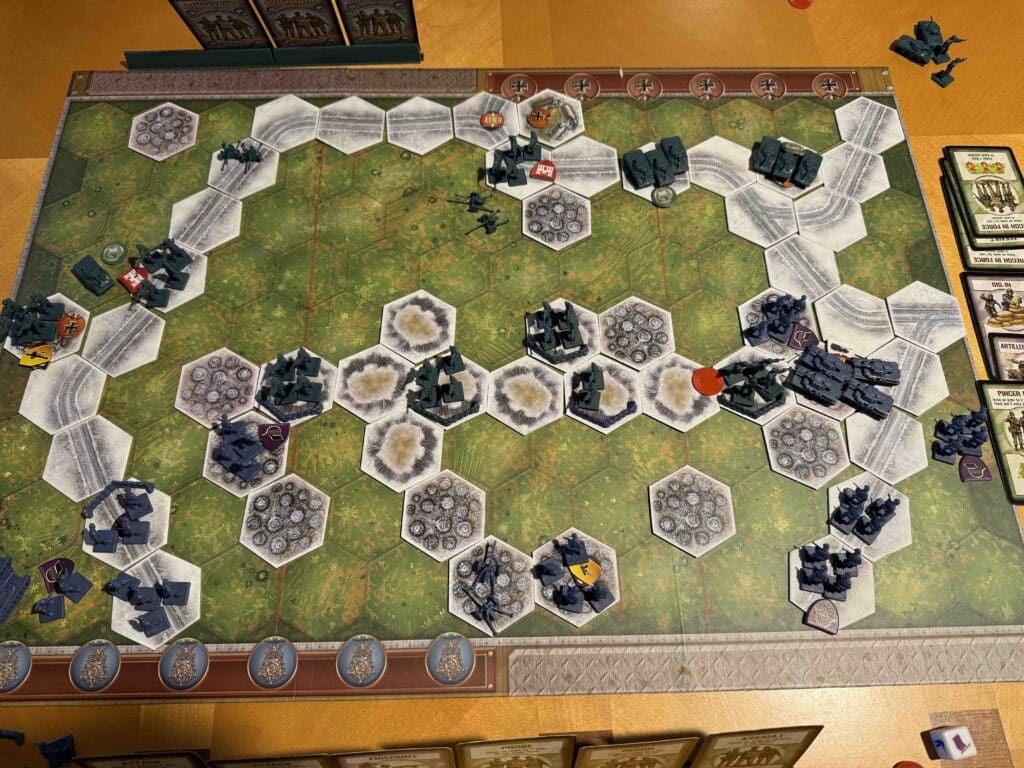
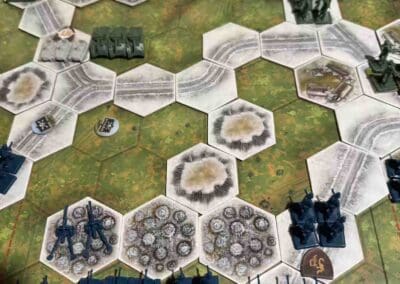
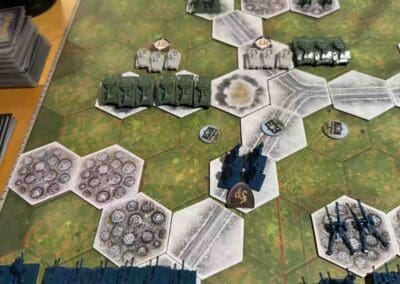
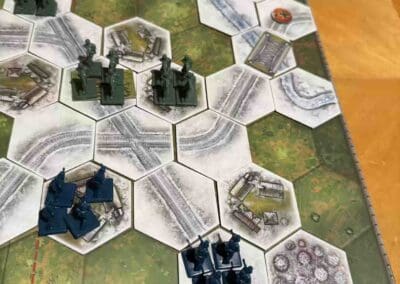
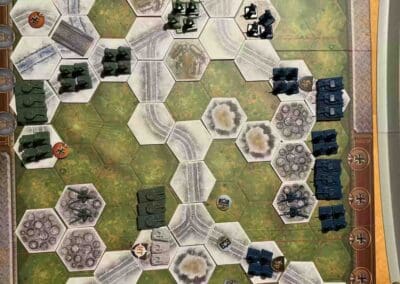
map

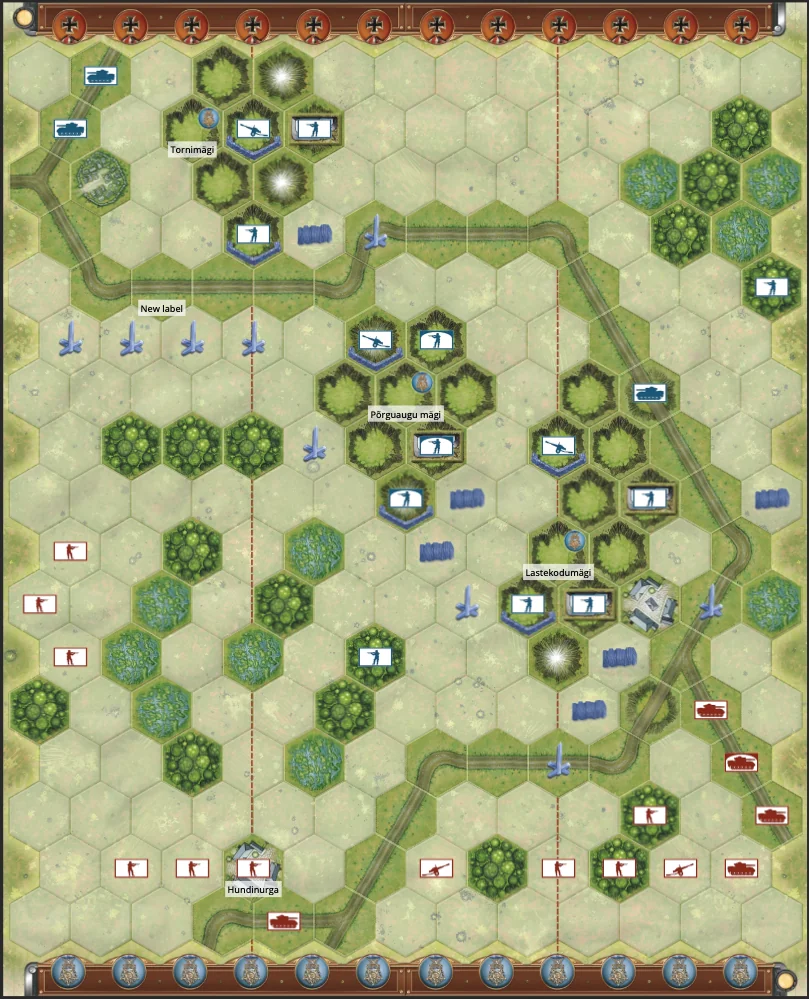
By the summer of 1944, the Soviet Red Army was on the offensive, pushing westward toward the Baltic Sea in a bid to crush the German Army Group North. One of the most critical defensive positions for the Germans lay in northeastern Estonia, on the Tannenberg Line. This line was anchored by the Sinimäed Hills — a series of three steep elevations known as Lastekodumägi, (Children’s Home Hill), Põrguaugu (Hell’s Hole), and Tornimägi (Tower Hill). These hills provided a natural defensive barrier, and the Germans had heavily fortified them with bunkers, trenches, and artillery positions.


Facing them was the Soviet Leningrad Front, under the command of Marshal Leonid Govorov, tasked with breaking through the Tannenberg Line and opening the path to the Baltic Sea. Soviet forces included powerful infantry, armor, and artillery units, determined to seize the high ground. However, the rugged terrain and Axis fortifications posed a formidable challenge. Swamps, forests, and anti-tank obstacles complicated the Soviet advance, making coordinated assaults difficult. The German defenders, led by General Johannes Frießner, included regular Wehrmacht units and elite Estonian Waffen-SS forces, fighting tenaciously to hold their positions on the Sinimäed Hills. These defensive positions offered a clear advantage, giving the Axis the ability to rain down fire on Soviet units struggling to traverse the open ground and difficult terrain below.


The Soviet assault began on July 25, 1944, with fierce fighting erupting on the hills. Over the course of the battle, Soviet forces launched wave after wave of attacks, while the Axis defenders, outnumbered but well-entrenched, fiercely resisted.

The stage is set, the battle lines are drawn, and you are in command. The rest is history.

12 VP’s

Card Balance:

Allies – 5

Axis – 6

Complexity:

4

Conditions:

Countryside

Context:

Historical

Location:

Estonia

Year:

1944

Theater:

Eastern Front

Summary:

Objectives:

12 VP’s, including some territorial objectives:

Lastekodumägi, Põrguaugu mägi and Tornimägi are Permanent Medal Objectives for the Allied forces.

Terrain:

Includes a series of three steep elevations known as Lastekodumägi, (Children’s Home Hill), Põrguaugu (Hell’s Hole), and Tornimägi (Tower Hill). These hills provided a natural defensive barrier, and the Germans had heavily fortified them with bunkers, trenches, and artillery positions.

Troops:

Allies – 9 Infantry, 5 Armor, 2 Artillery

Axis – 10 Infantry, 3 Armor, 3 Artillery

Special Rules:

Russian command rules are in effect


Allied Strategy:

Axis Strategy

1
BR - Tannenburg Line

Author:

raikster

Battle in the Schnee Eifel

Battle in the Schnee Eifel

Schnee_WholeBoard
The Battle of Schnee Eifel occurred in December 1944 during the early days of the Battle of the Bulge, the last major German offensive on the Western Front in WWII.

The Schnee Eifel, a forested ridge in eastern Belgium, was held by U.S. forces, mainly the 106th Infantry Division. On December 16, 1944, German forces launched a surprise attack, encircling and overwhelming two regiments of the 106th. After intense fighting and lacking supplies, around 6,000 American soldiers were forced to surrender—one of the largest mass surrenders of U.S. troops in the war.

The loss was a setback for the Allies but did not stop their eventual counteroffensive and victory in the Ardennes.

6 VP’s

Card Balance:

Allies – 4

Axis – 6

Complexity:

4

Conditions:

Winter

winter

Context:

Historical

Location:

Belgium

Year:

1944

Theater:

Western

Campaign:

Battle of the Bulge

 Summary:

Objectives:

6 VP’s, plus three Permanent Medal Objectives for the Axis (Turn Start) for Roth by Prum, Auw by Prum and Pleialf), plus a Sudden Death Exit hex for the Axis

Battlefield:

Winter countryside with a hilly ridge across the center, with scattered forests, and a road encircling almost the entire battlefield.

Troops:

Allies – 8 Infantry including two Engineers, 3 Armor (Tank Destroyers), 2 Artillery

Axis – 9 Infantry including one Machine Gun unit and five Elites,  2 Armor, including one Tank Destroyer, 1 Artillery

Special Weapons:  Tank Destroyers, Machine Guns.


medal allies

Allied Strategy:

1. Historically, the Allies got routed, so the primary goal here is to protect the permanent medal objectives and the exit hex. 

2.  Get your two Artillery into play quickly and use them as much as you can to take out the enemy.  

3.  Your two Tank Destroyers on the left flank should move forward, in and around to defend the city of Roth by Prum, which is a Permanent Medal Objective.

4.  Your other Tank Destroyer and two Artillery should defend the city of Blelaif, which is another Permanent Medal Objective.

medal axis

Axis Strategy

1. Historically, the Axis had the largest victory of the war in this battle, so speed and attack are your principle tools.

2.  Get your Tank Destroyer and Infantry on the right flank mobile and engaging the enemy as soon as you can.

3.  On your left flank, you have overwhelming advantage with your four Infantry units, and one Armor.  Use it to overwhelm the defenses at the town of Blelaif to gain the Permanent Medal Objective.

2
BR - Schnee Eifel

Author:

Days of Wonder

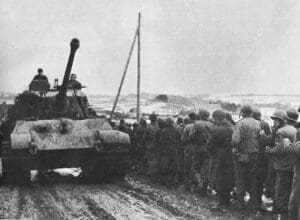
Armor_Infantry_Prisoners

Wardin

Wardin

December 19th, 1944:

At Wardin, in the frozen hell of December ’44, the Germans came on hard, hunting roads and junctions like wolves looking for a gap in the line. They wanted Bastogne, and Wardin was one of the doors they had to kick in to get there.

The men of the 28th Infantry Division didn’t run. They fought. Outgunned and pressed by armor, they traded ground for time—yard by bloody yard—smashing the enemy’s schedule and making him pay for every step forward. Wardin fell, but the Germans lost something far more valuable: momentum. That stand helped slow the drive on Bastogne and proved once again that determined American soldiers, fighting smart and stubborn, could wreck even the best-laid German plans. That’s how you beat an enemy—make him bleed for every mile.

~~ General Howitzer

VP’s: 7

Card Balance:

Allies – 5

Axis – 5

Complexity:

3

Conditions:

Winter

winter

Location:

Belgium

Year:

1944

Theater:

Western 

Campaign:

Battle of the Bulge

German Name:

Unternehmen Wacht Am Rhein

Summary:

This is a fun and exciting scenario as the Americans attempt to hold off a German onslaught of tanks and infantry in the Battle of the Bulge.

Objectives:

Seven Medals.  There are also four Temporary Objective Medals for the Germans to reach, and a Temporary Majority Objective for the five hexes of Wardin.

Battlefield:

Winter conditions, with roads, rivers, and ridges cutting through the battlefield with the town of Wardin dominating one section.

Troops:

Allies – 7 Infantry including 2 Engineers, 6 Armor including a Tank Destroyer, 1 Artillery

Axis – 7 Infantry, 6 Armor including 2 Half-Tracks, 1 Artillery

Special Rules:

1.  Winter Combat rules – two hex armor movement

2.  Reduced Visibility rules – only hit with Grenades unless in Close Assault

3.  Tank Destroyer (2,2,2,2), and hits Armor on Stars

4.  Half-Tracks – move 0-2 and attack (2,2)

5.  The river is frozen, but impassable.

6.  Winter Combat Cards – play the Winter Combat cards in addition to regular Combat cards, two per player

7.  Allied mines

medal alliesAllied Strategy:

1. Defend the four Temporary Medal Objectives.

2.  Defend the town of Wardin from take-over by the Germans.

medal axisAxis Strategy:

1.  Overall objective is for you to breakthrough on both fronts, through the minefield and the town of Wardin to the Objective Medals near the battlefield edge.

0
BR - Wardin

Author: Days of Wonder

URL

Hlegu Burma

Hlegu Burma

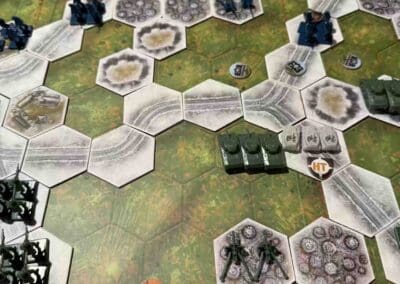
Hlegu-Burma

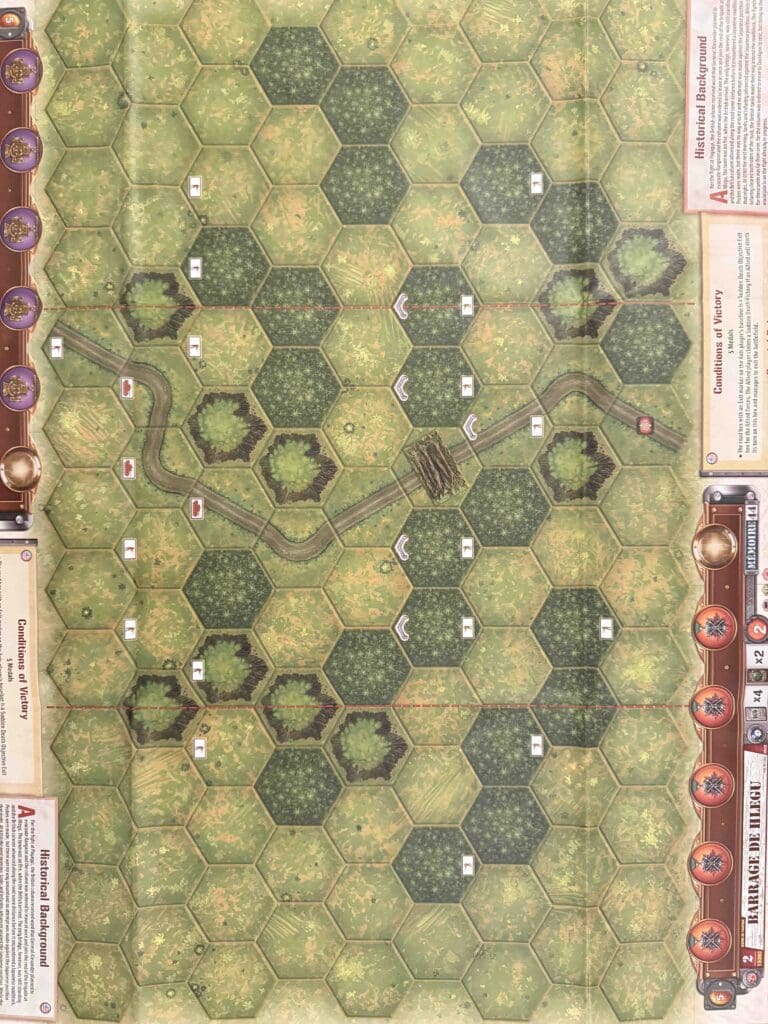
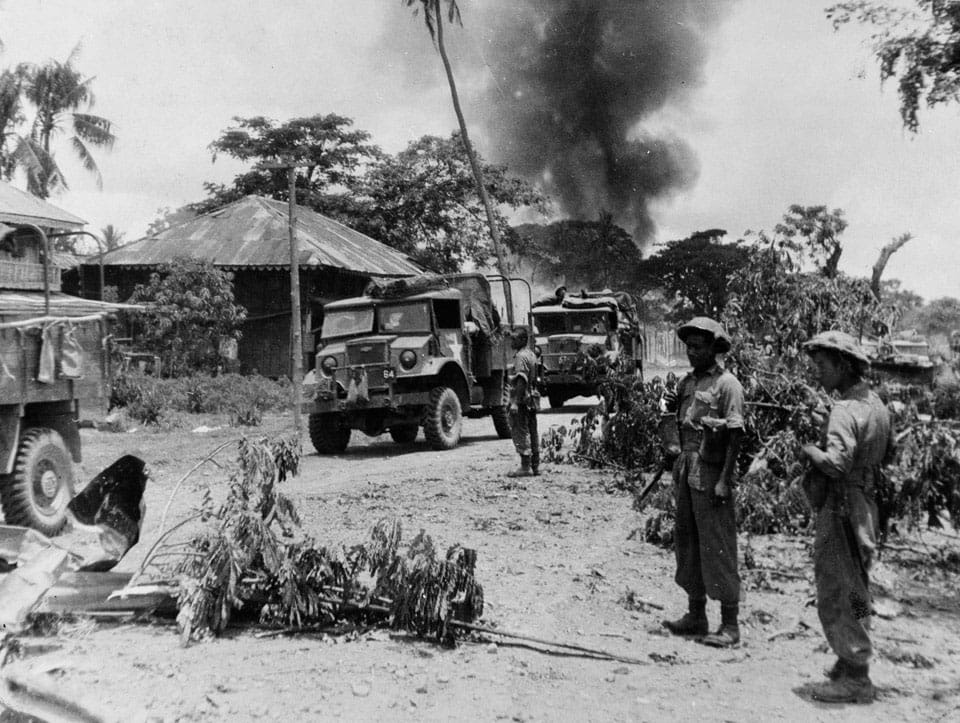
The engagement at Hlegu in March 1942 was a minor yet notable skirmish during the British retreat from Rangoon amid the Japanese invasion of Burma in World War II.

As part of the broader Battle of Pegu, British forces, including the 7th Queen’s Own Hussars equipped with Stuart “Honey” light tanks, advanced toward Hlegu, only to find it occupied by Japanese troops who had established a roadblock. The Japanese defenders employed Molotov cocktails, successfully disabling one British tank. Despite this resistance, the British forces ultimately overcame the roadblock, forcing the Japanese to retreat under heavy fire. 

This encounter was part of a strategic effort by the British to delay the Japanese advance and facilitate the evacuation of Rangoon. Although the city fell shortly thereafter, the actions at Hlegu exemplify the determined resistance offered by British and Commonwealth forces during the challenging Burma campaign.

6 VP’s

Card Balance:

Allies – 6 + 2 Combat Cards

Axis – 4 + 2 Combat Cards

Complexity:

2

Conditions:

Jungle

Context:

Historical

Location:

Burma

Year:

1942

Theater:

Pacific

Campaign:

Codename:

Summary:

Objectives:

5 VP’s, plus a Sudden Death Exit Hex for the Allies.

Battlefield:

A jungle scenario with a road running vertically through the map, with a roadblock in the center.

Troops:

Allies – 8 Infantry, 3 Armor

Axis – 9 Infantry

Special Rules:

Roadblock Rules in “Hlegu, Burma”

According to the Terrain Pack Rulebook, roadblocks have the following effects:1j1ju

  • Movement: Only Infantry units may enter a hex containing a roadblock. Upon entering, the Infantry unit must stop and cannot move further that turn.

  • Combat:

    • A unit positioned on a roadblock hex is protected on all sides.

    • When attacked by Infantry or Armor, the attacking unit rolls one fewer Battle die.

    • Artillery attacks are unaffected; they roll their normal number of Battle dice.

    • A unit on a roadblock hex may ignore the first flag rolled against it.

  • Line of Sight: Roadblocks do not obstruct line of sight

Allied Strategy:

1. The Allies have a Sudden Death Exit Hex Objective Medal. If a unit begins the turn on the hex and exits, a victory is declared for the Allies. 

2.  You have Armor units, and the enemy has none.  Use them to good effect, but don’t get too close or they will hit you with Molotov cocktails.

Axis Strategy

1. At all costs, defend the Exit Hex.

2.  The roadblock is your best chance to surround and destroy the enemy.  As they try to cross it, bring all your Infantry to bear against them.

Battle Reports

0
BR - Hlegu Burma

Author:

Days of Wonder

Link:

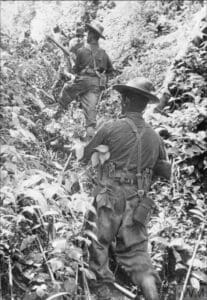
Burma Troops

Courtesy of Imperial War Museum

Payagyi Burma

Payagyi Burma

Payagyi-Burma

The Battle of Payagyi occurred in early March 1942 during the Burma Campaign of World War II. British forces, specifically ‘B’ Squadron of the 7th Queen’s Own Hussars, engaged Japanese troops near the village of Payagyi, north of Pegu. The British operated American-made M3 Stuart light tanks, while the Japanese fielded Type 95 Ha-Go light tanks.

Upon arrival, the British encountered Japanese forces already present in the village. Despite poor visibility and challenging radio communications, the British launched an attack. In the ensuing combat, they destroyed two Type 95 tanks, disabled two more, and captured four Japanese anti-tank guns. However, the British also suffered losses, including the disabling of a Stuart tank by enemy fire.

The Battle of Payagyi exemplifies the intense and fluid nature of the early stages of the Burma Campaign, highlighting the challenges faced by Allied forces in the face of the Japanese advance.

6 VP’s

Card Balance:

Allies – 6 + 2 Combat Cards

Axis – 4  + 2 Combat Cards

Complexity:

3

Conditions:

Jungle

Context:

Historical

Location:

Burma

Year:

1942

Theater:

Pacific

Campaign:

Burma Campaign

Codename:

Summary:

Objectives:

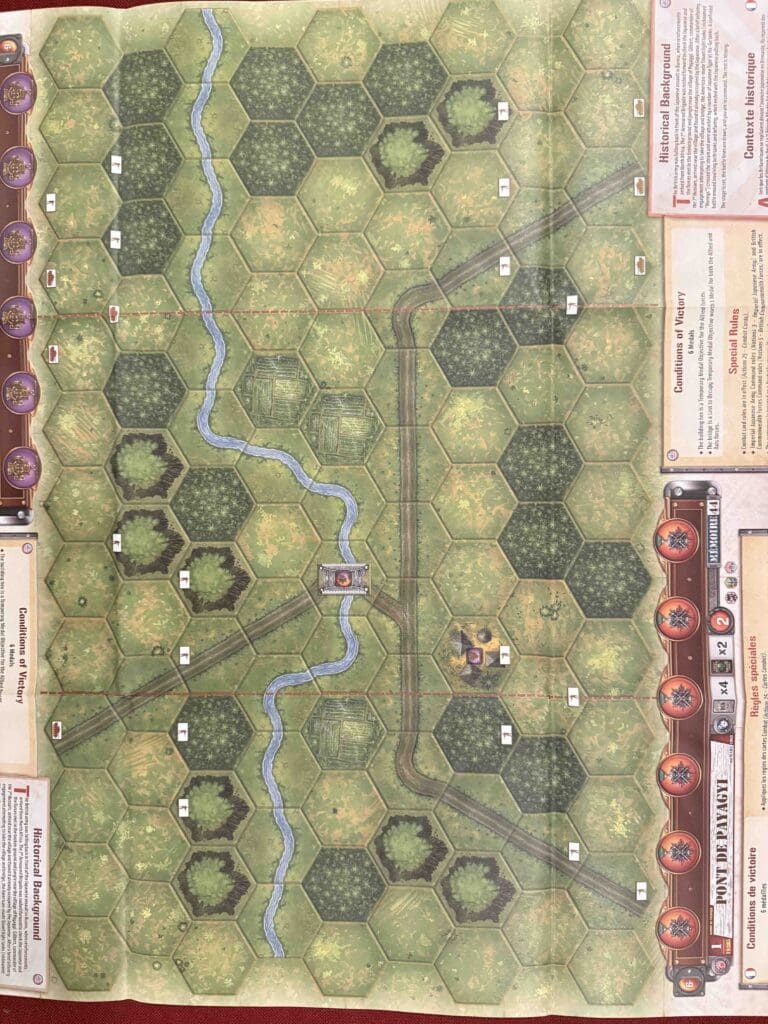
6 VP’s, plus the building hex as a  Temporary Medal objective for the Allied forces, and the bridge hex is a Last to Occupy Temporary Medal Objective for both sides.

Battlefield:

A jungle map with jungle, rice paddies, hills, and a river cutting across the entire map, and intersecting roads which come together at the bridge hex.

Troops:

Allies – 8 Infantry, 4 Armor

Axis – 9 Infantry, 3 Armore


Allied Strategy:

1.  The key objective for the Allies is to capture the bridge hex, and then as a bonus the building hex. 

2.  Your Armor is back on the left flank. You will need to get it into action as soon as you can. This will be hampered by the river,so while some may breach the river, some other Armor units will need to head toward the road in the center to support the approach and capture of the bridge hex, and its accompanying Medal.

Axis Strategy

1.  The Axis begin the scenario with control of the building hex and its Last to Occupy Temporary Objective Medal.  Maintain this territory, and push to the Bridge Hex Medal Objective when you are ready. But do not do so prematurely, or your forces will be destroyed by the British counter-attack.

2.  Your Armor is stuck in the corner on the right flank. You will need to get them and the nearby Infantry up into the action right away.

Battle Reports

0
BR - Payagyi Burma

Author:

Days of Wonder

Link:

Indian-Troops-17th-Division-Payagyi-1945

Courtesy of National Army Museum

Withdrawal from Hill 112 – The True Score

When it comes to Victory Points, the score you see is not always the “true” score.

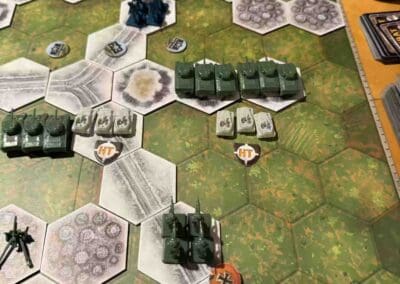
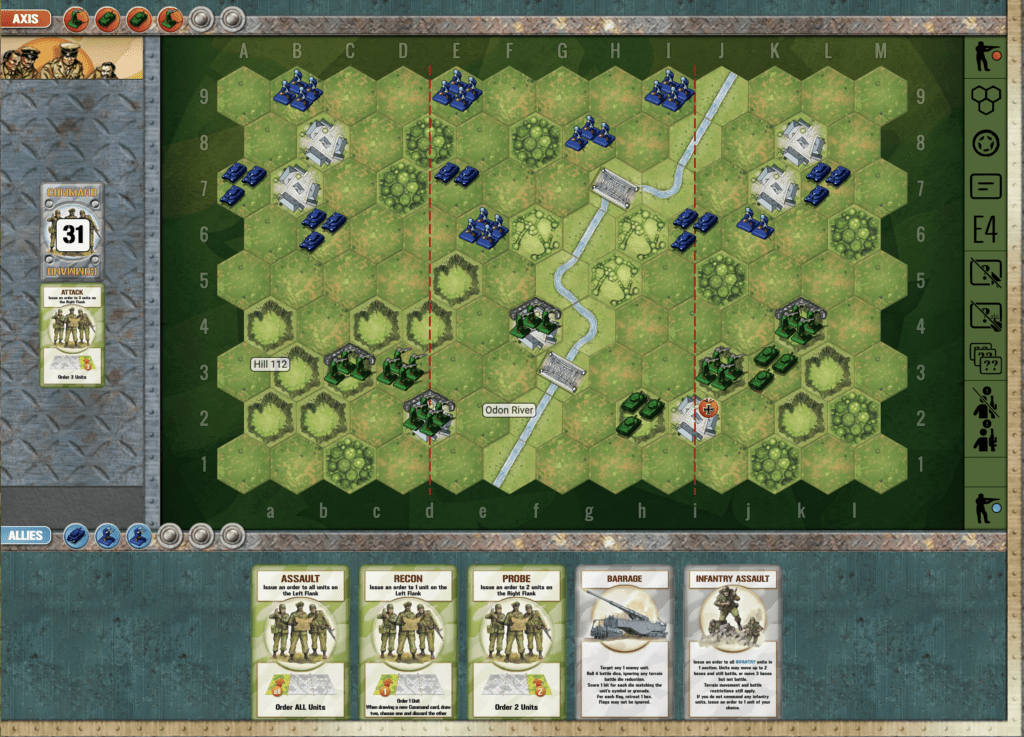
Look at this scene from Withdrawal from Hill 112. Who’s ahead?


smackdown_Withdrawal_112_TrueScore

Score says Axis is ahead by one.  

But let’s look at the situation and the cards.

While I do not know what the Axis are holding, I can see that the Allies have a Barrage.  Since the Axis have two weak infantry units, that Barrage is almost another point. 69% chance of destruction of a two-figure Infantry with four dice (https://generalhowitzer.com/strategy-dice-percentages/).  Then the Axis have several weak units in the open, while the Allies have mostly complete units, all in secure locations. 

So I would say the conservatively, the score is at least tied, and perhaps the Allies are very close to the lead.

Agree or Disagree?