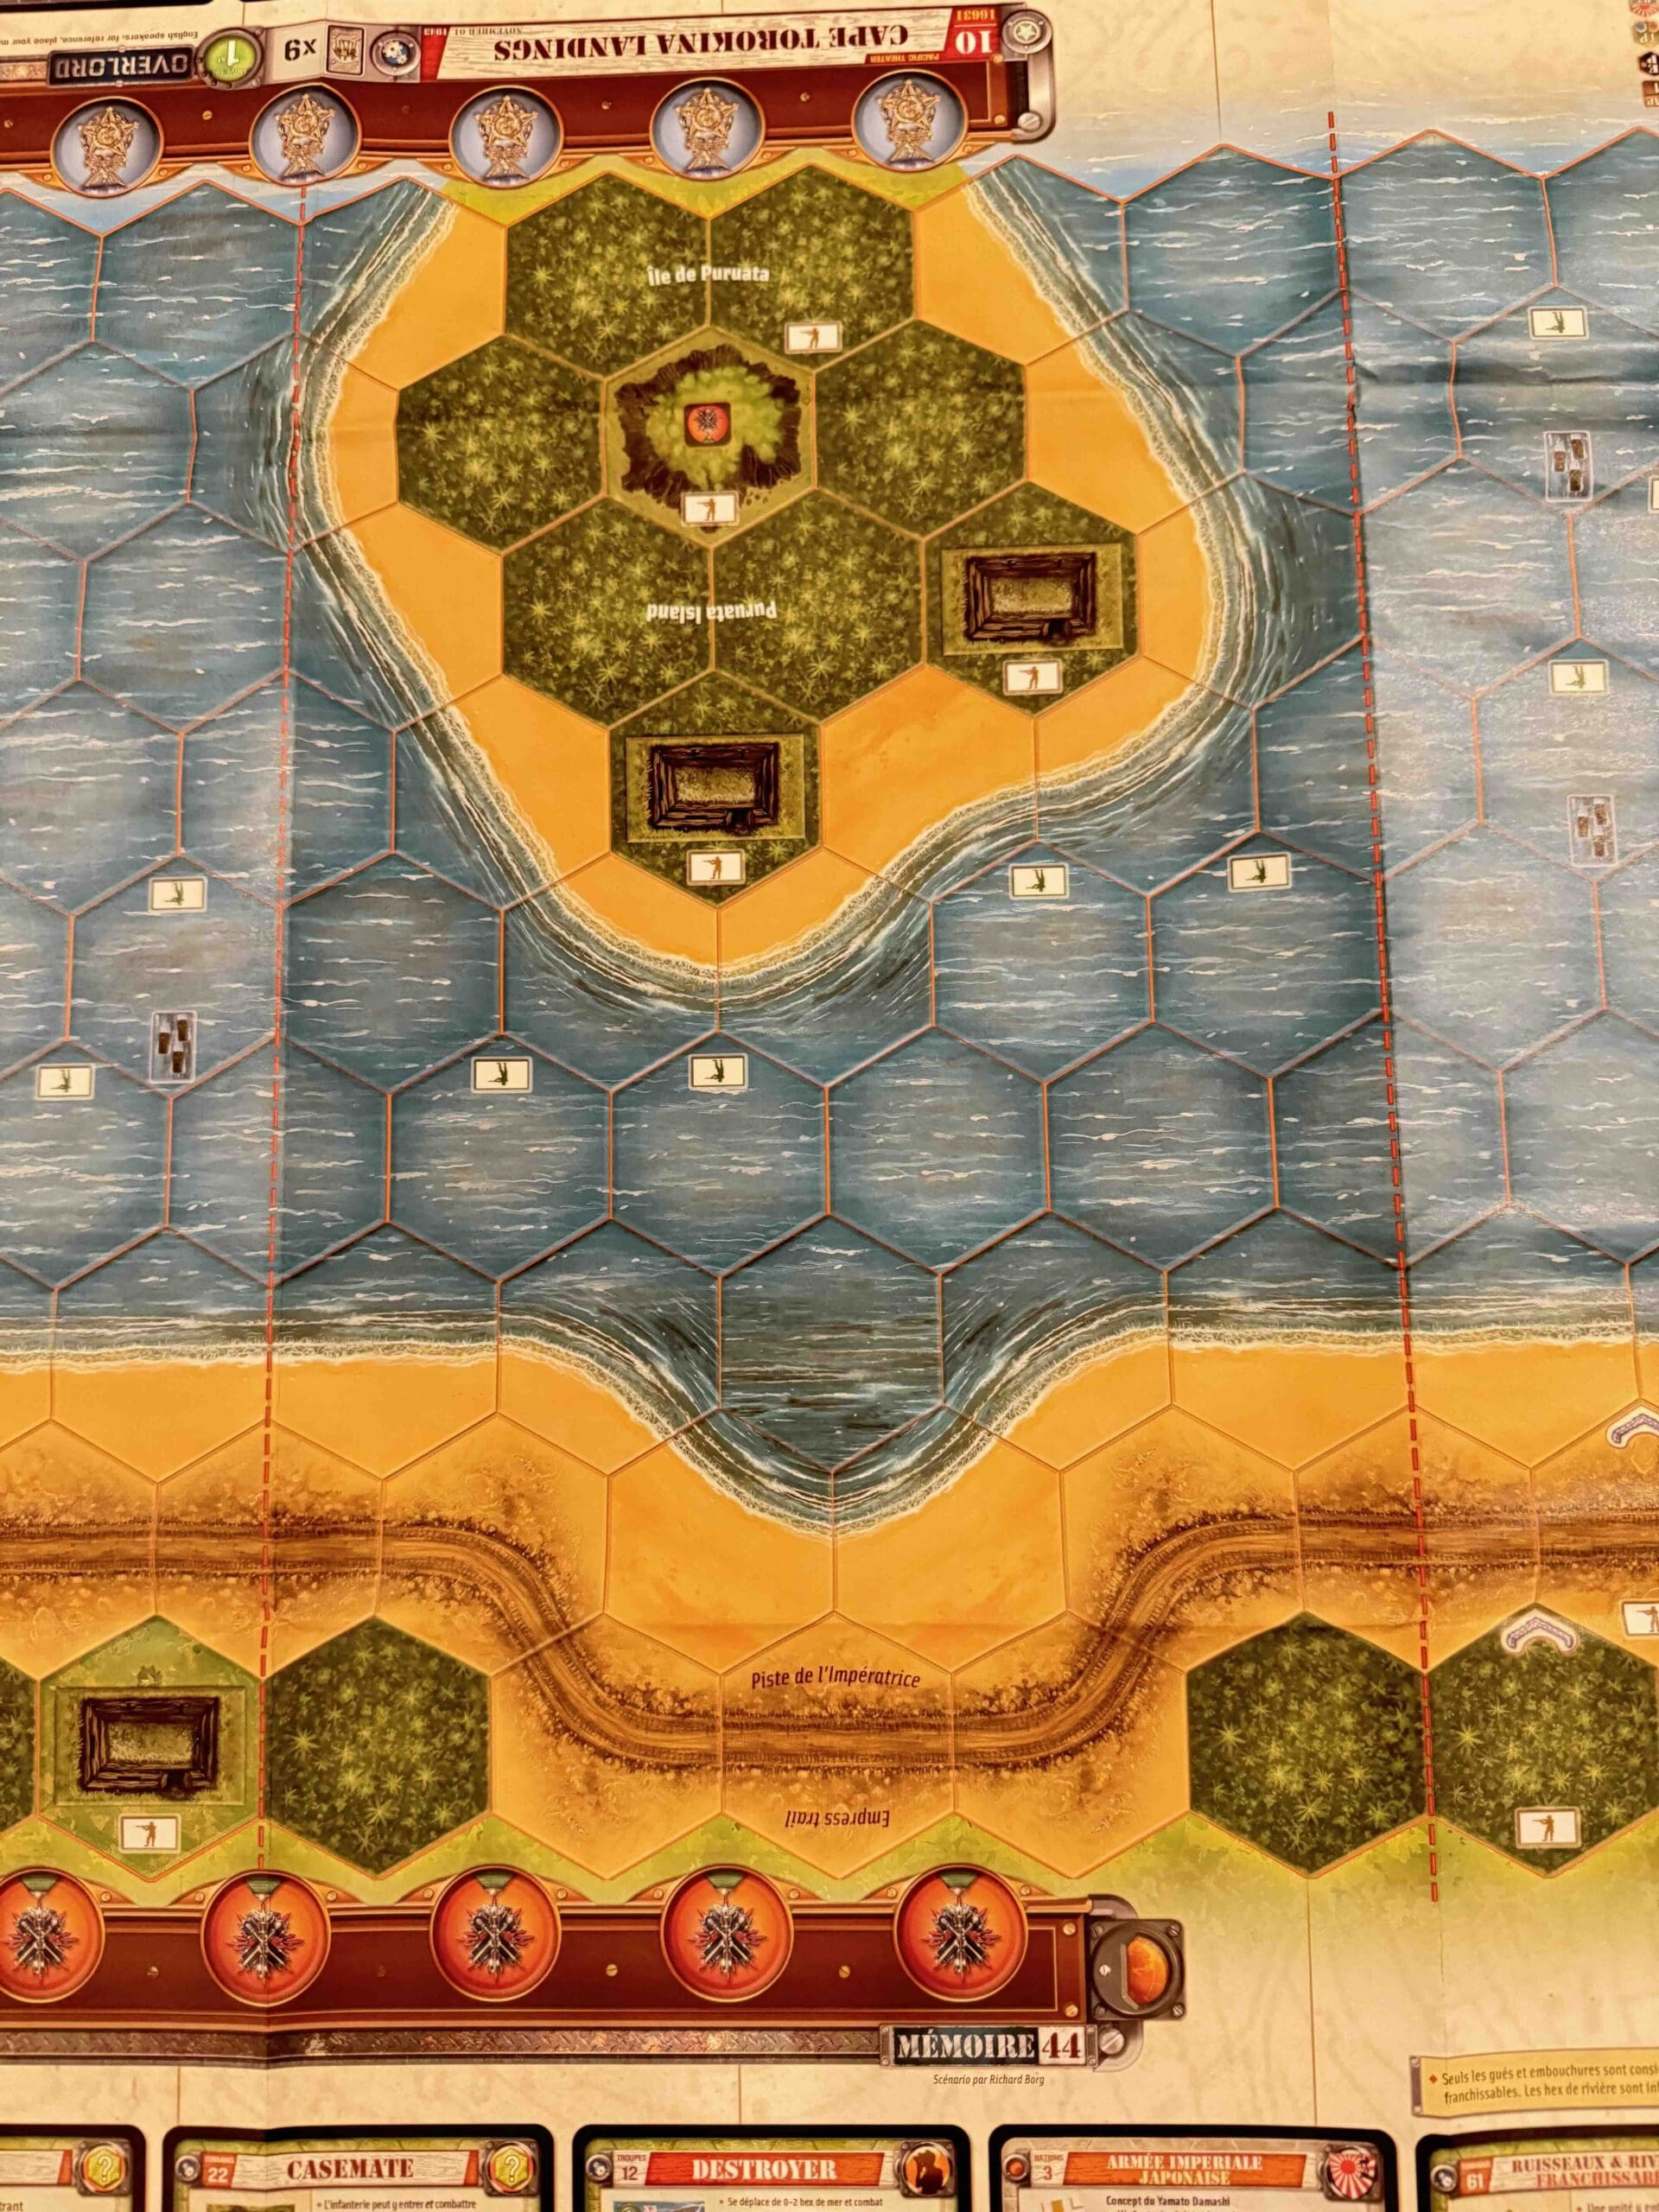
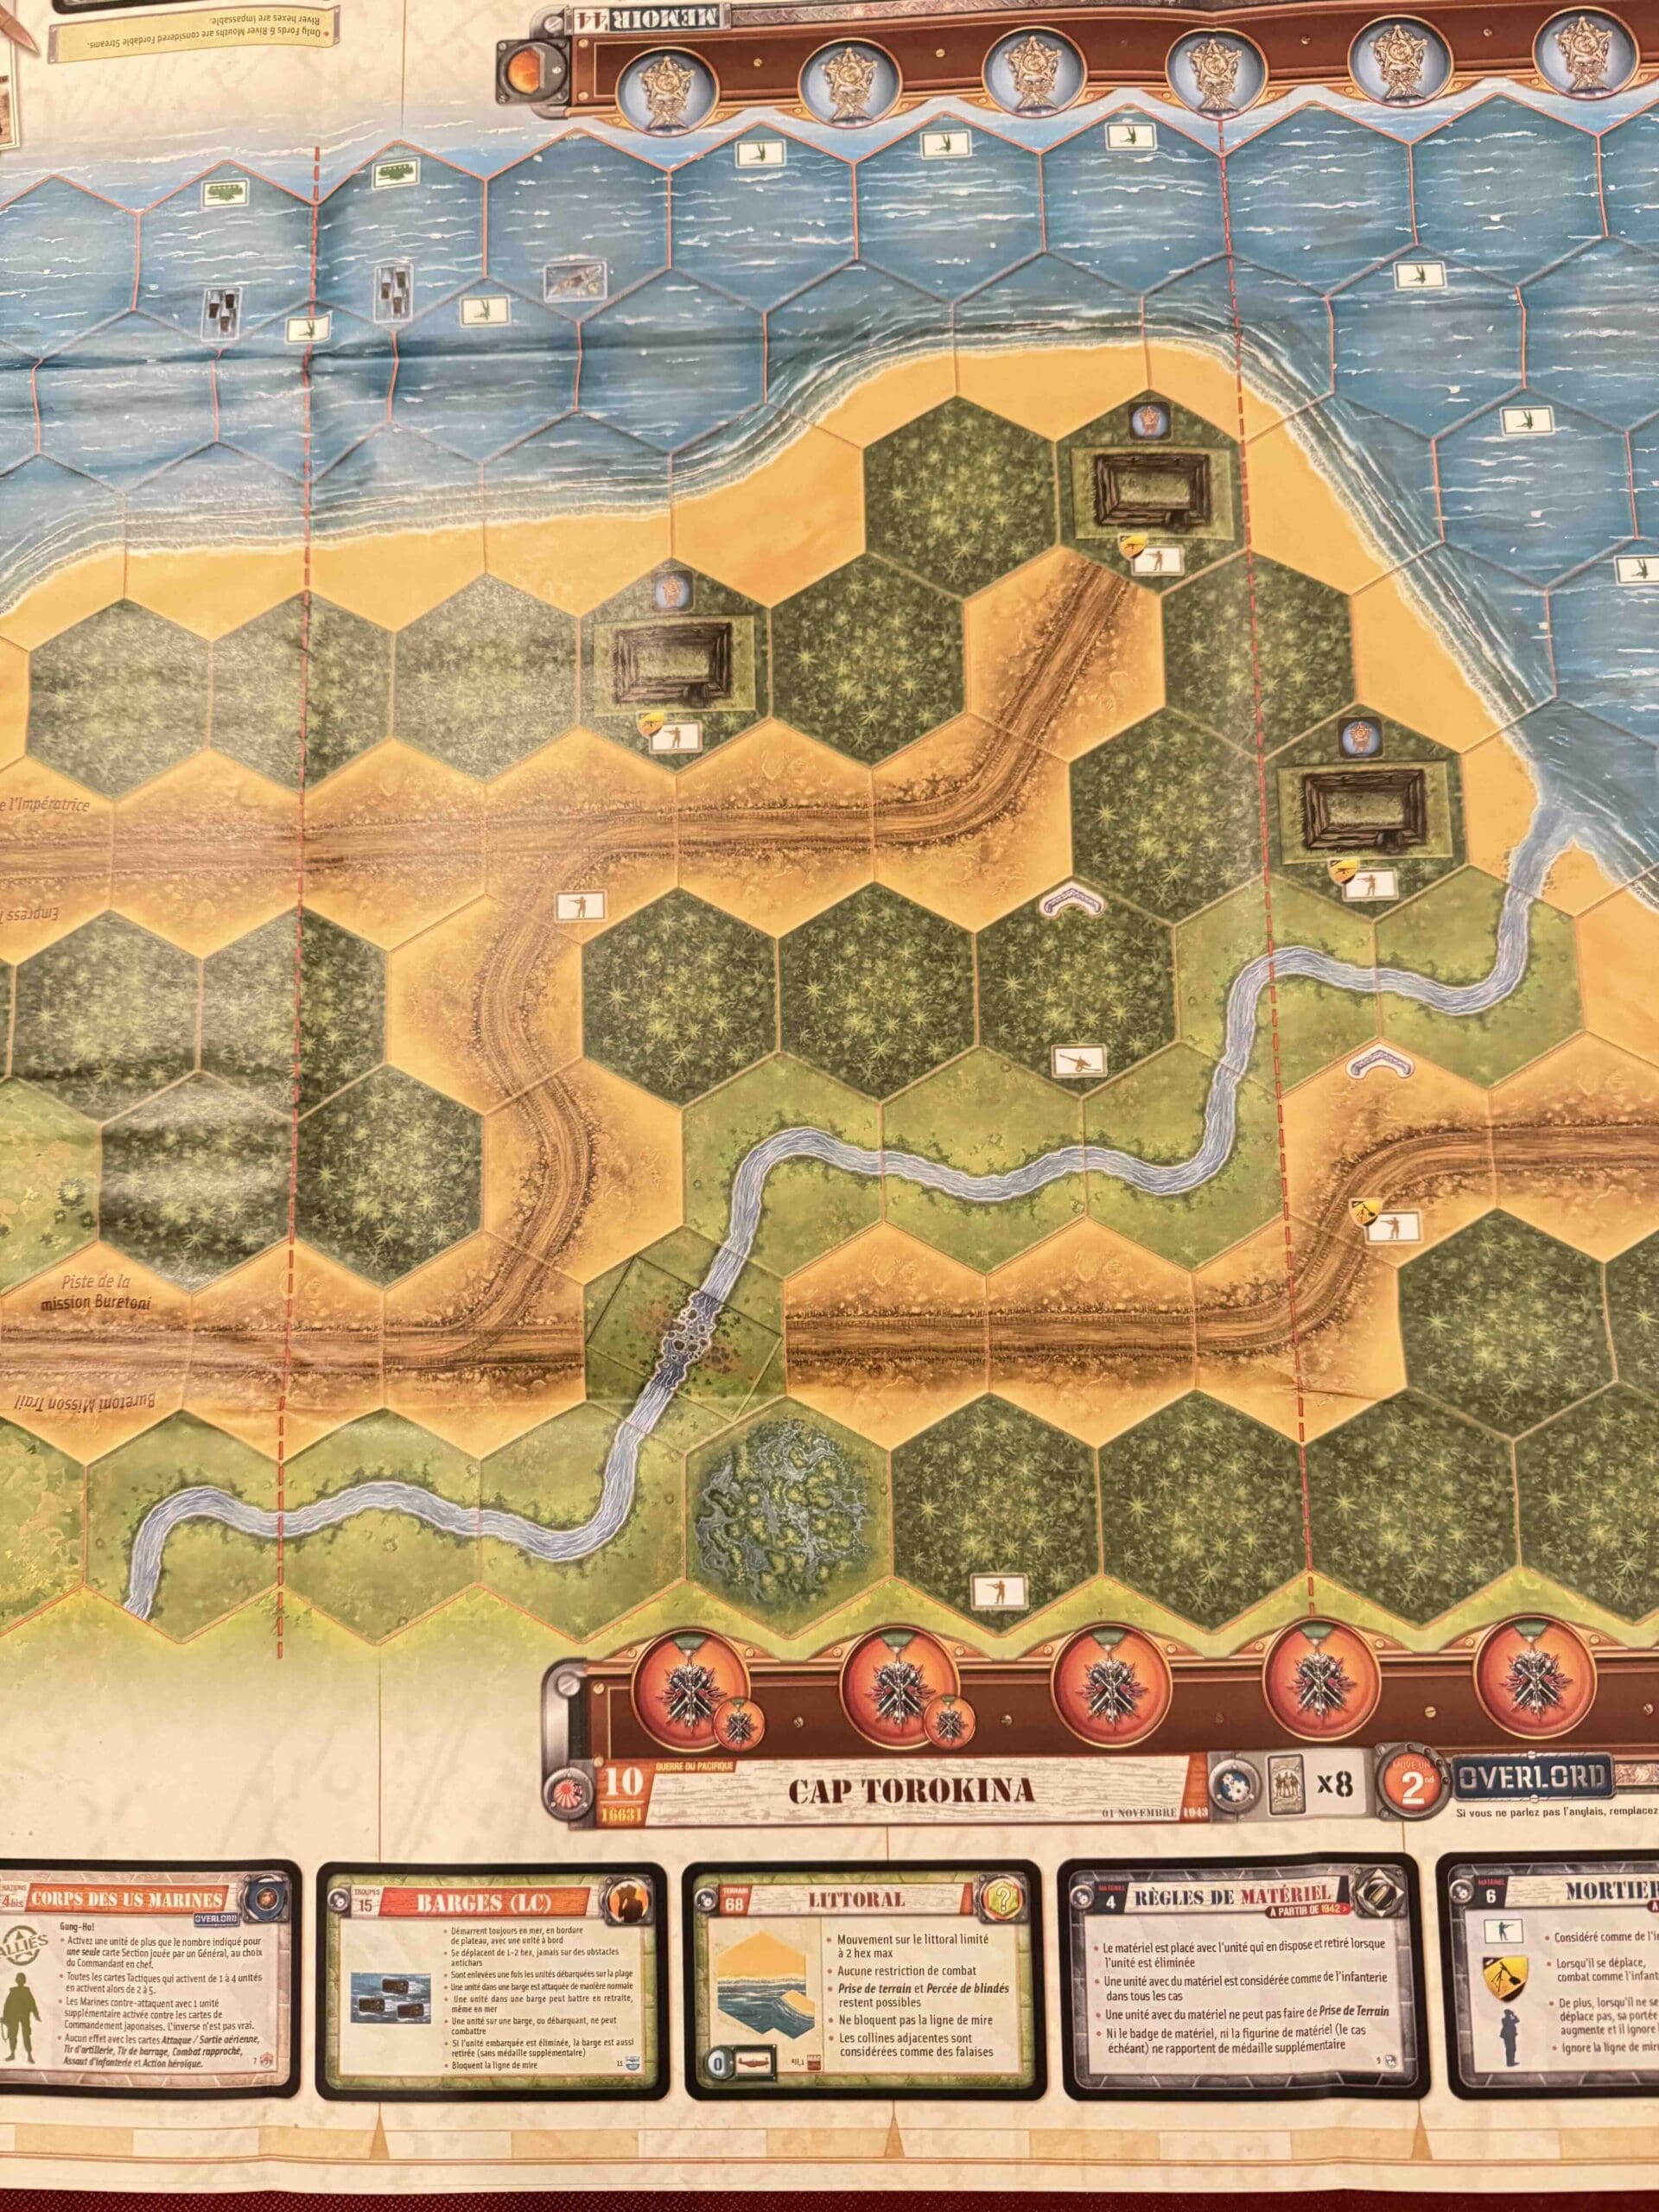
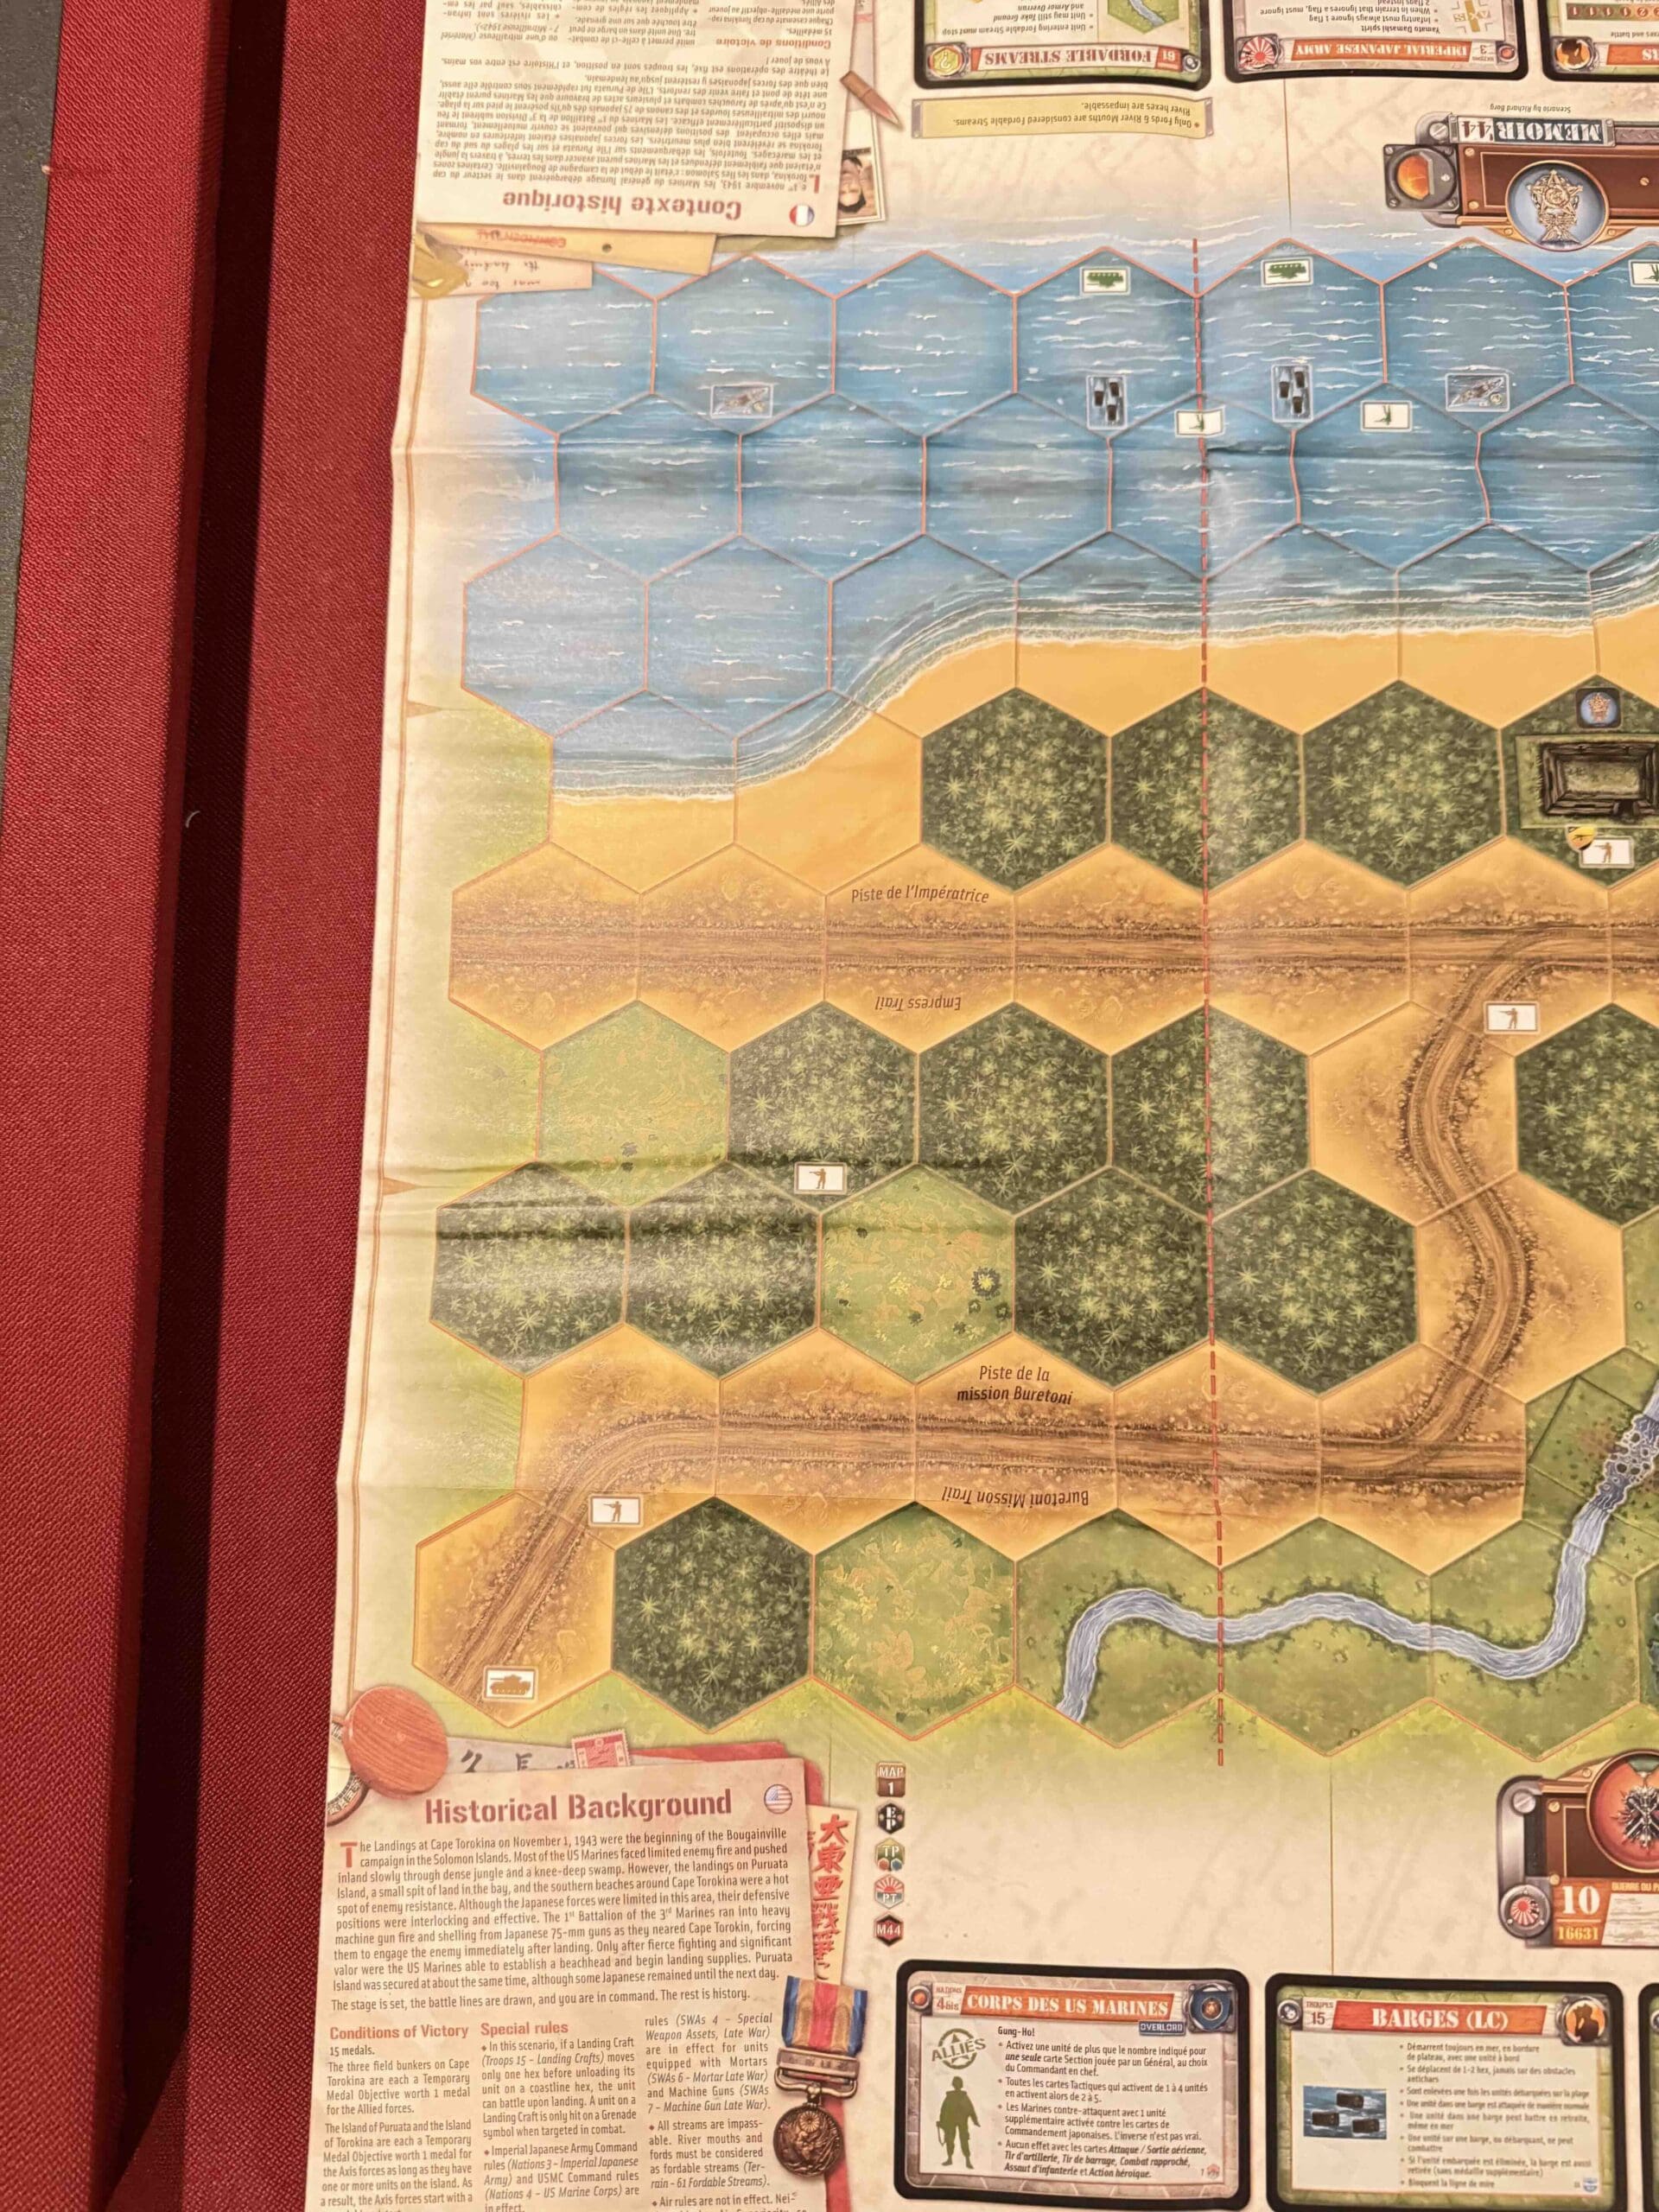
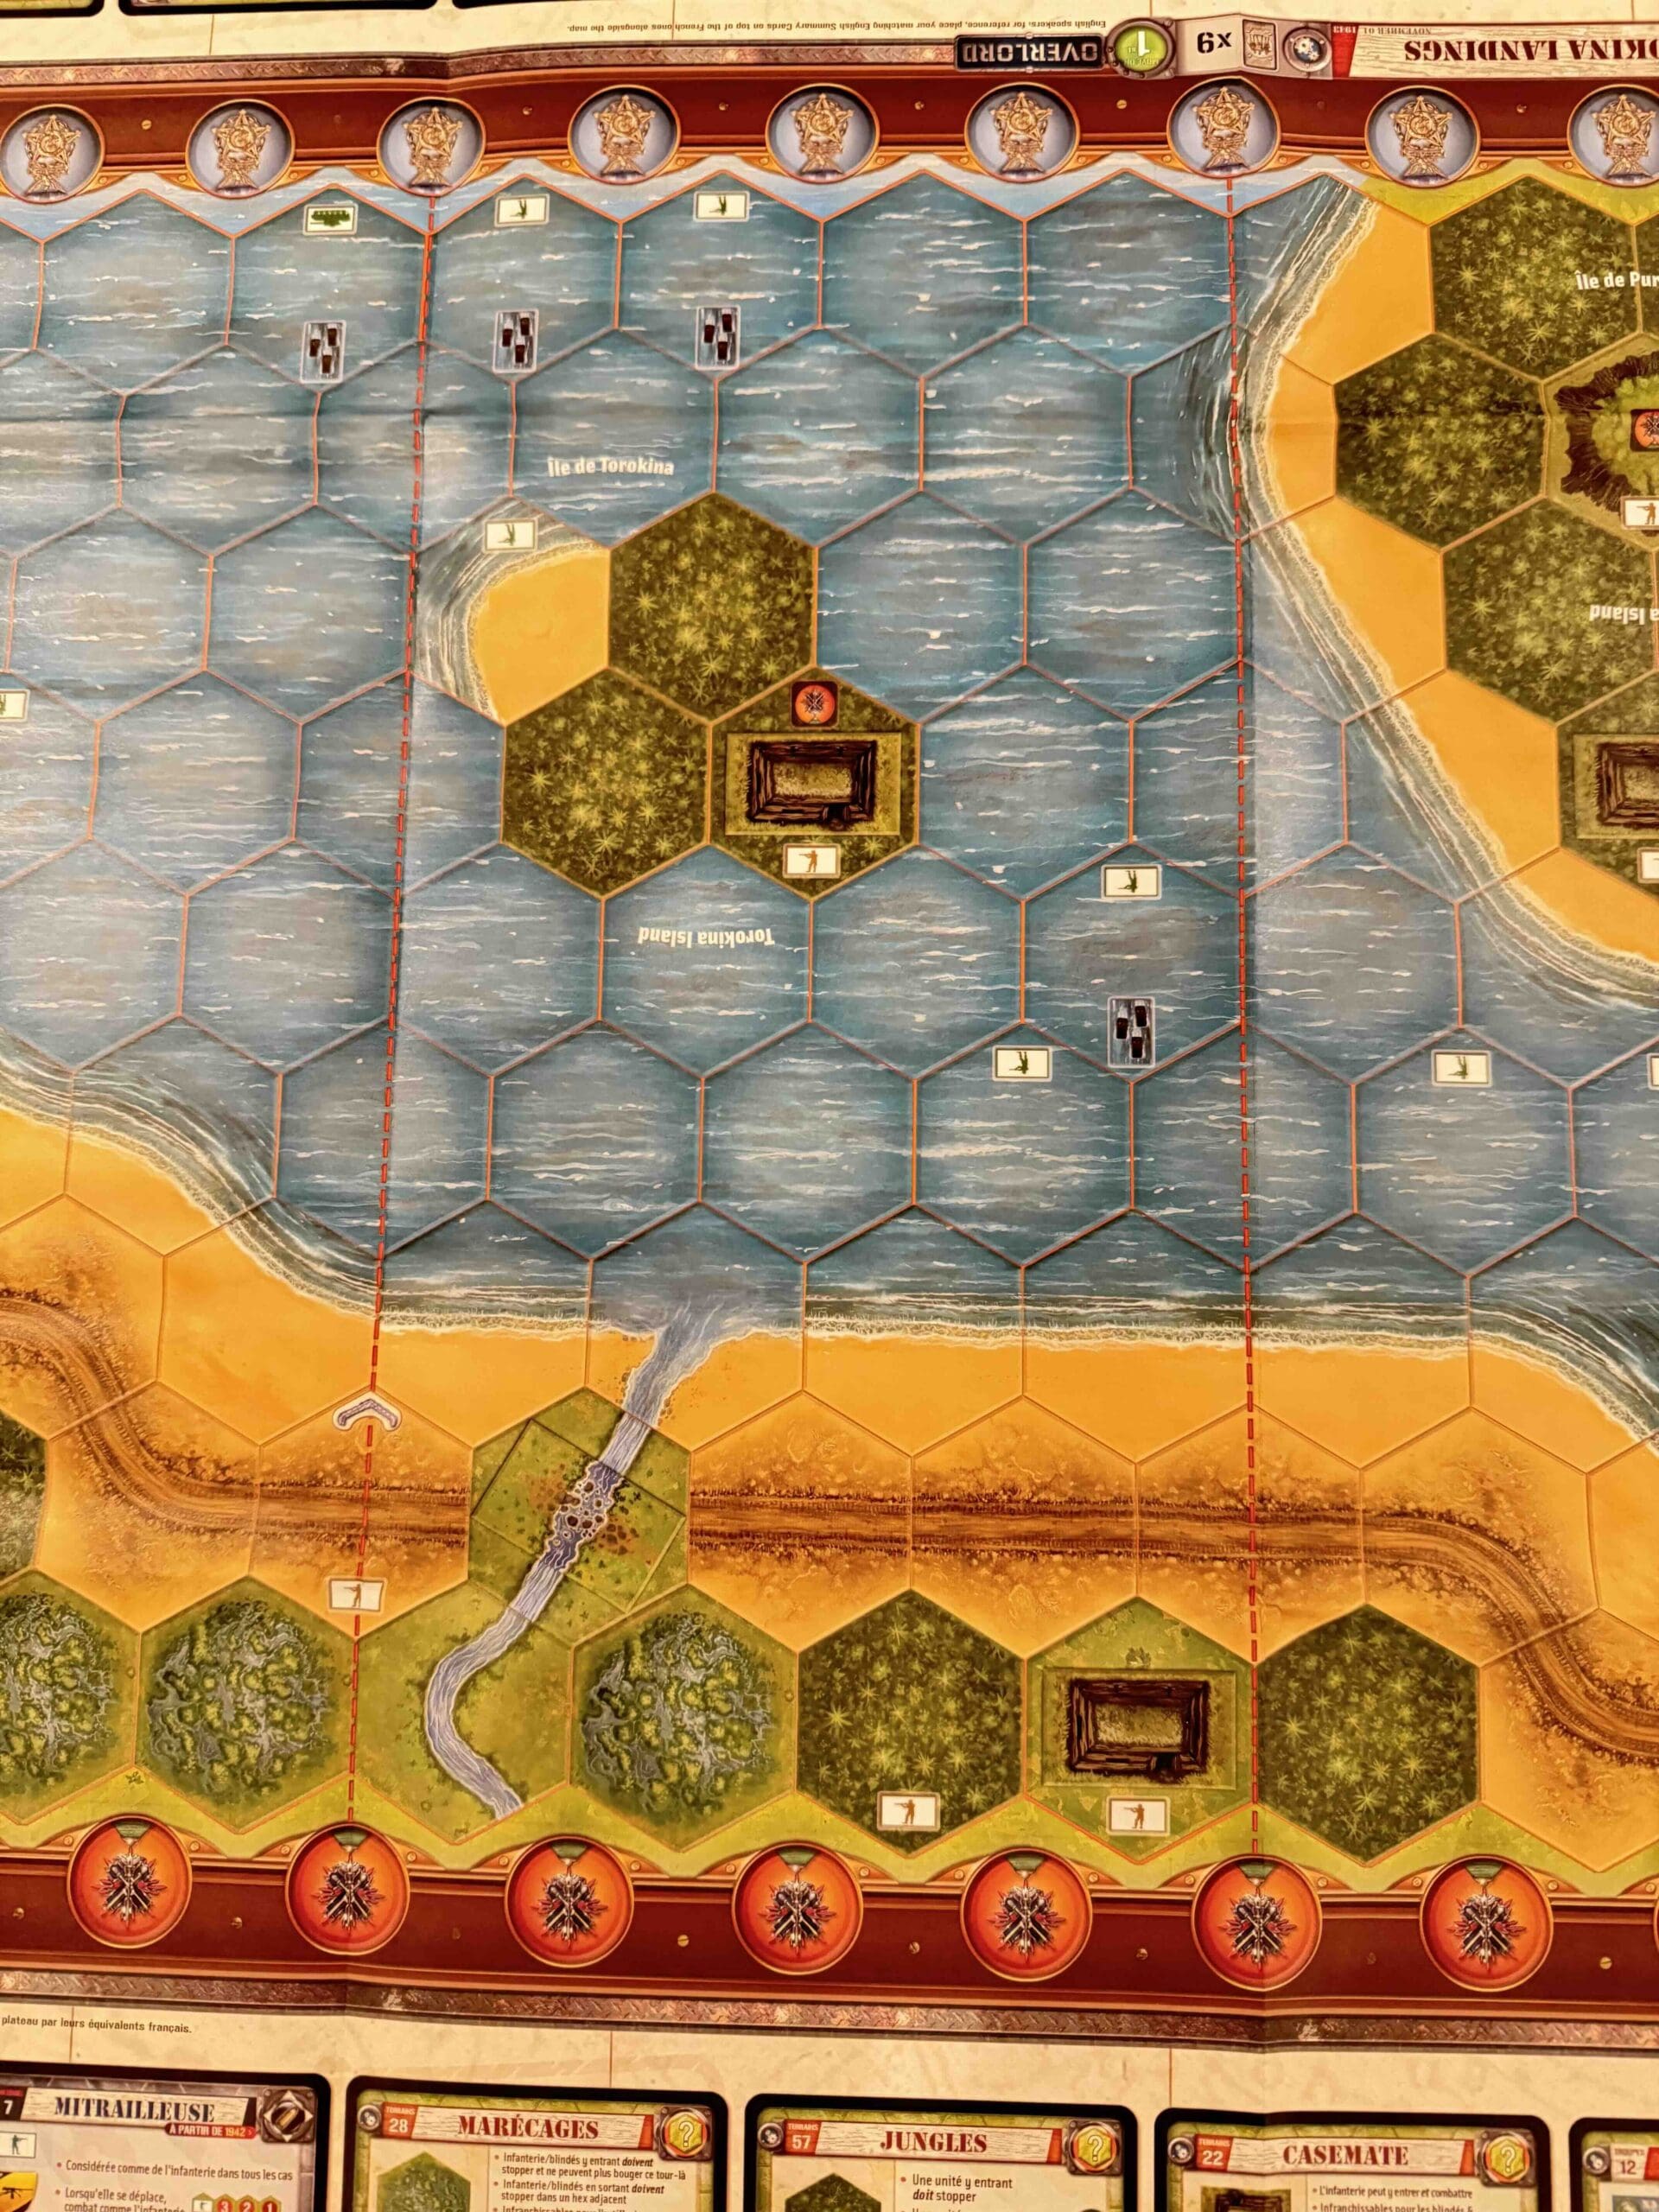
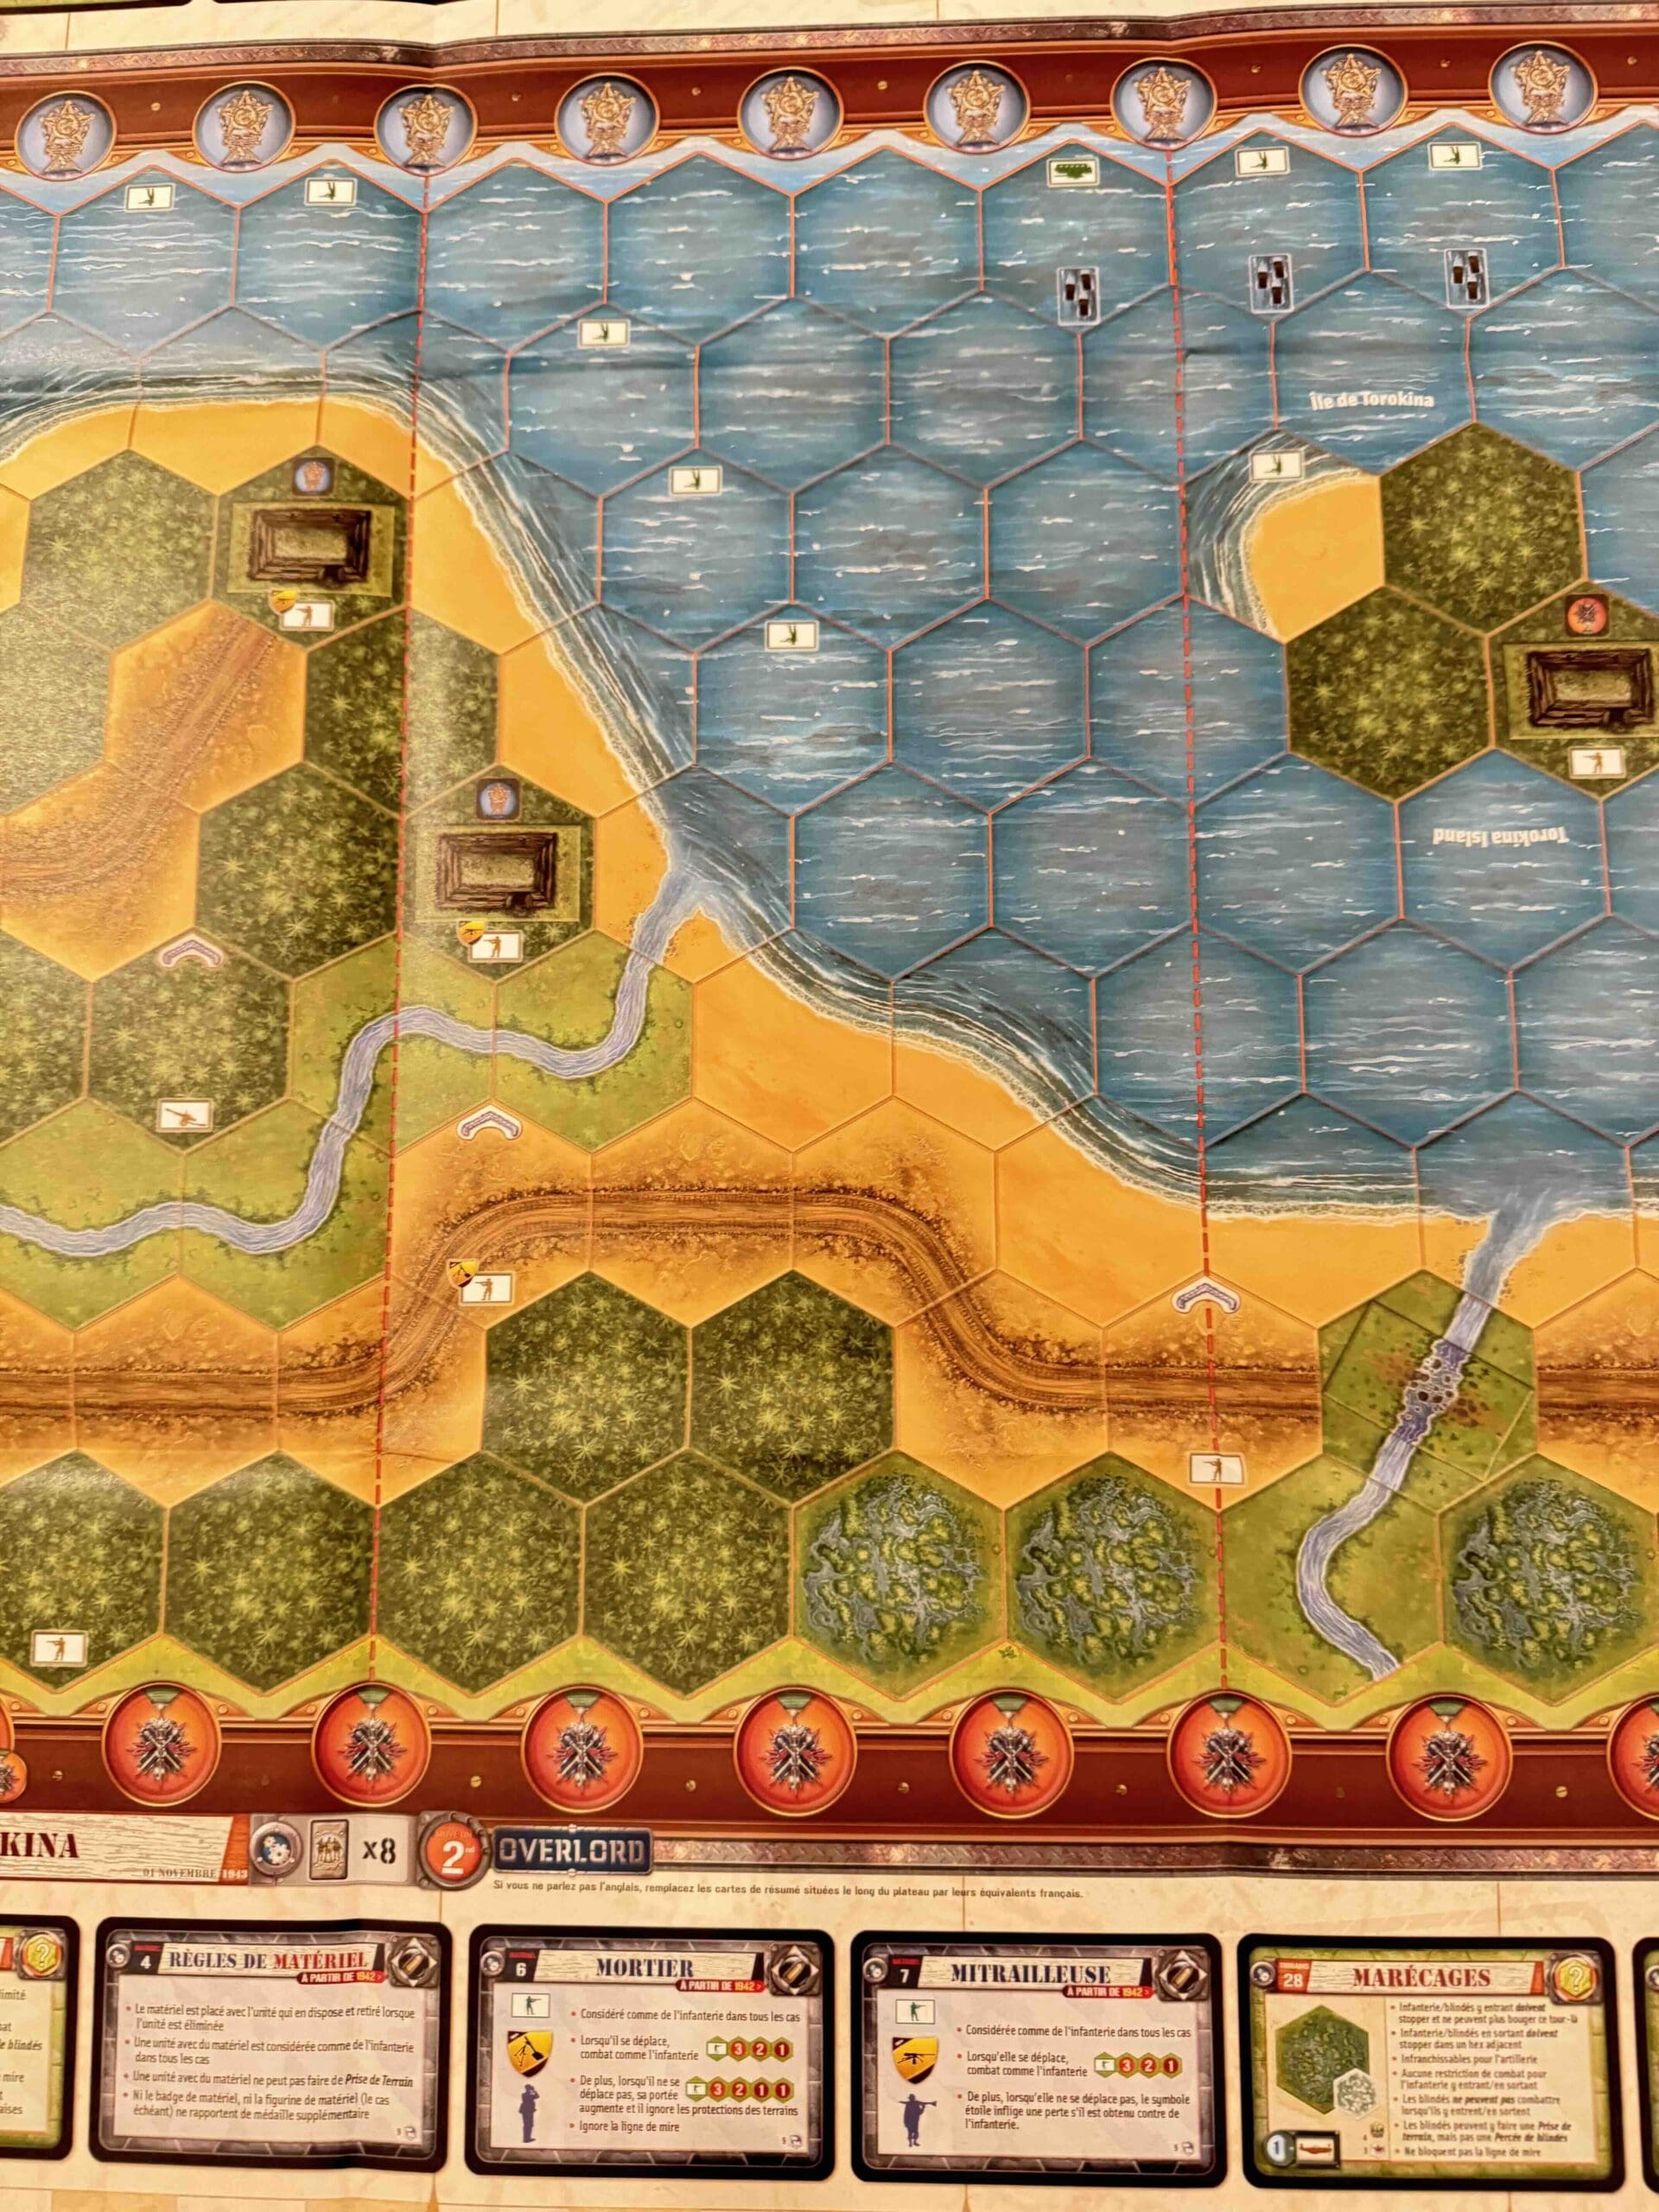
Cape Torokina Landings
Cape Torokina Landings (Overlord Map)
Cape-Torokina_title

Cape-Torokina_right2
Cape-Torokina_right1
Cape-Torokina_Left2
Cape-Torokina_Left1
Cape-Torokina_center2
Cape-Torokina_center1
IMG_1012
IMG_1013
IMG_1014
IMG_1015
“Listen up, men! On November 1st, 1943, our boys hit those beaches at Cape Torokina like a thunderbolt. Those Marines of the 1st and 3rd Divisions didn’t blink at the sight of jungle, mud, and dug-in enemy troops. They took that beachhead by the throat and held on like bulldogs!
This wasn’t just another island—it was the gateway to busting open Rabaul and cutting off those Japanese forces. The jungle was a green hell, but we cut through it, took the ground, and started building the airstrips and supply bases to keep the hammer coming down.
That’s how you do it, boys—land hard, fight harder, and don’t stop until you’ve got a fortress behind you and the enemy on the run. That’s what those Marines did at Cape Torokina—they paved the road to victory in the Pacific!”
~~ General Howitzer
Timeline of the Cape Torokina Landings (Bougainville)
-
November 1, 1943 – D-Day for Cape Torokina:
U.S. 1st and 3rd Marine Divisions land at Cape Torokina. Initial beachhead secured despite Japanese resistance and tough jungle terrain. -
November 2–3, 1943 –
Marines expand the perimeter, clearing Japanese defenses in nearby jungle areas. -
Mid-November 1943 –
Seabees and engineers begin constructing airfields and supply bases within the beachhead. -
December 1943–January 1944 –
Marines fortify positions, repel repeated Japanese counterattacks.
Japanese strongpoints isolated and bypassed. -
March–April 1944 –
U.S. Army relieves Marines; continuing operations to expand and secure the beachhead.
15 VP’s
Card Balance:
Allies (Marines) – 9
Axis (Japan) – 8
Complexity:
4
Conditions:
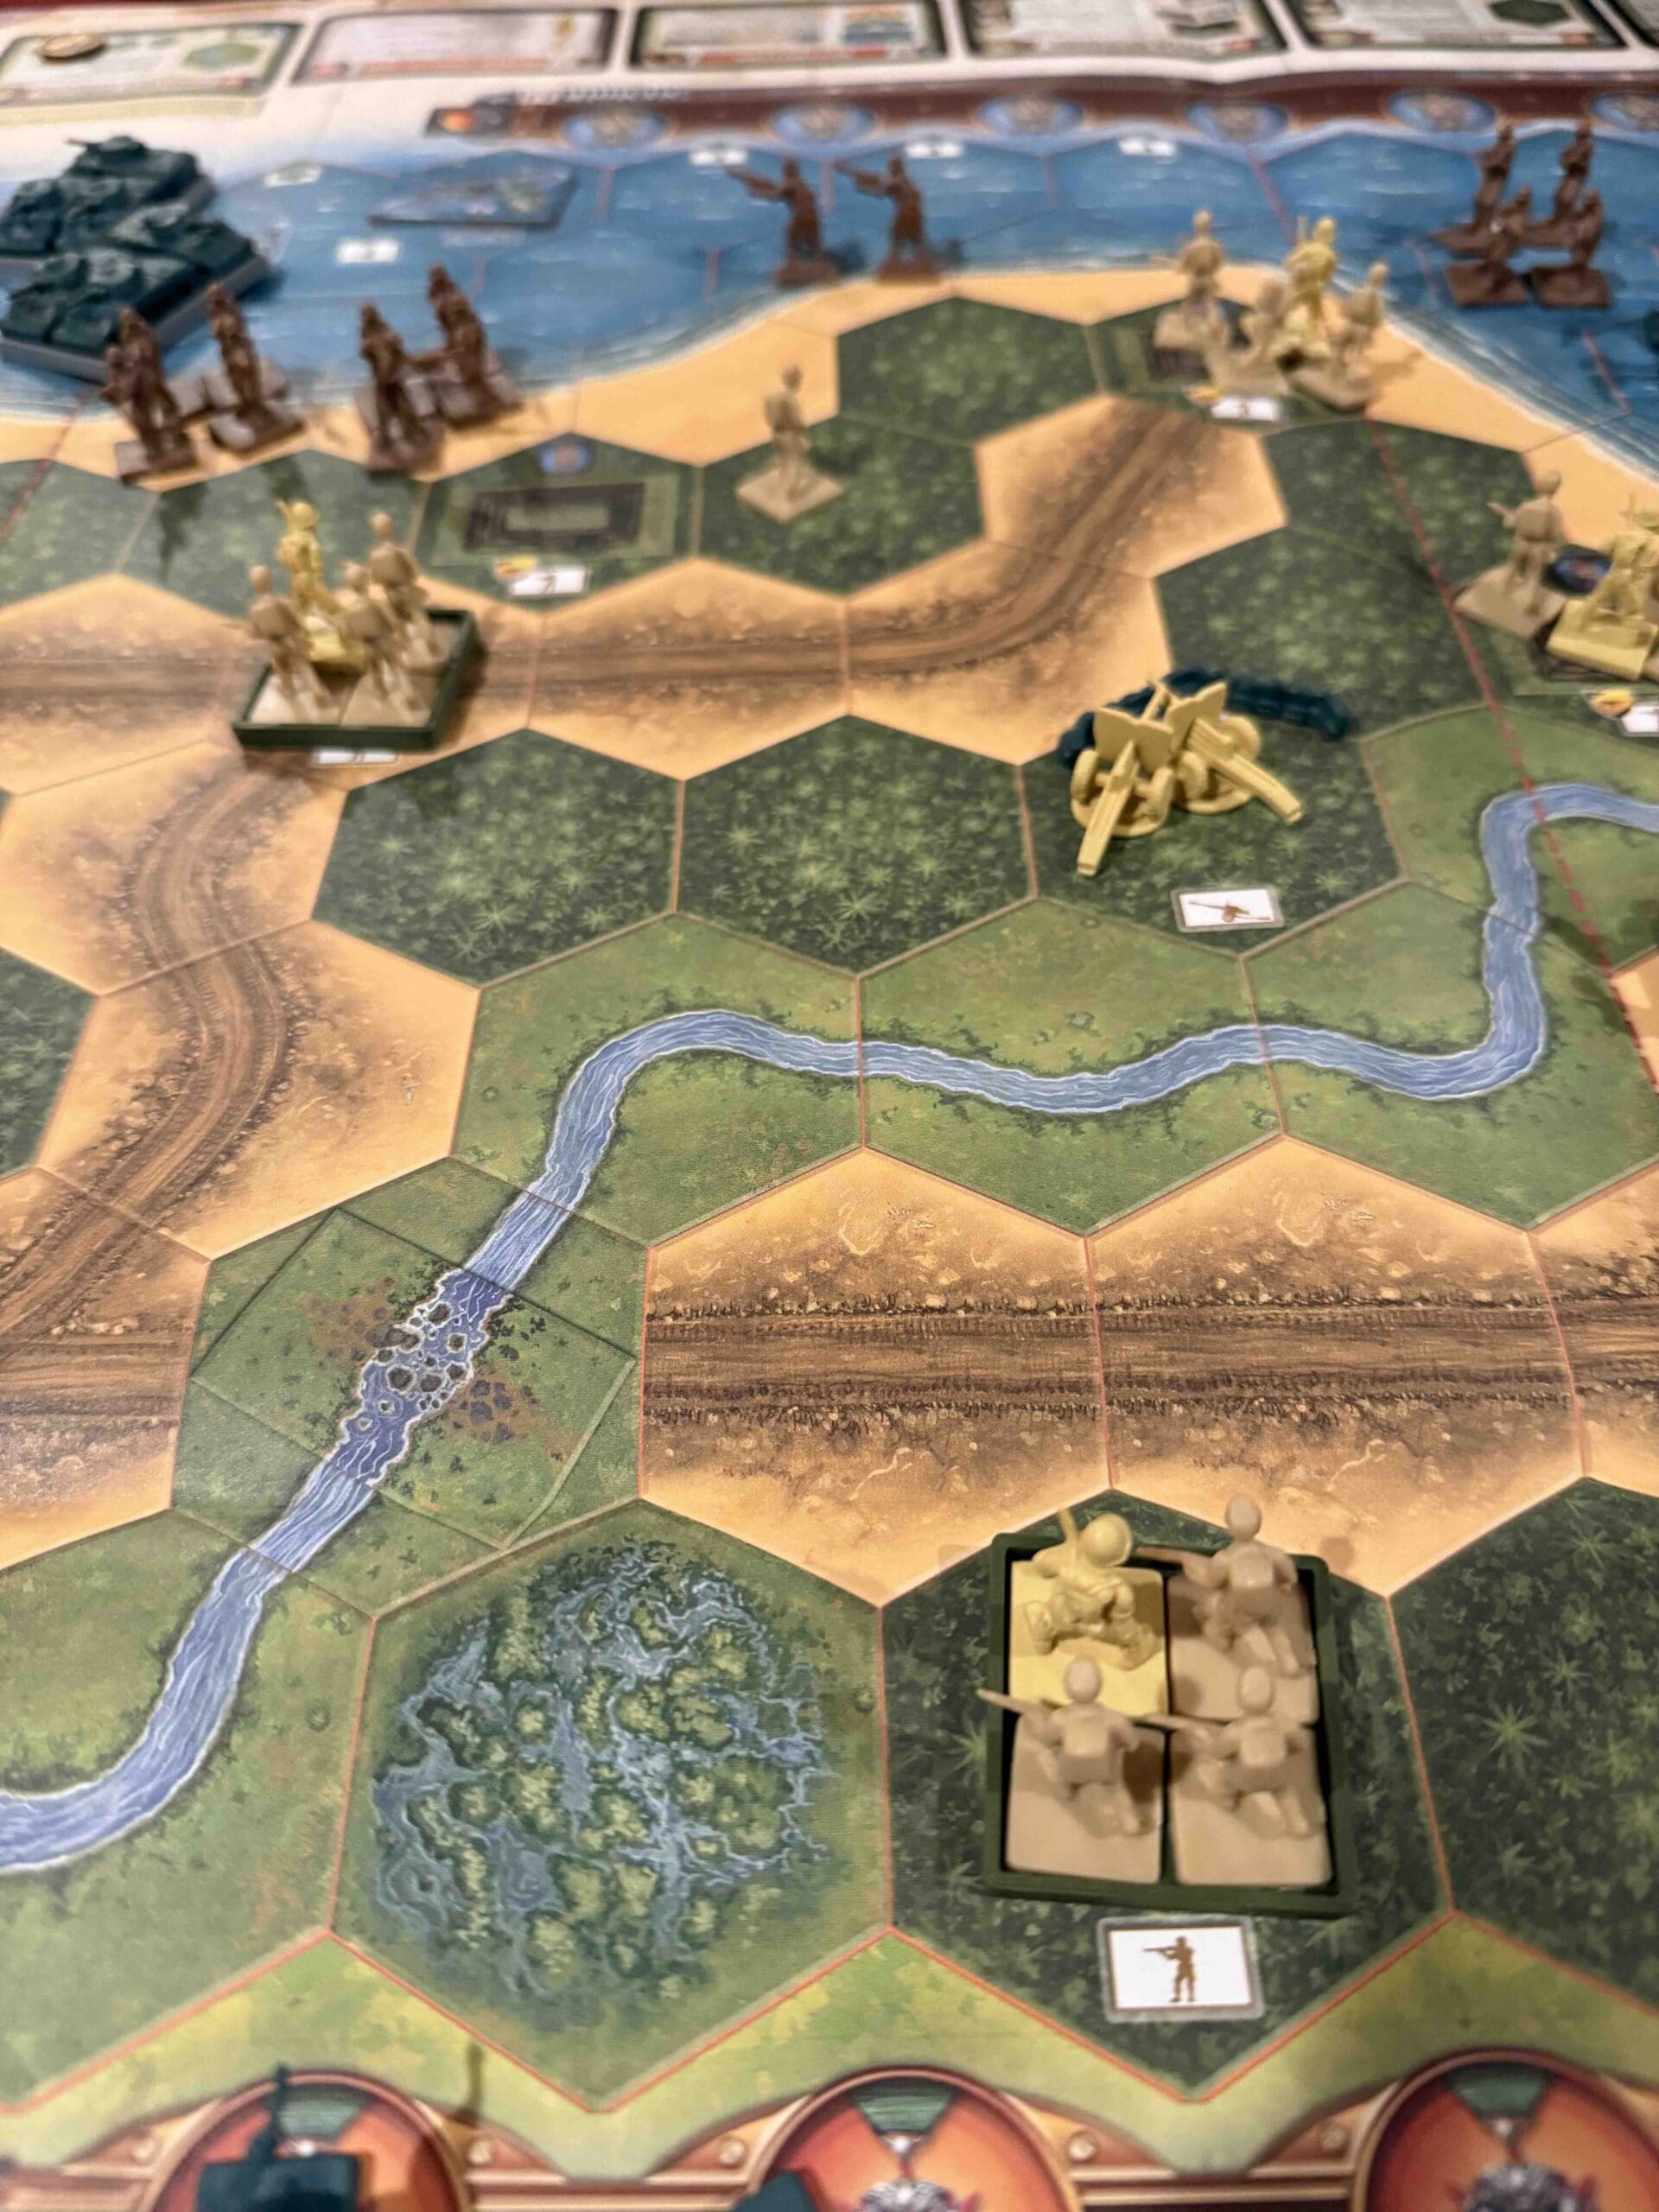
Beach

Context:
Historical
Location:
Solomon Islands
Year:
1943
Theater:
Pacific
Campaign:
Bougainville
Codename:
Summary:
Objectives:
15 VP’s with various Medal Objectives for various territorial control.
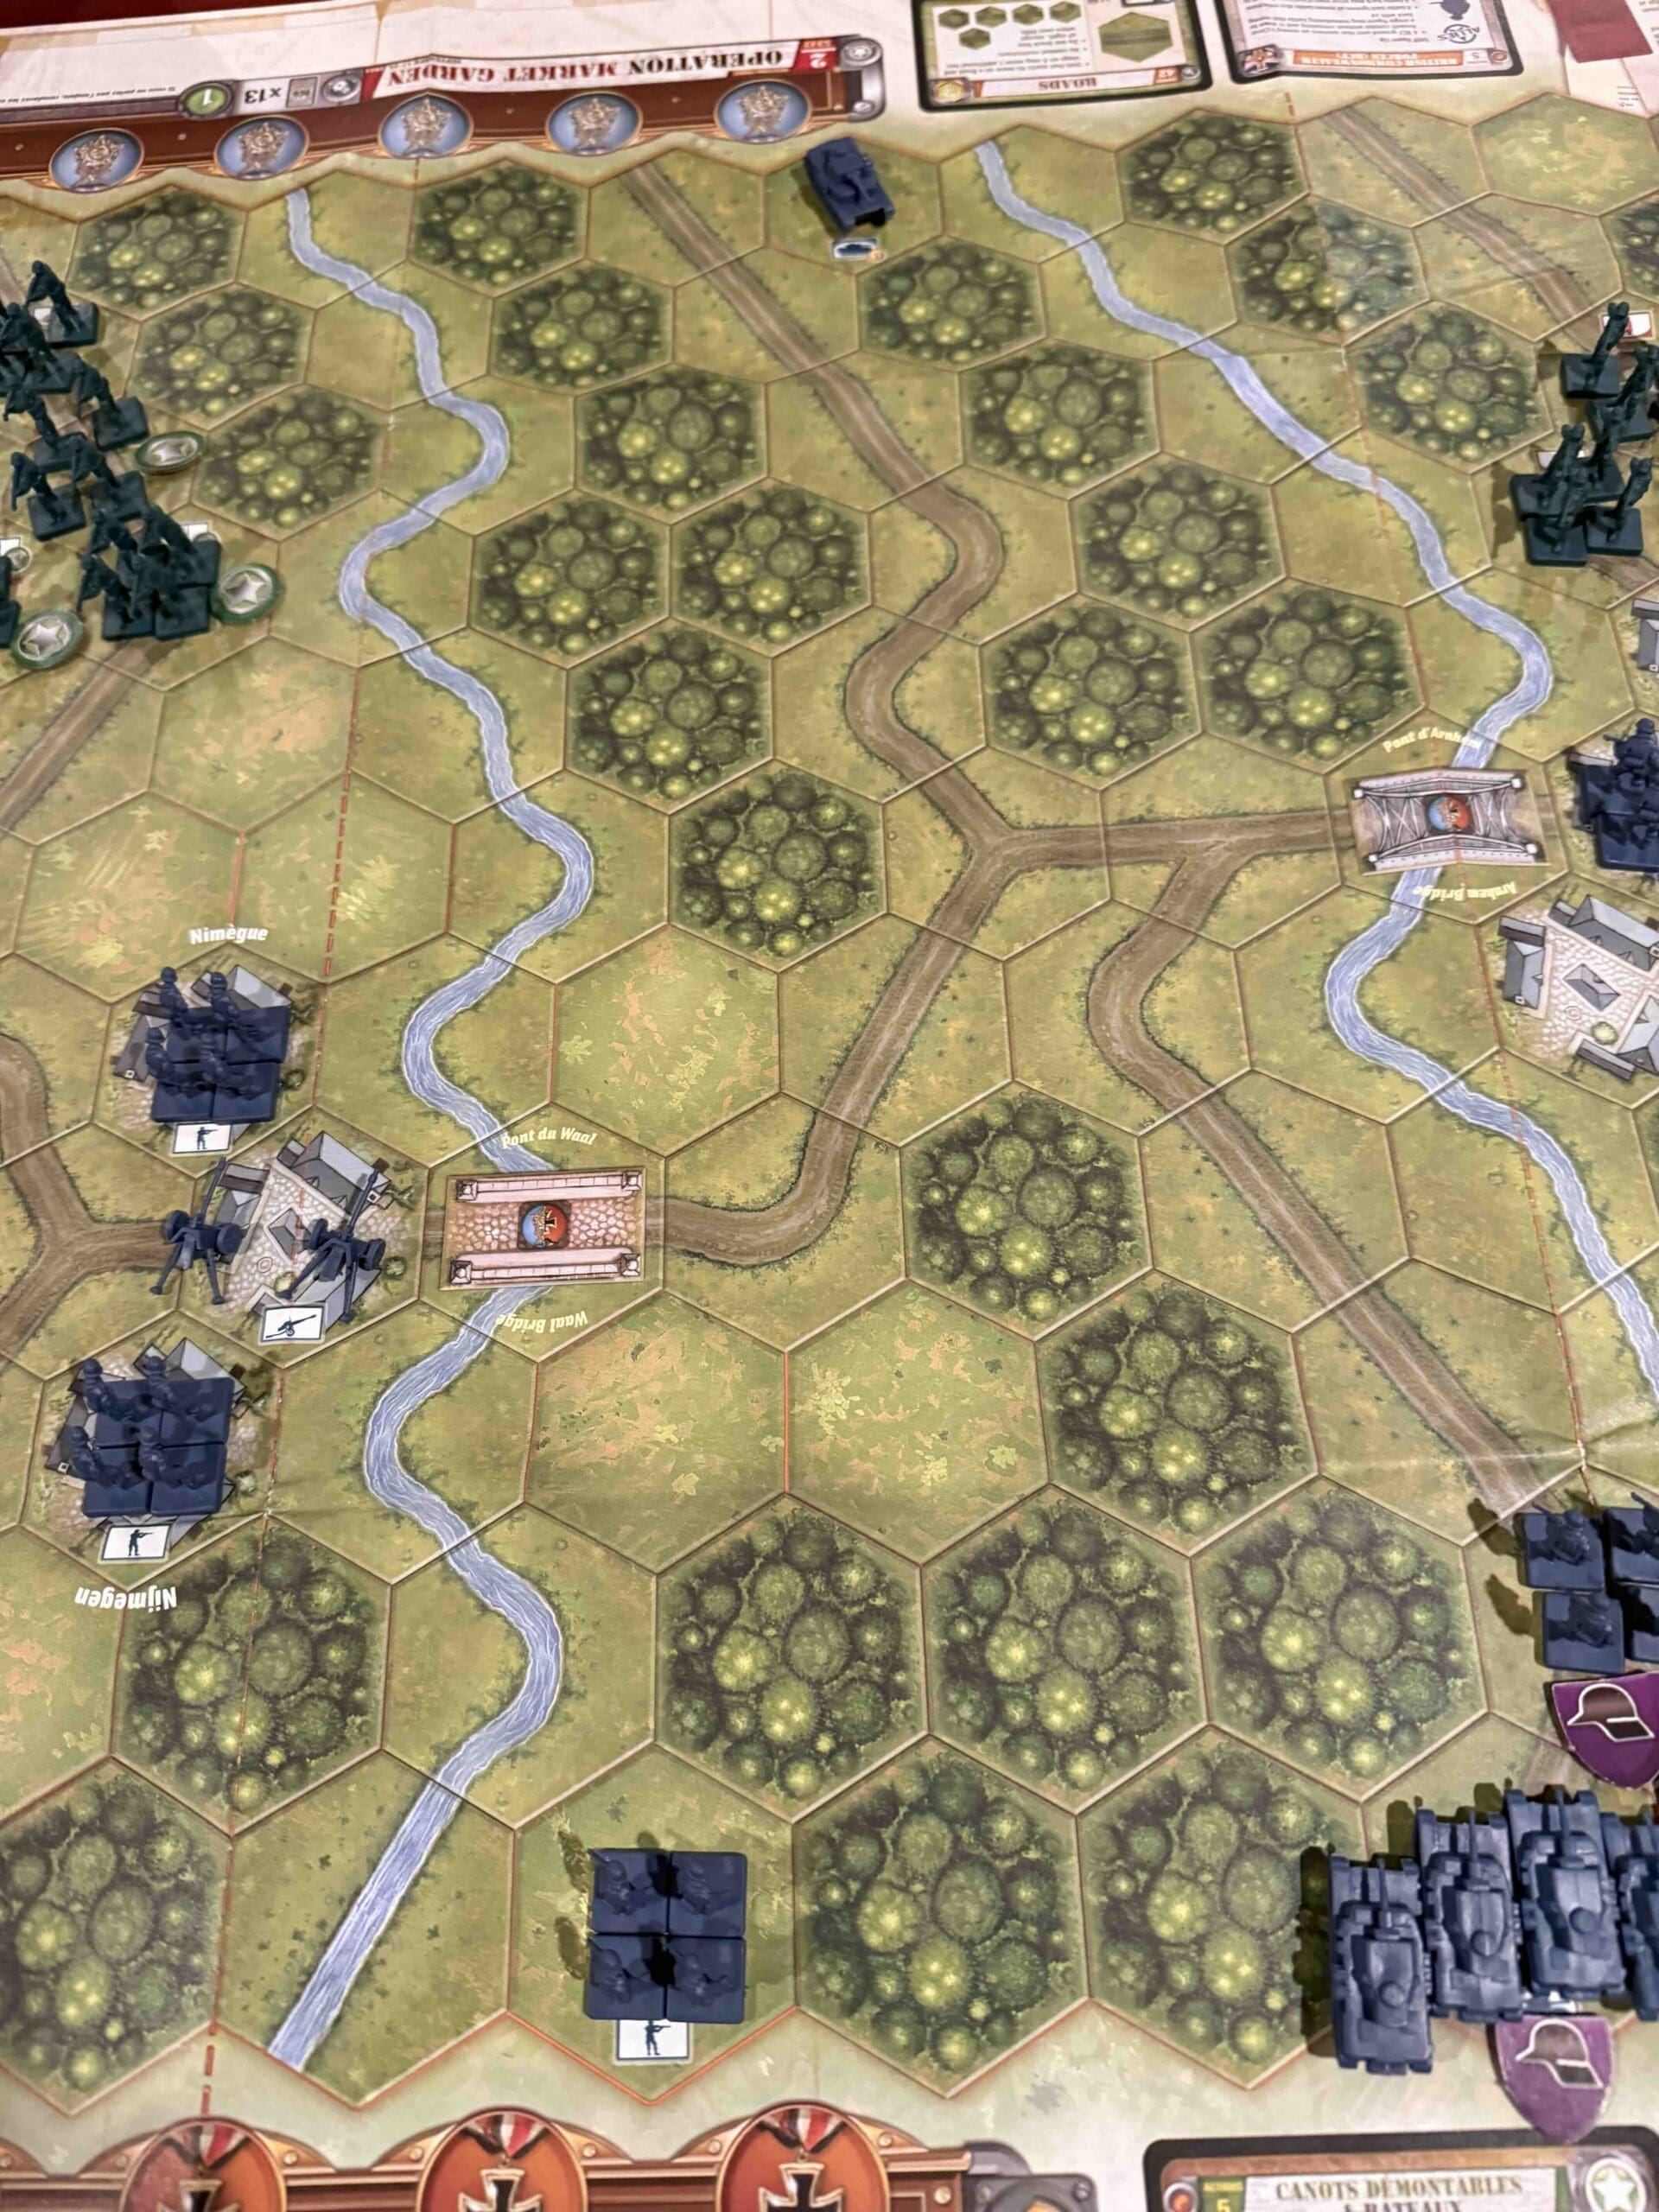
Battlefield:
Islands with many rivers, roads, jungles, and hills
Troops:
Allies – 21 Infantry, 4 Armor, 2 Destroyers, with Landing Crafts to bring them ashore
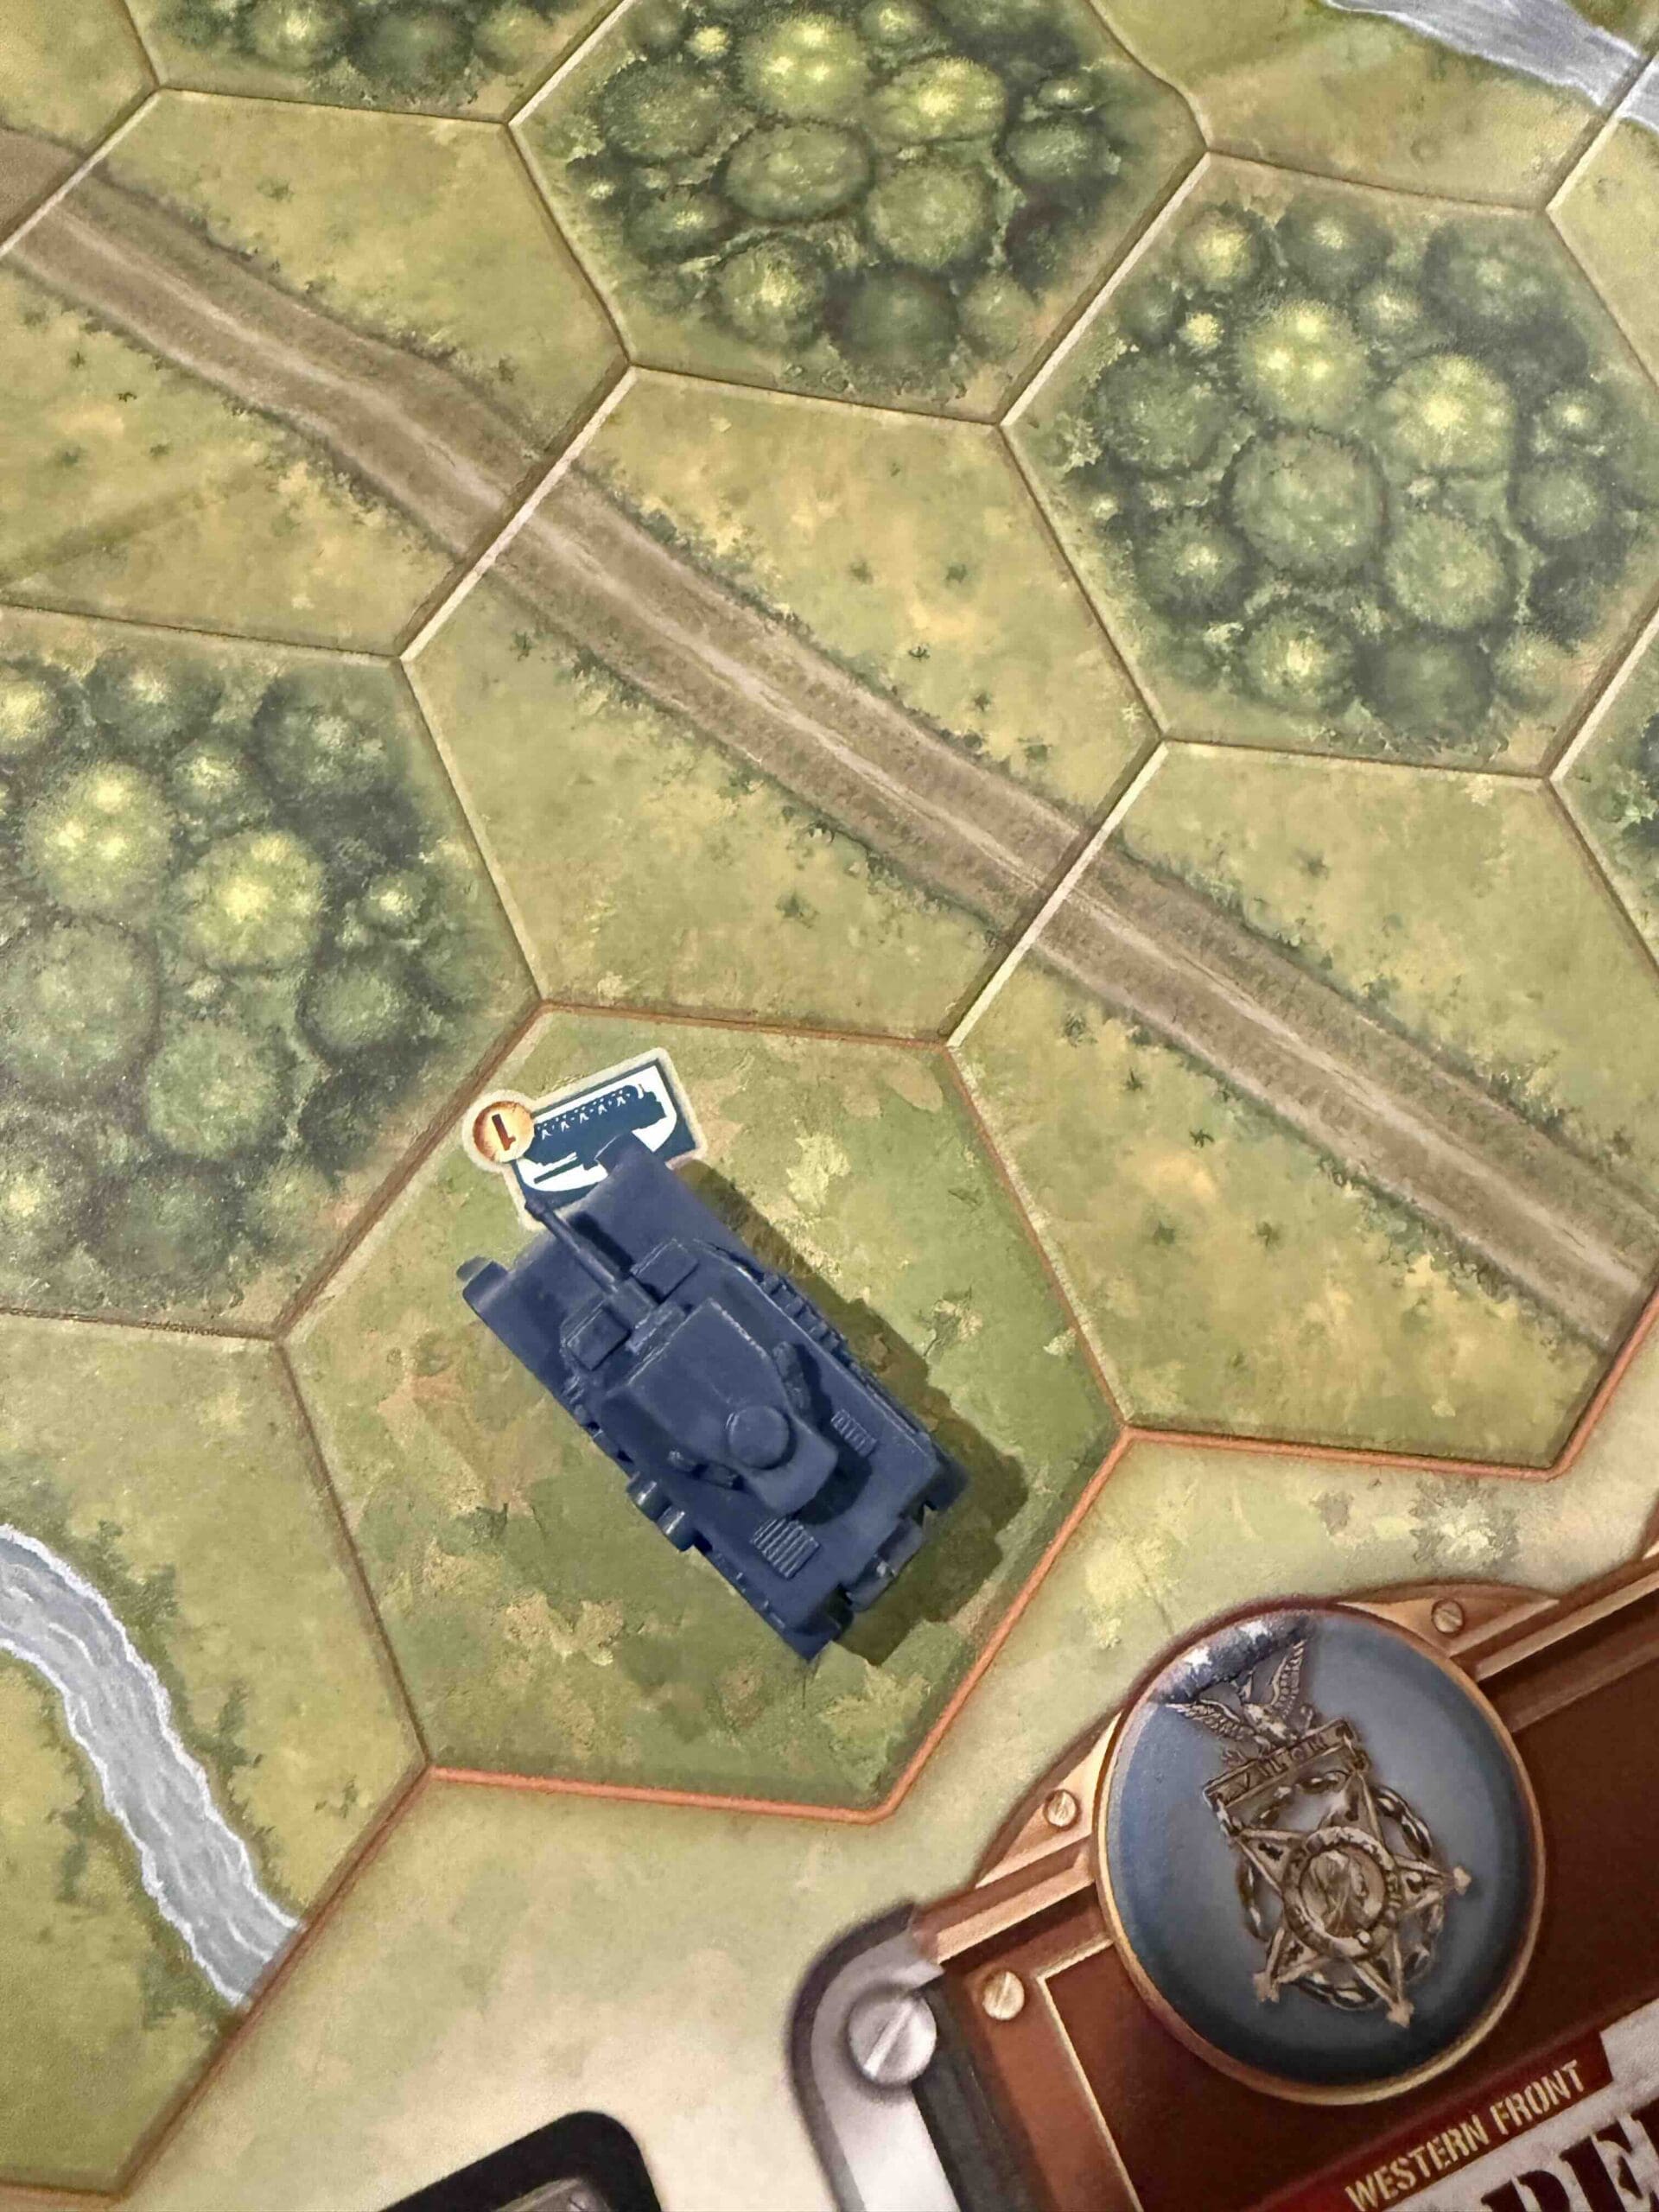
Axis – 18 Infantry some with Special Weapons, 1 Armor, 1 Artillery

🔥 Winning as Allies
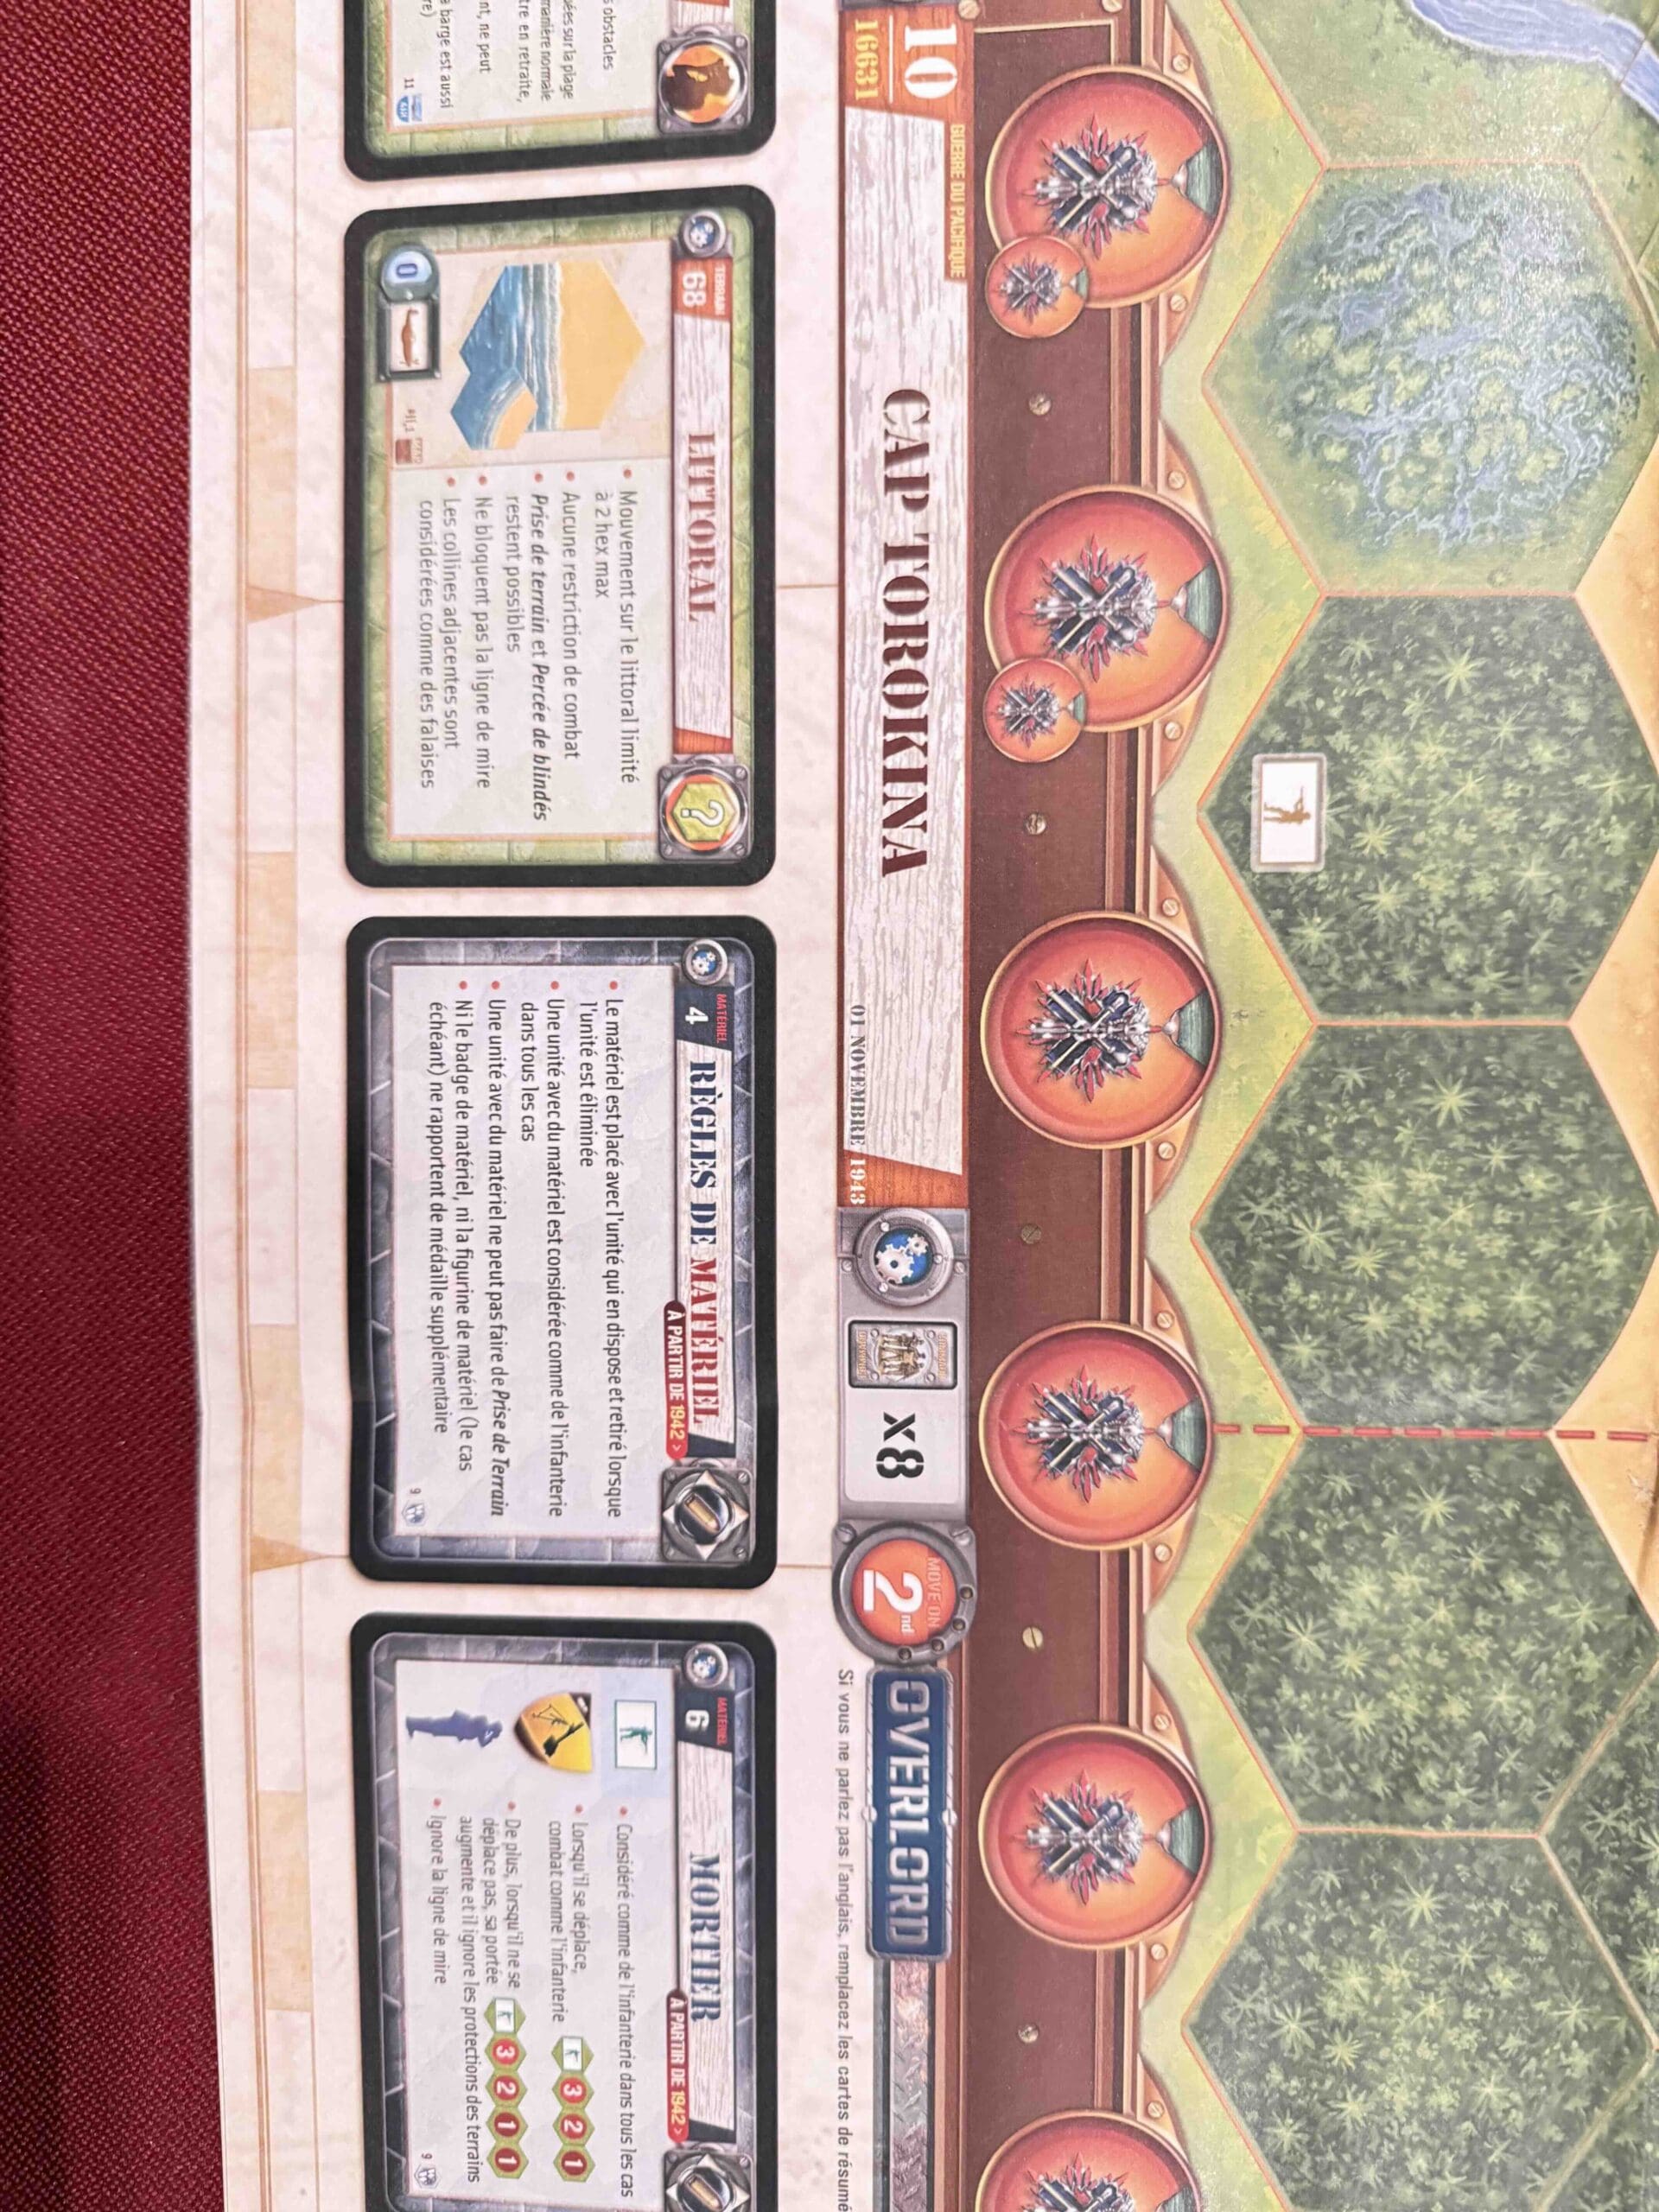
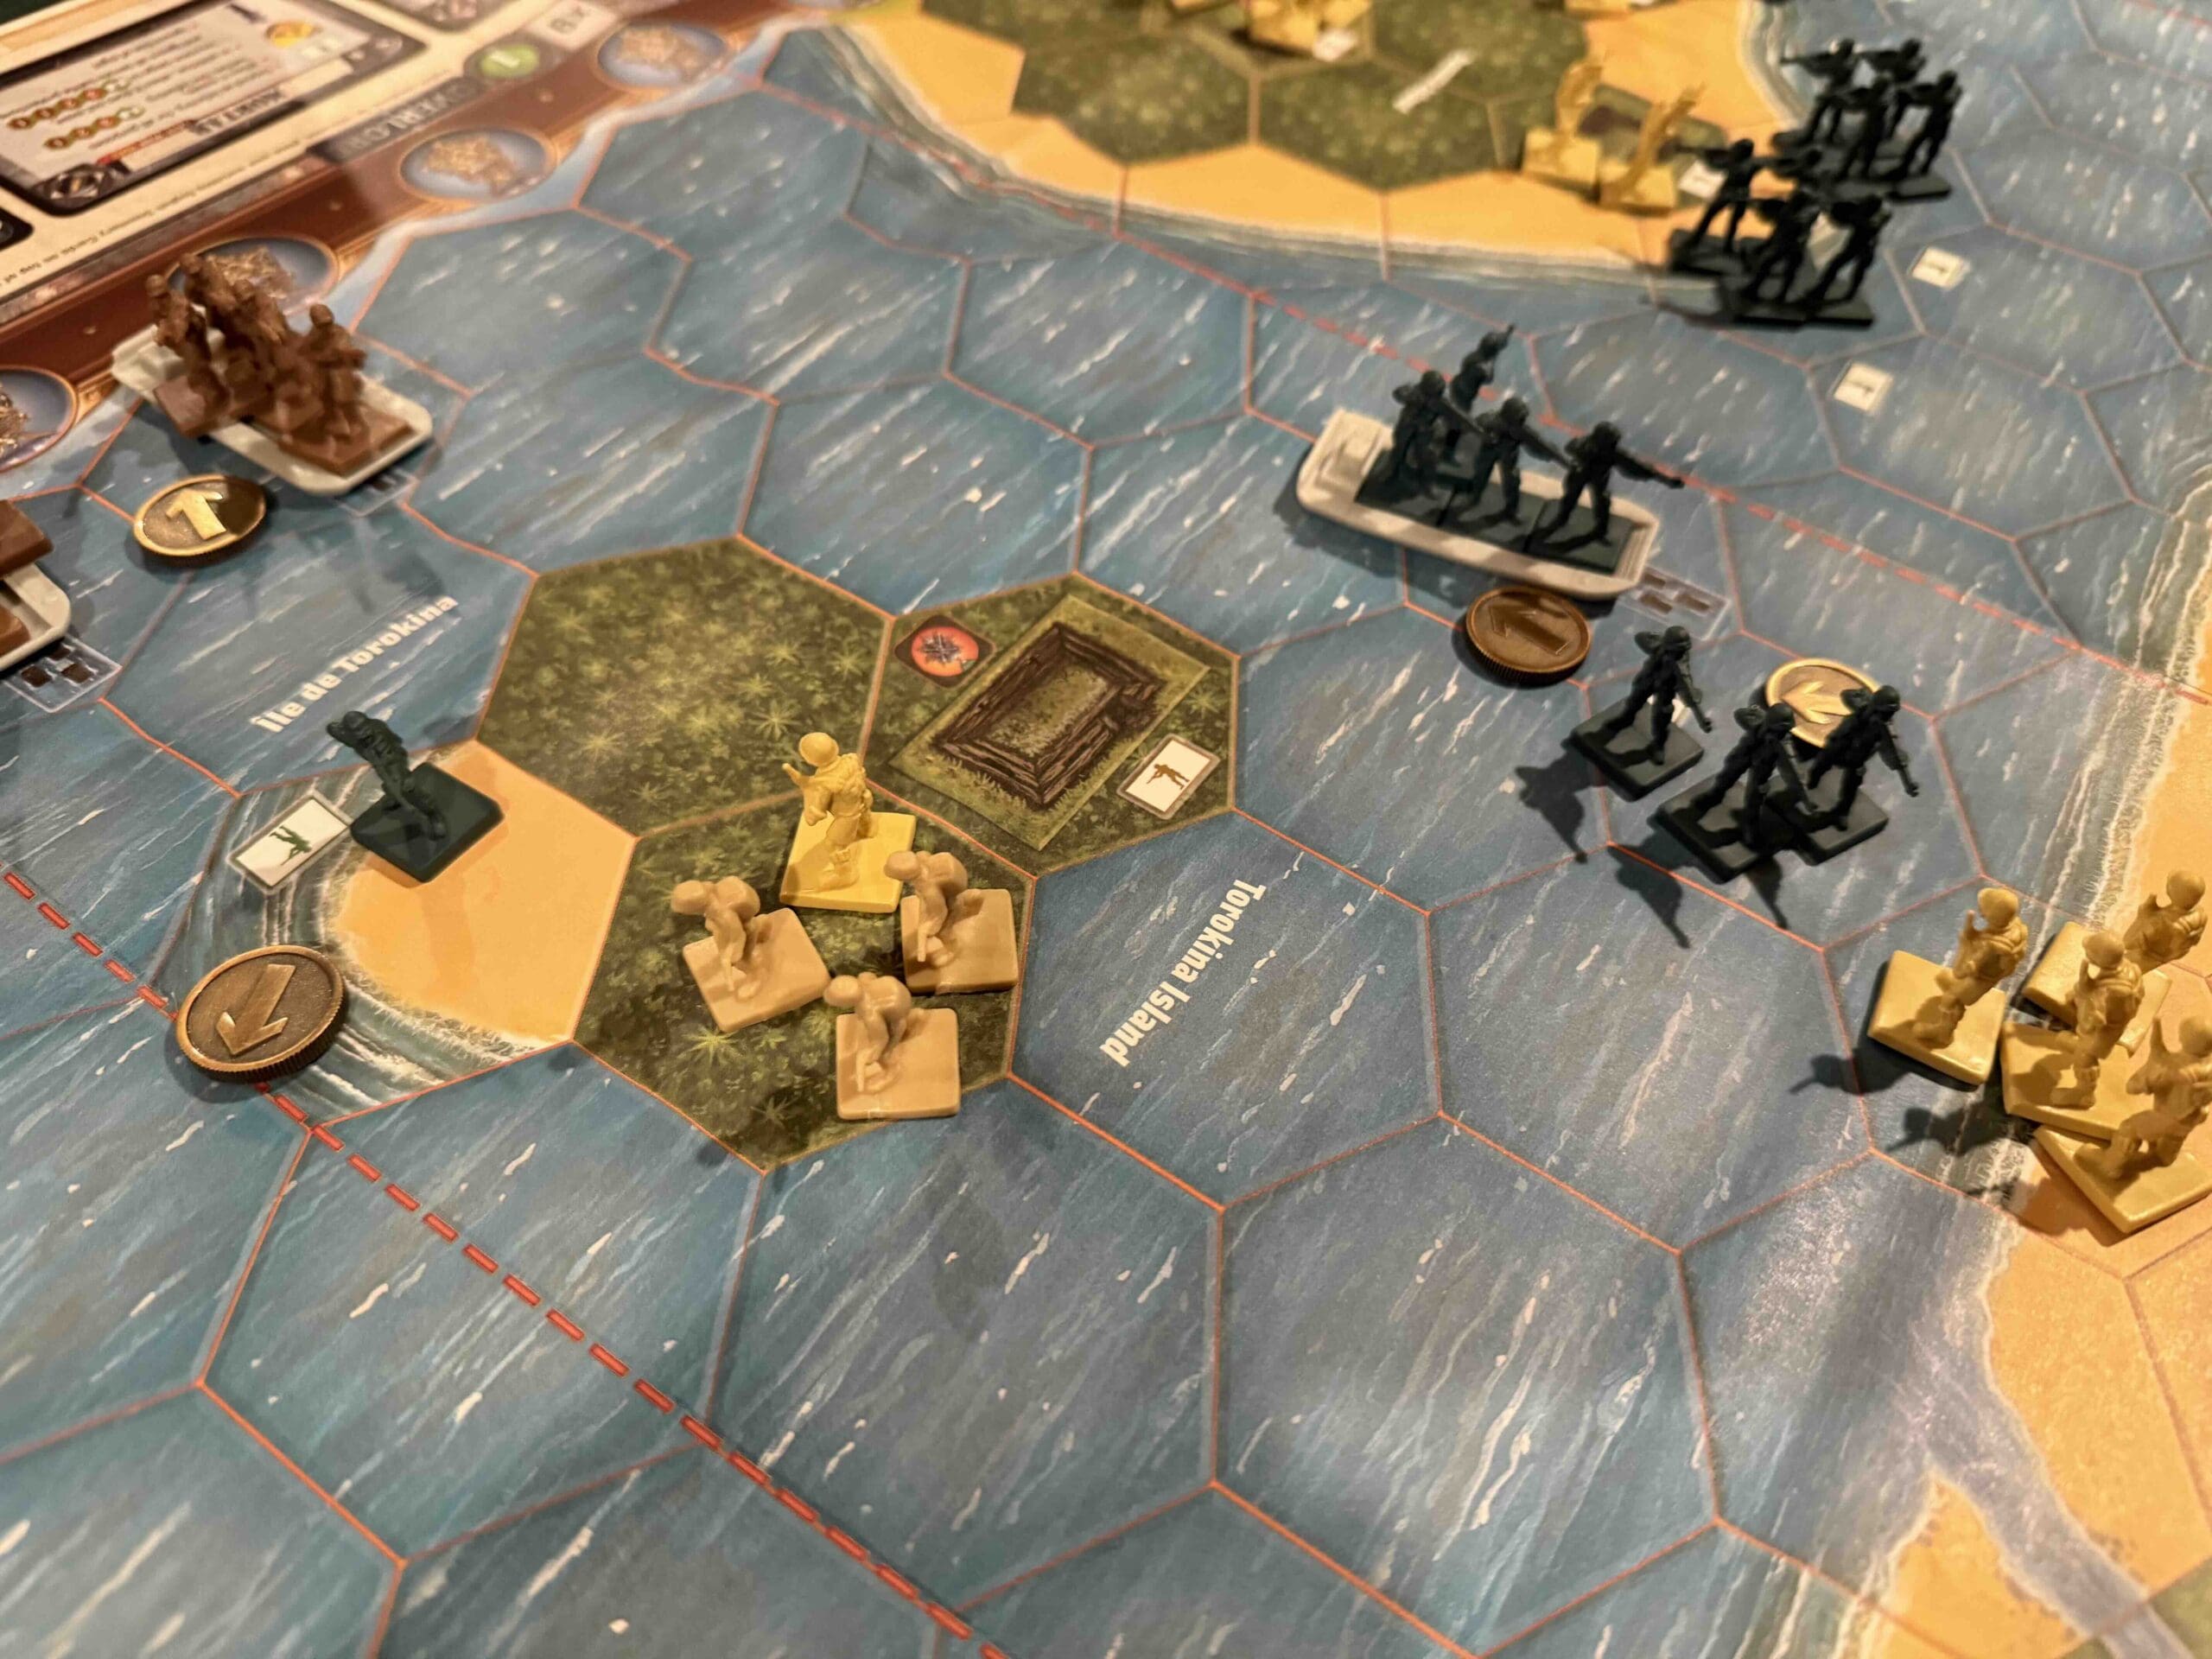
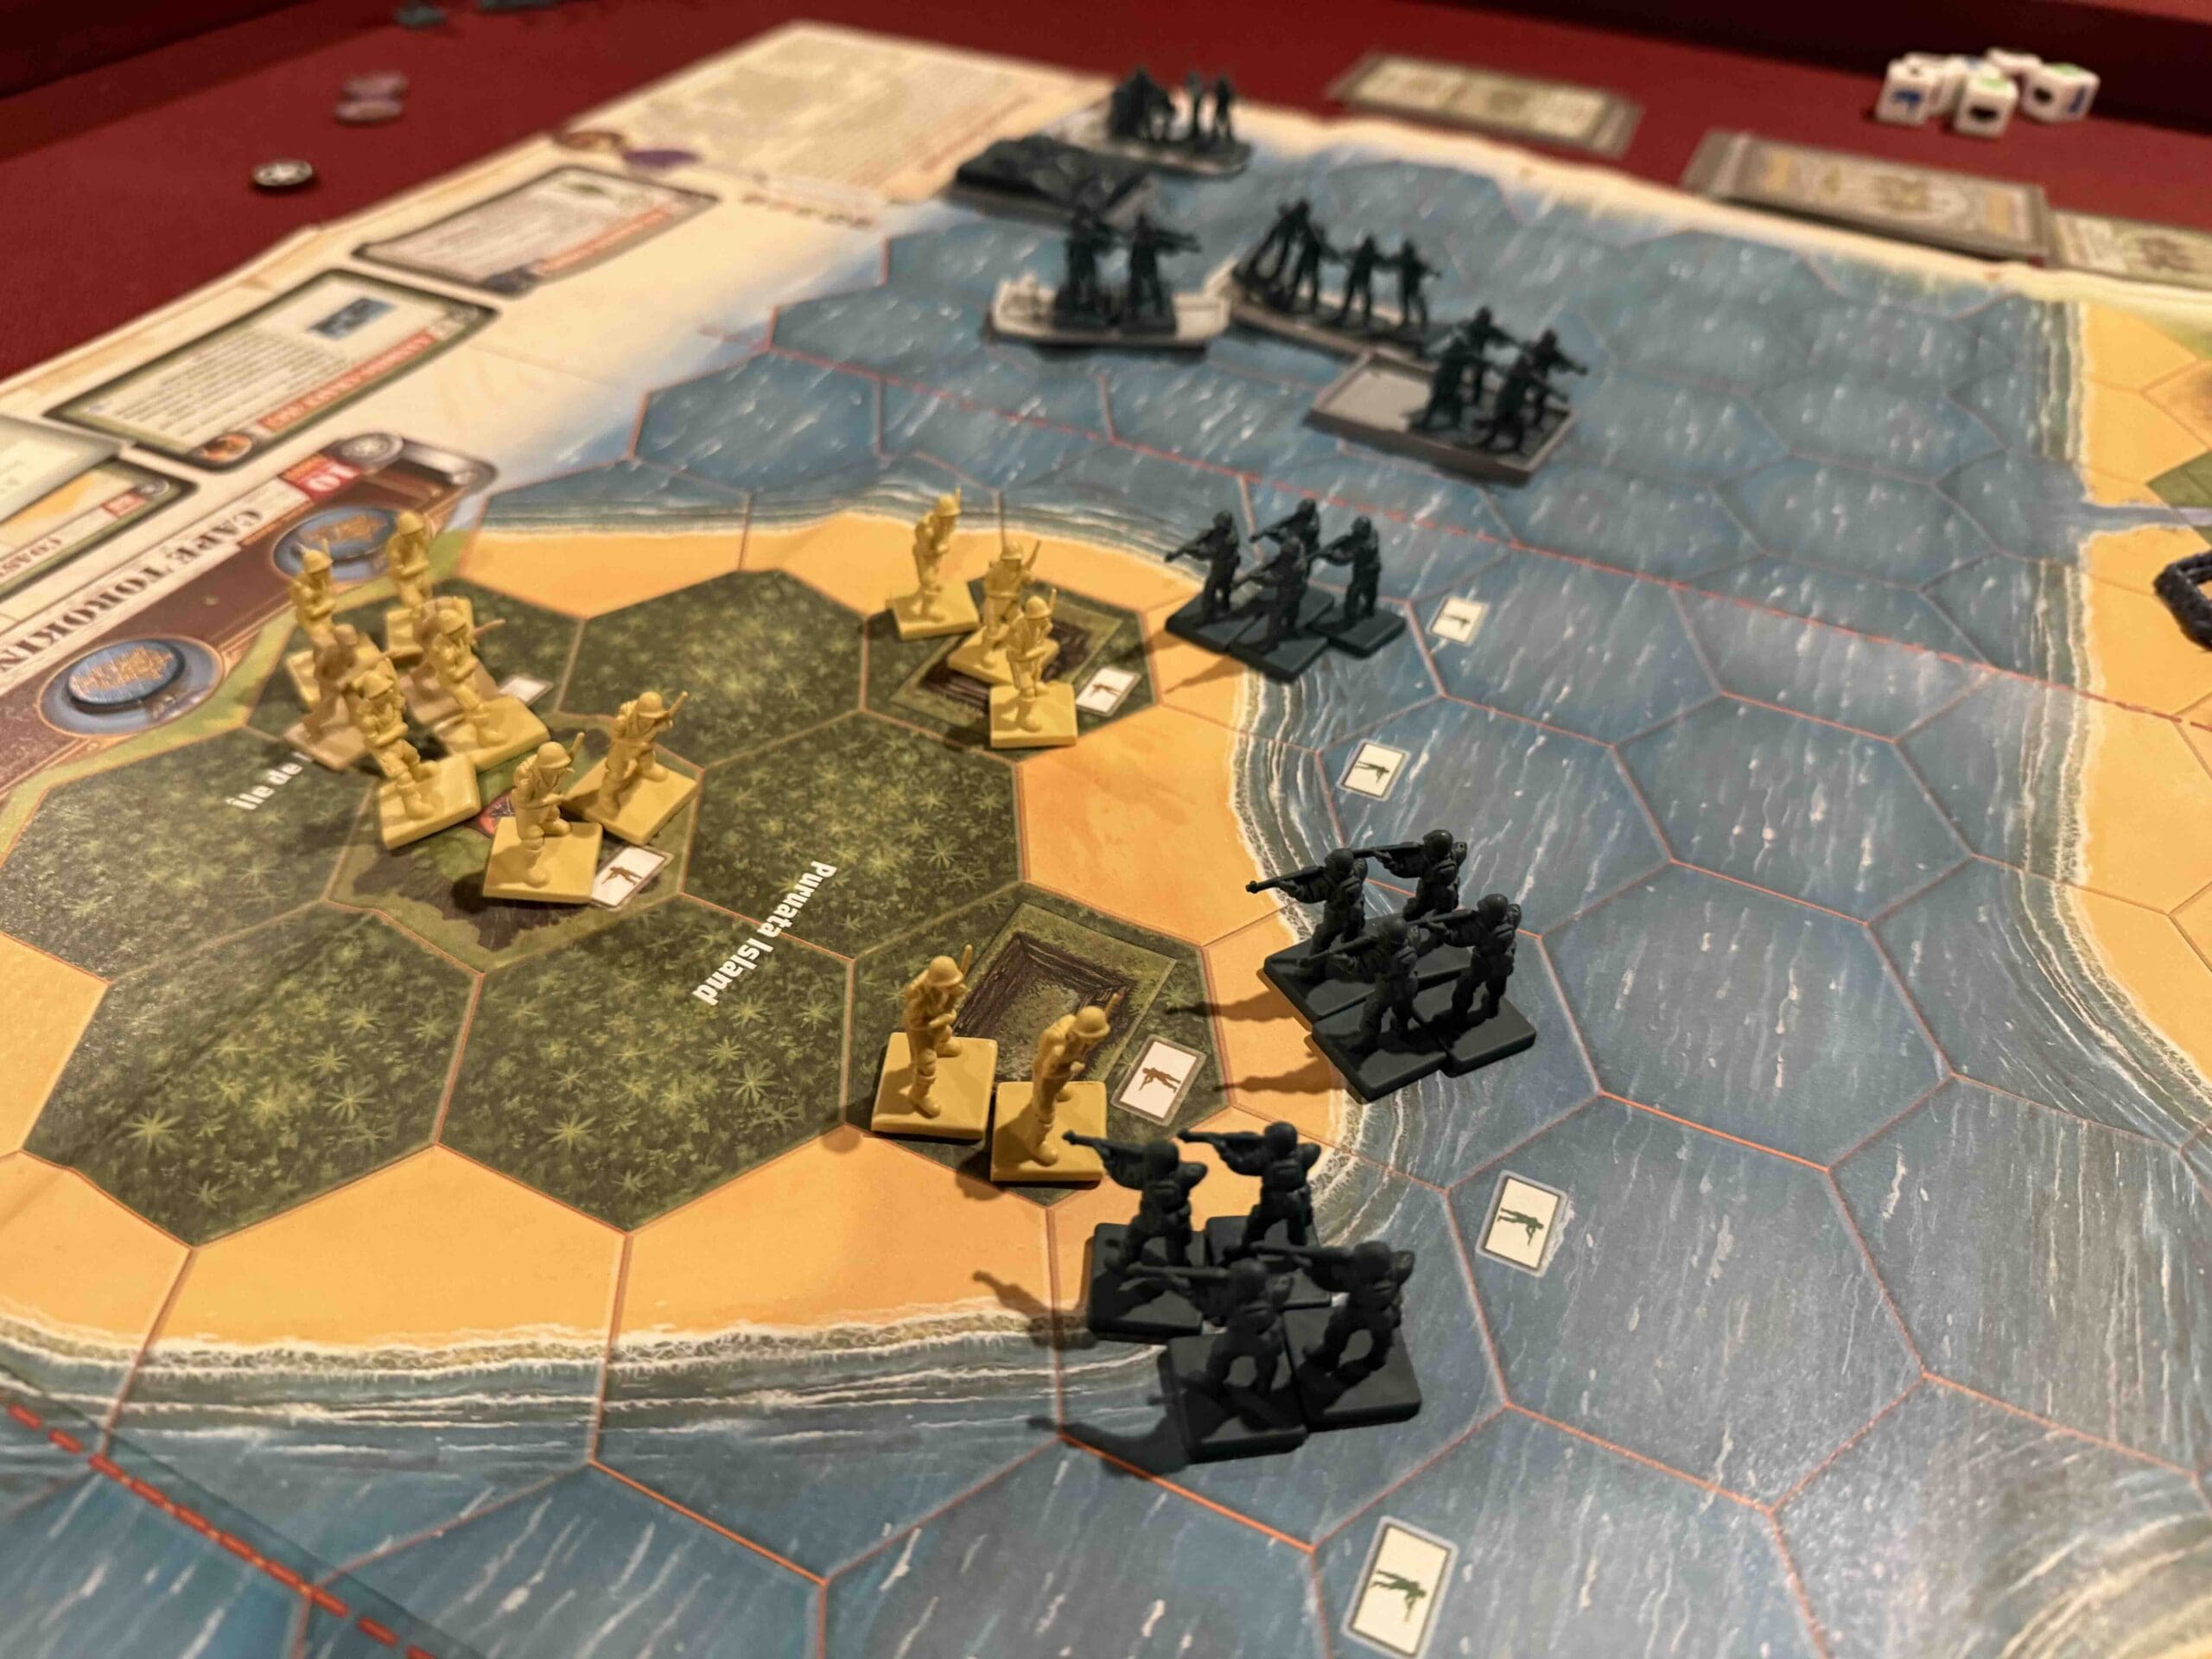
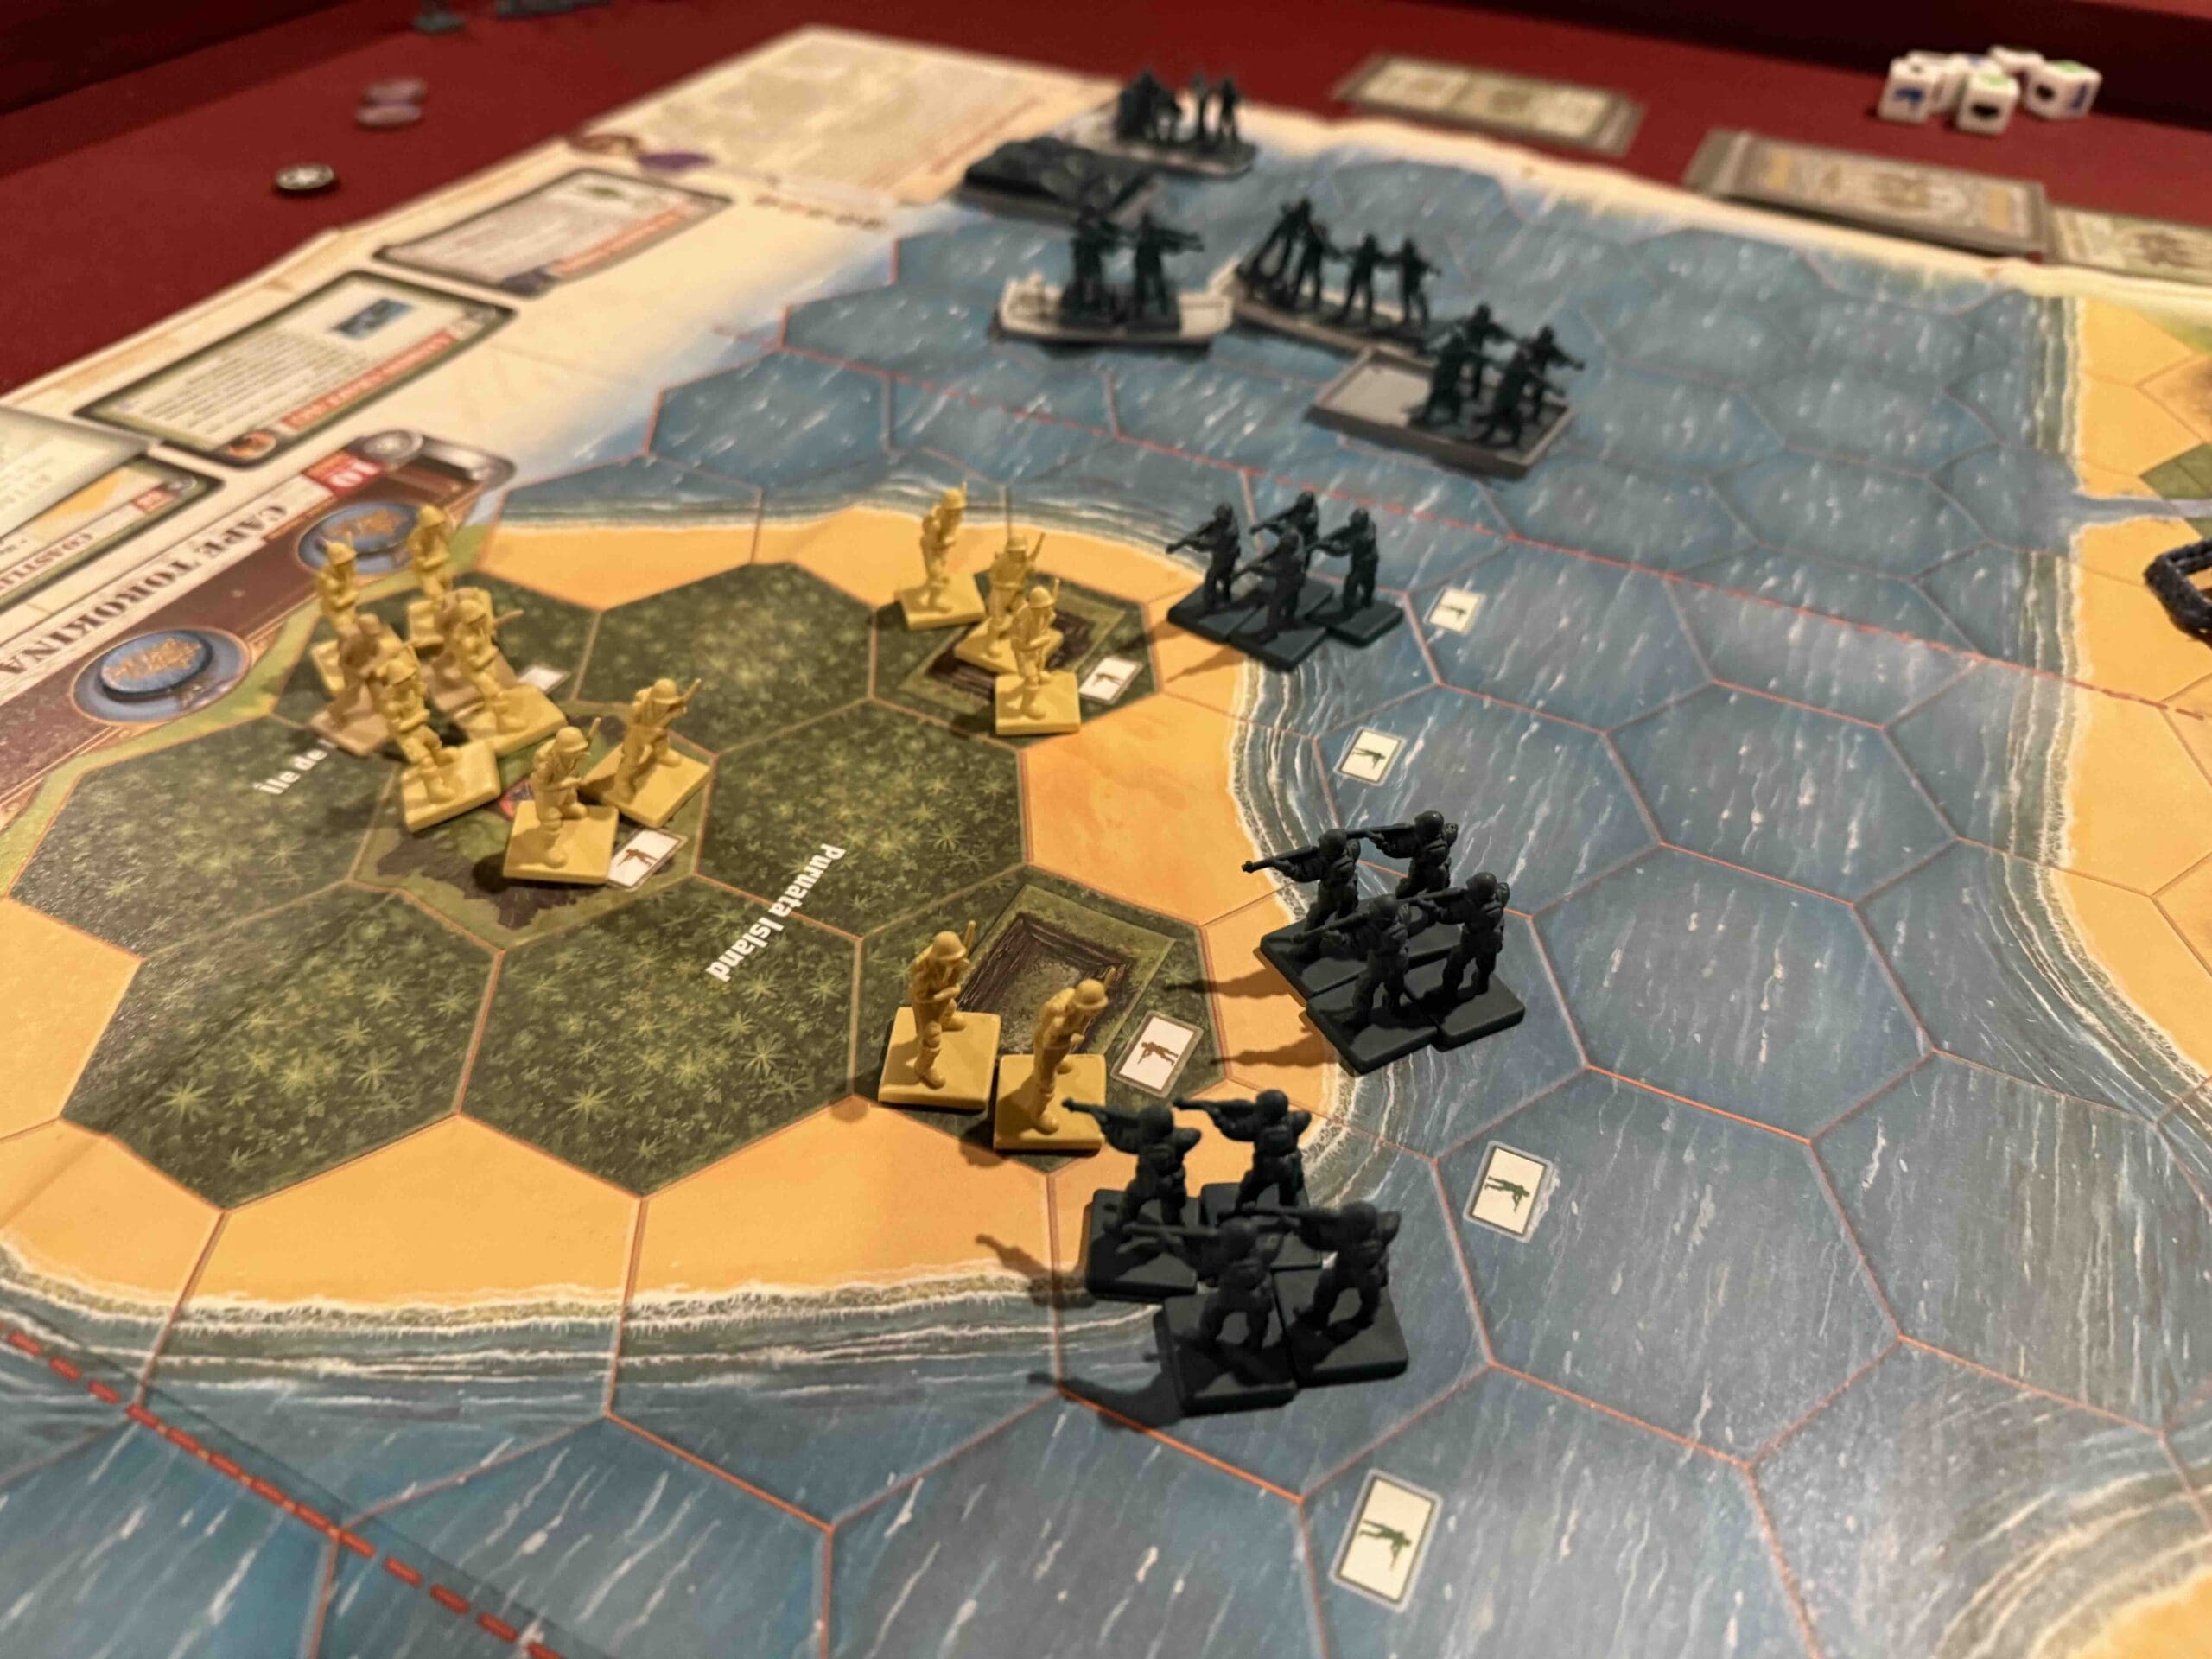
1. There are a number of special rules which you need to be aware as commander of the Allied forces. First, there are two islands (Torokina & Puruata), which must be taken. Because the enemy begins the battle with forces on the islands, they start the battle with two victory medals. As soon as you eliminate the enemy from an island, you will cause them to lose a victory medal, but you will NOT gain one. Also note that because the Landing Crafts (LC’s) leave after dropping off your troops, they will be stranded on that island. So make sure you commit enough troops to win, but not too many.
2. There are also three Field Bunkers which provide Temporary Territorial Medals to whichever side occupies them. But you must remain in the bunker to keep the medals.
3. What this means then, is that although you begin the battle with overwhelming force, in order to clear the islands, and then occupy the Field Bunkers, you will need to be leaving troops at each of those locations. So your attack force will be diminished for each parcel of land which you capture. This must be factored into your planning commander!

🔥 Winning as Axis
1. Your primary role in this battle is a defensive one, but that does not mean passive. You have troops which need to be prepared to fight and brought into the battle arena.
2. You have an Armor unit stuck in the corner in the right flank. Get it into the action as soon as you can.
3. You also have an Artillery which you should use at every opportunity to attack the enemy as they come ashore.
4. Make use of the Seishin Kyoiku doctrine to attack with your full force units at every opportunity in order to maximize your extra firepower while they are still strong.
5. You have a lot of forces on the two islands. Make the enemy pay for every inch of ground they take on the islands in order to reduce their main attack force.
Battle Reports
Author:
Days of Wonder
Link: