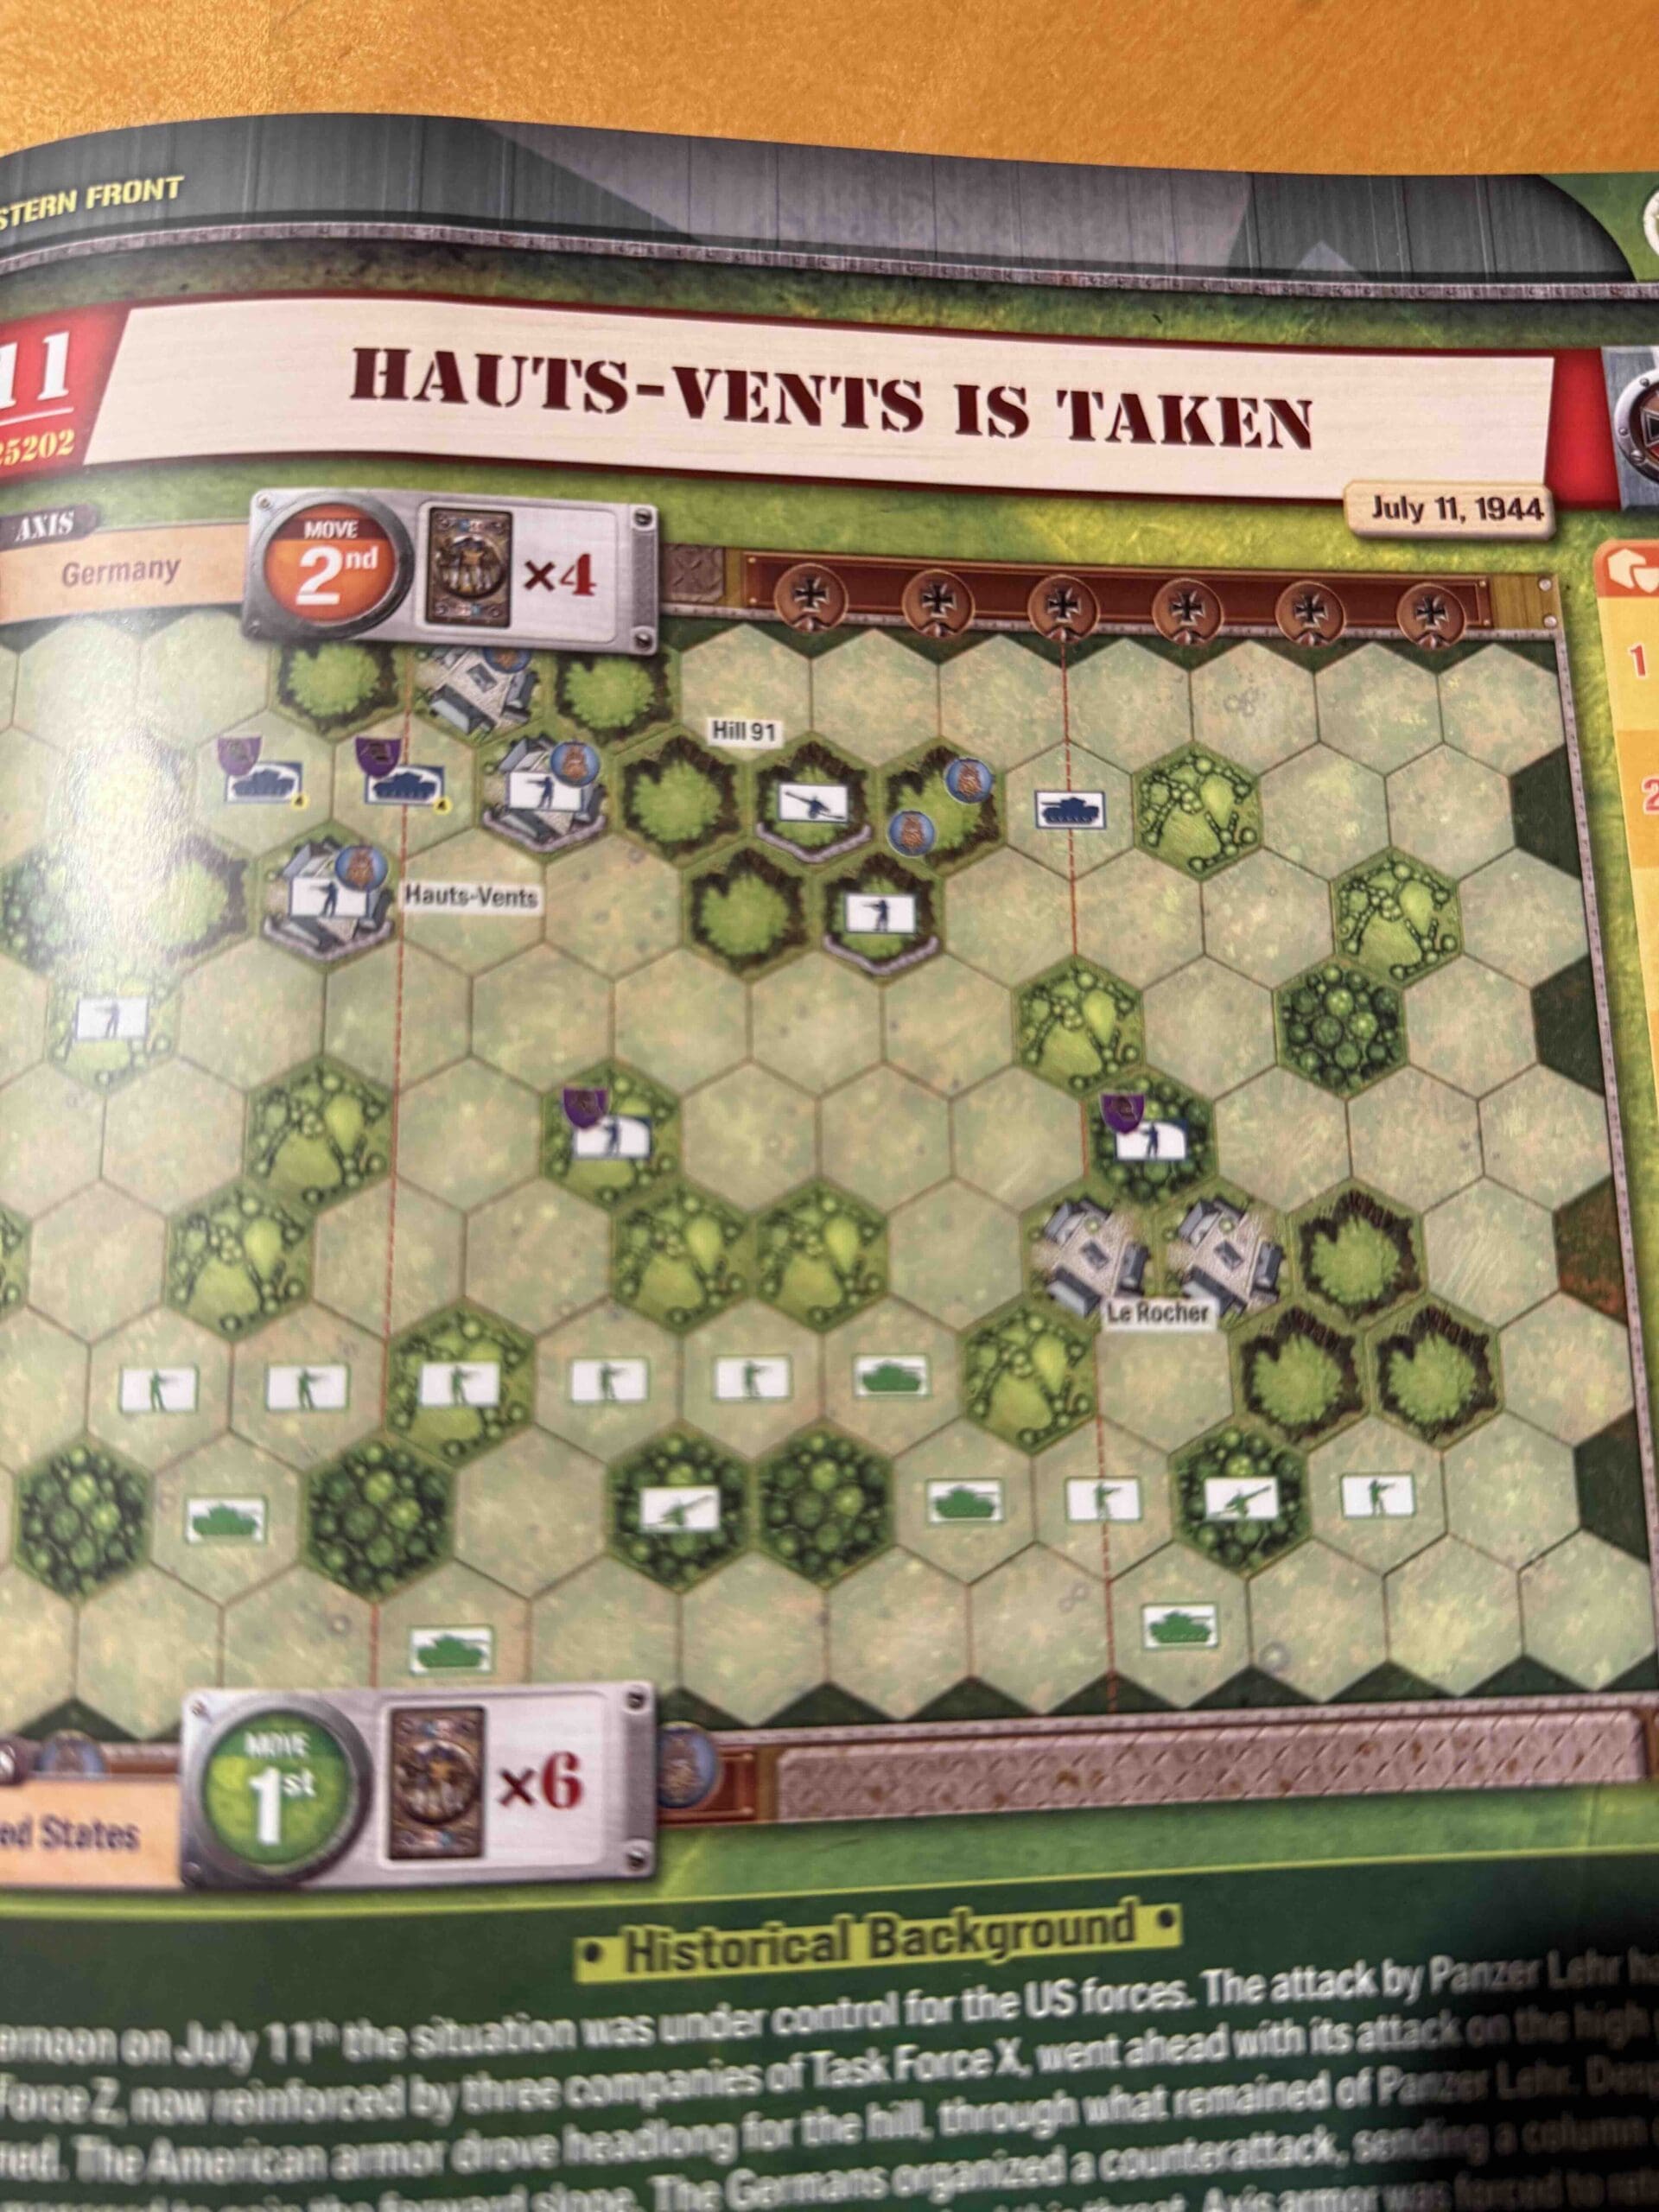
Hauts-Vents is Taken
Hauts-Vents is Taken
Medals
6 VP’s
![]()
Card Balance:
Allies – 6
Axis – 4
Complexity:
3
Conditions:
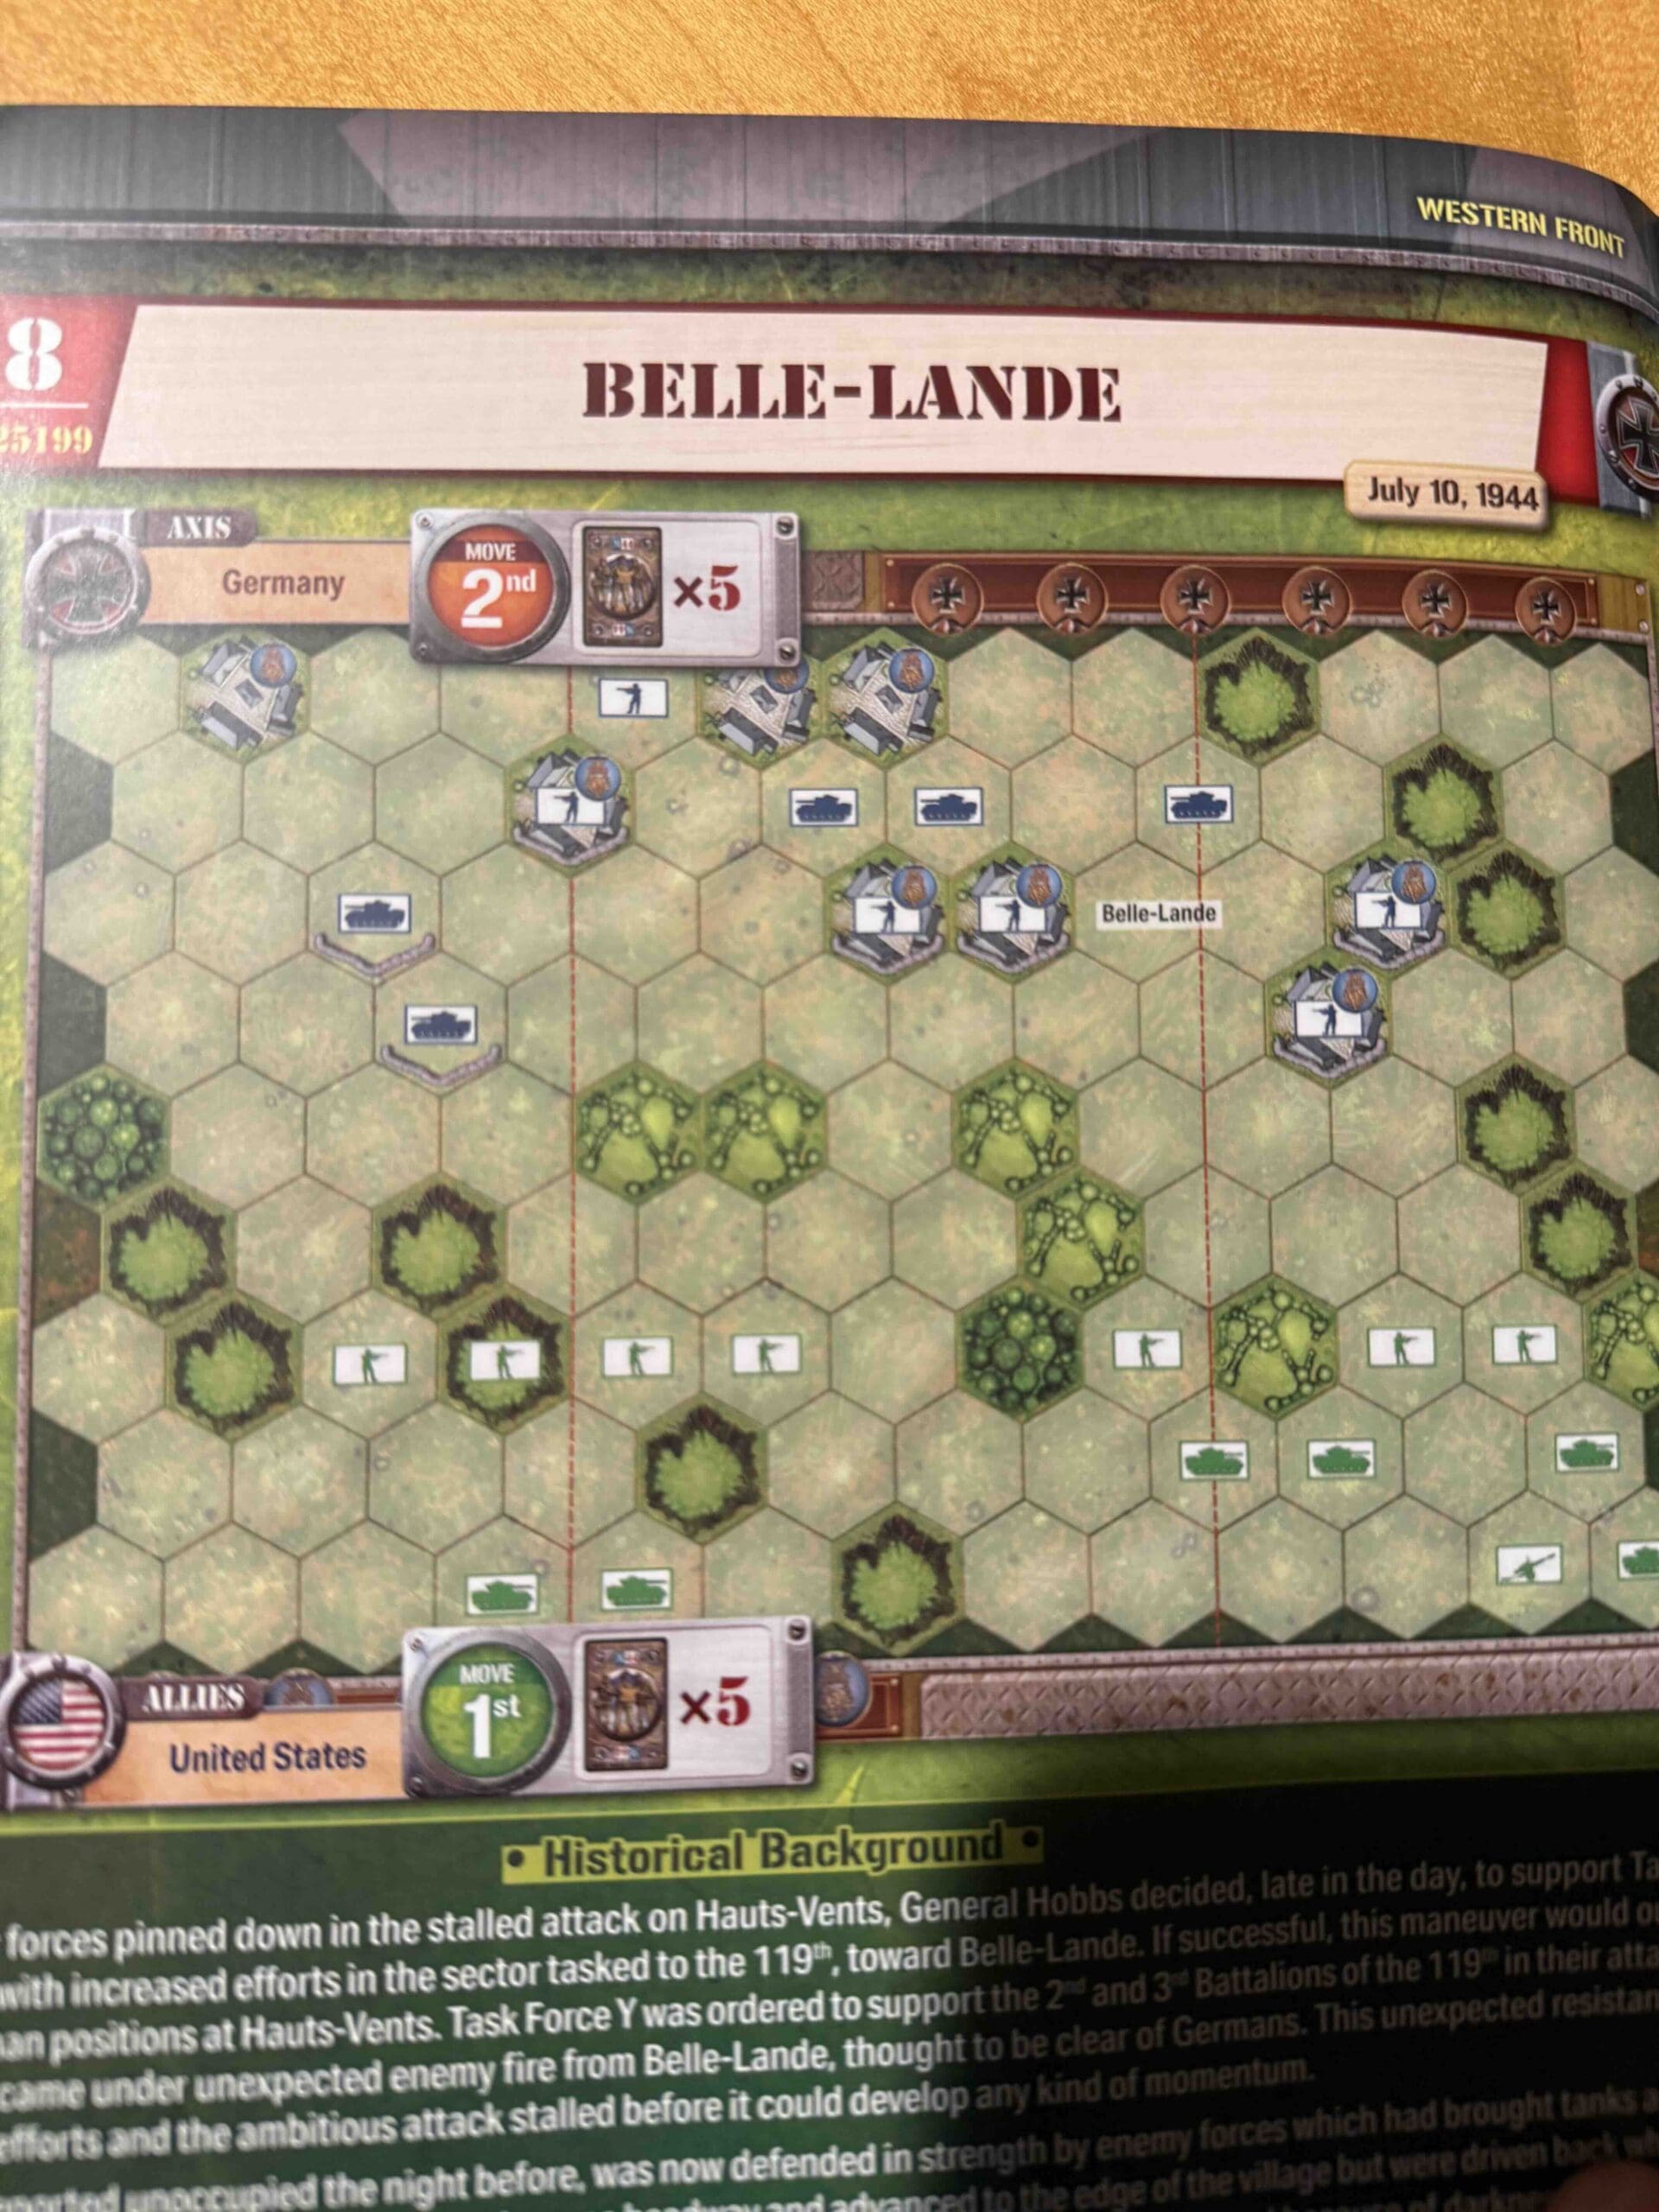
Countryside
Location:
France
Year:
1944
Theater:
Western Front
Summary:
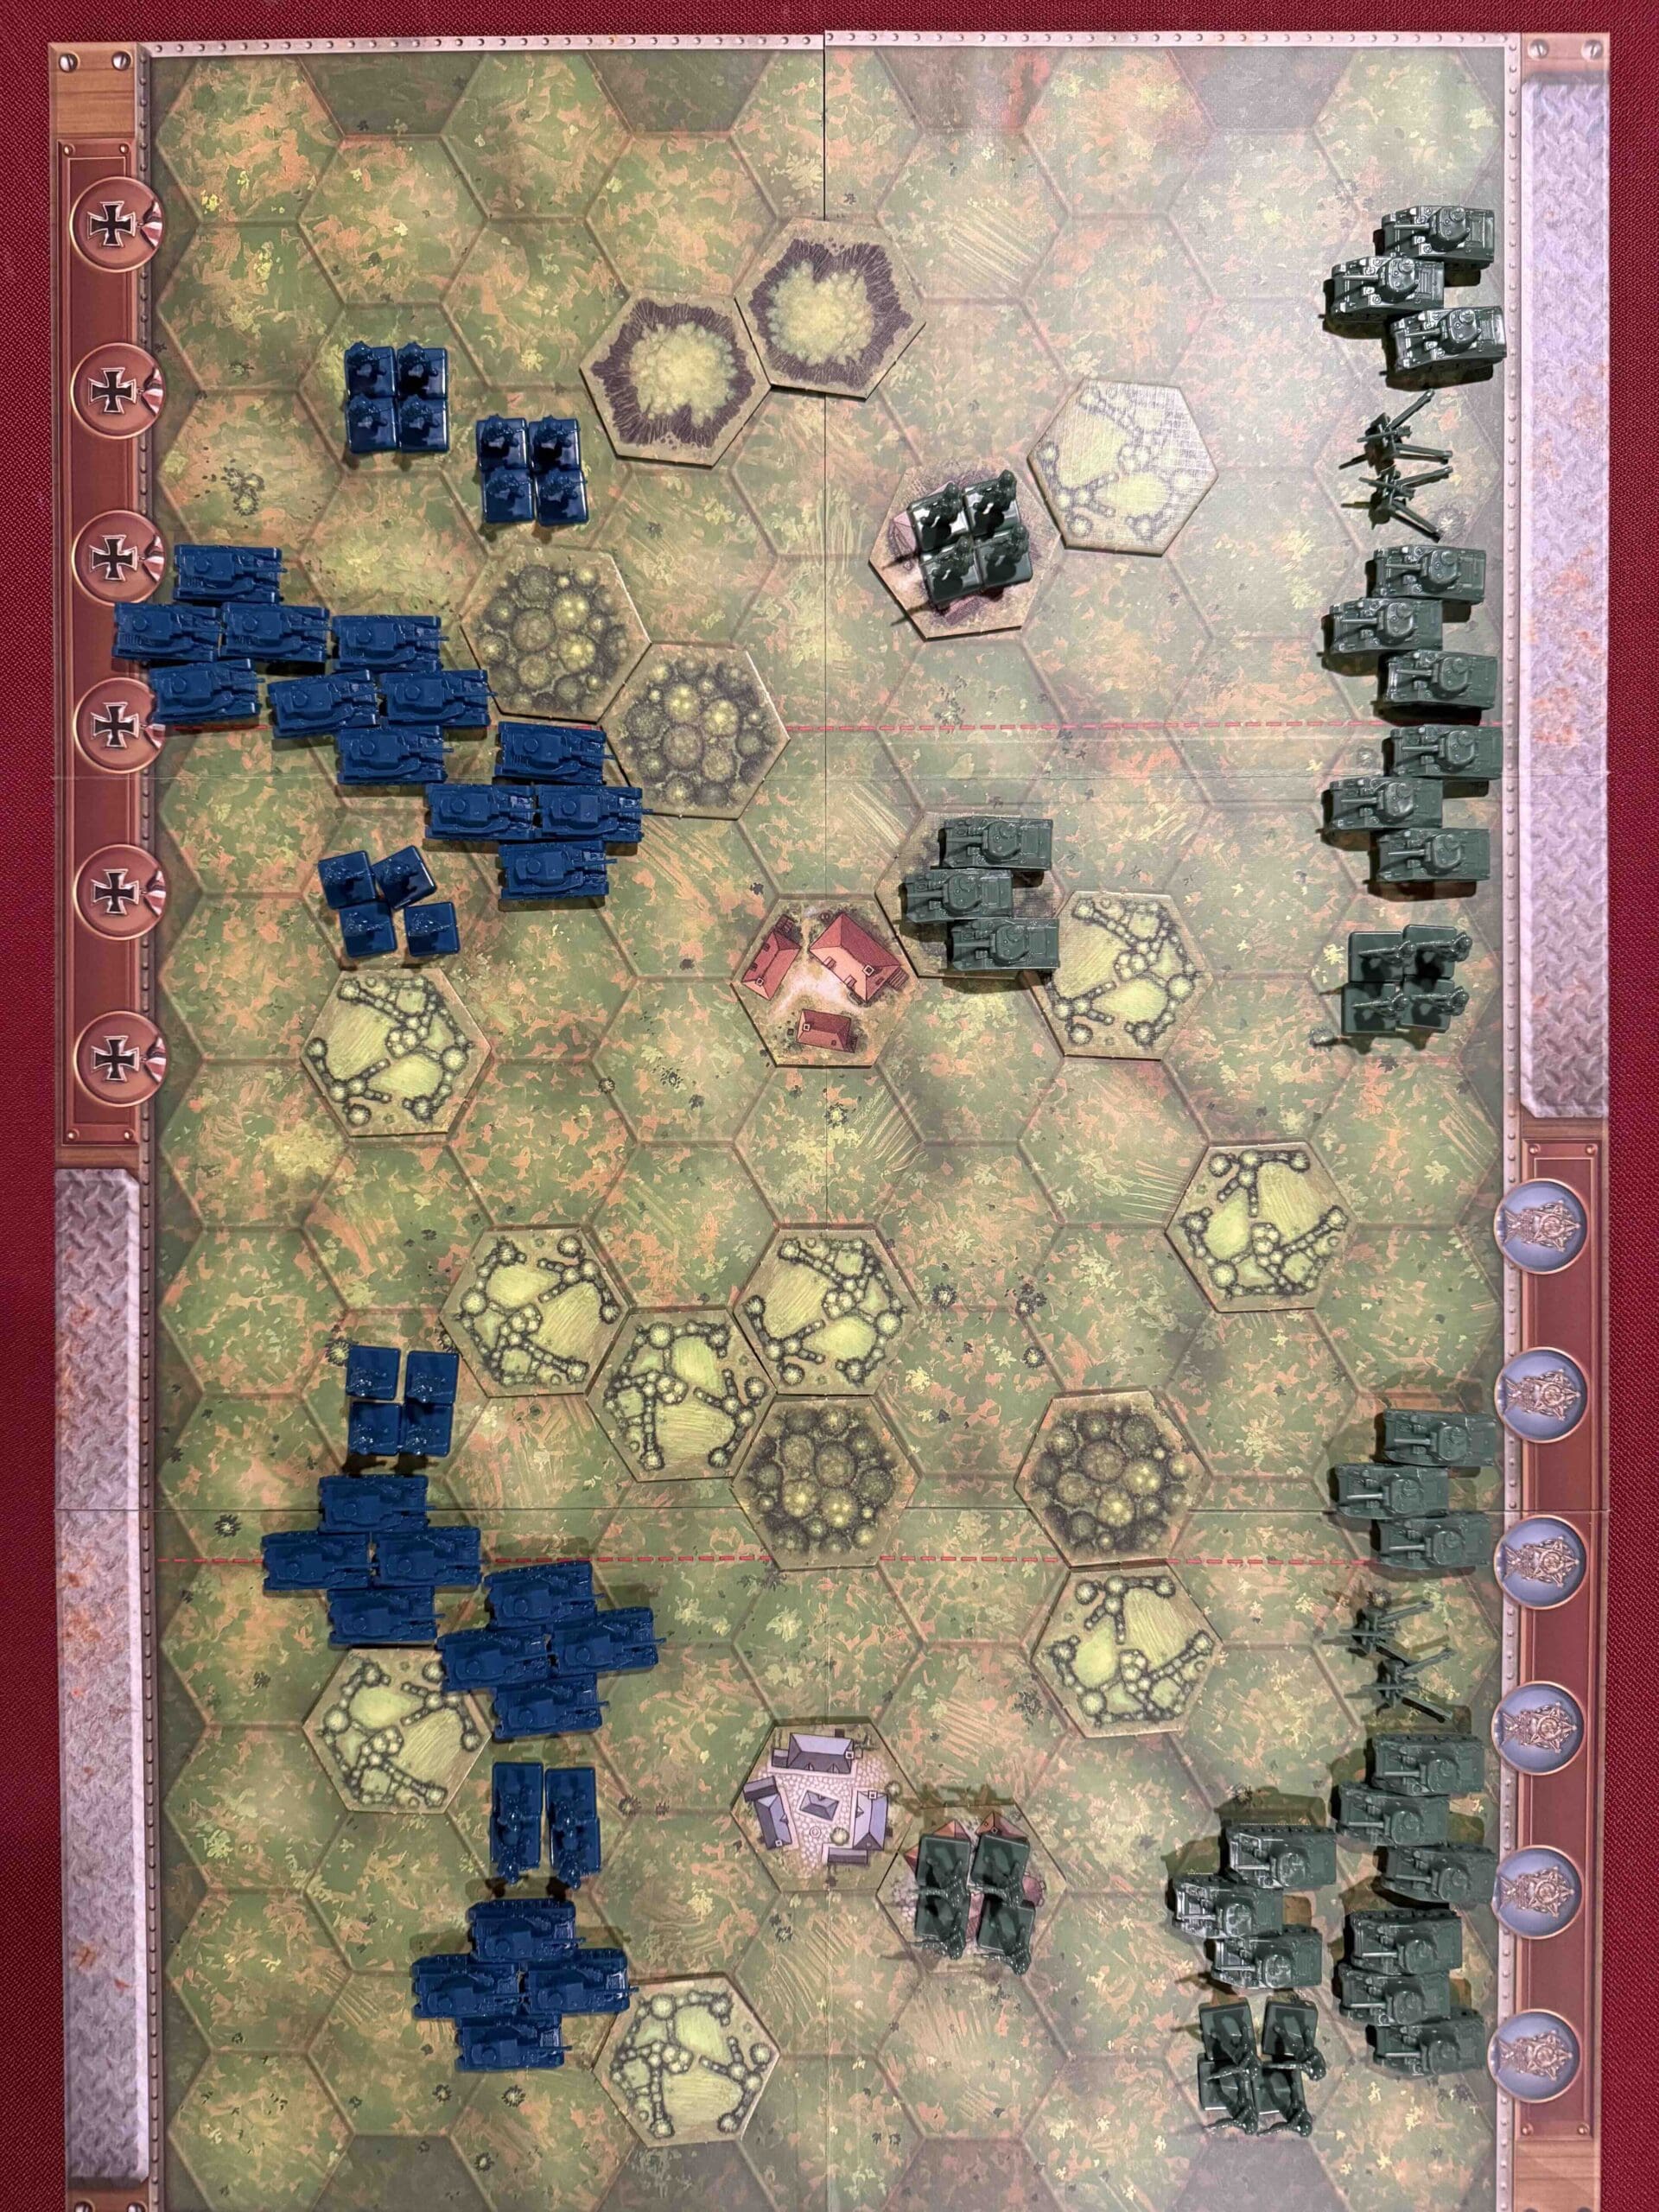
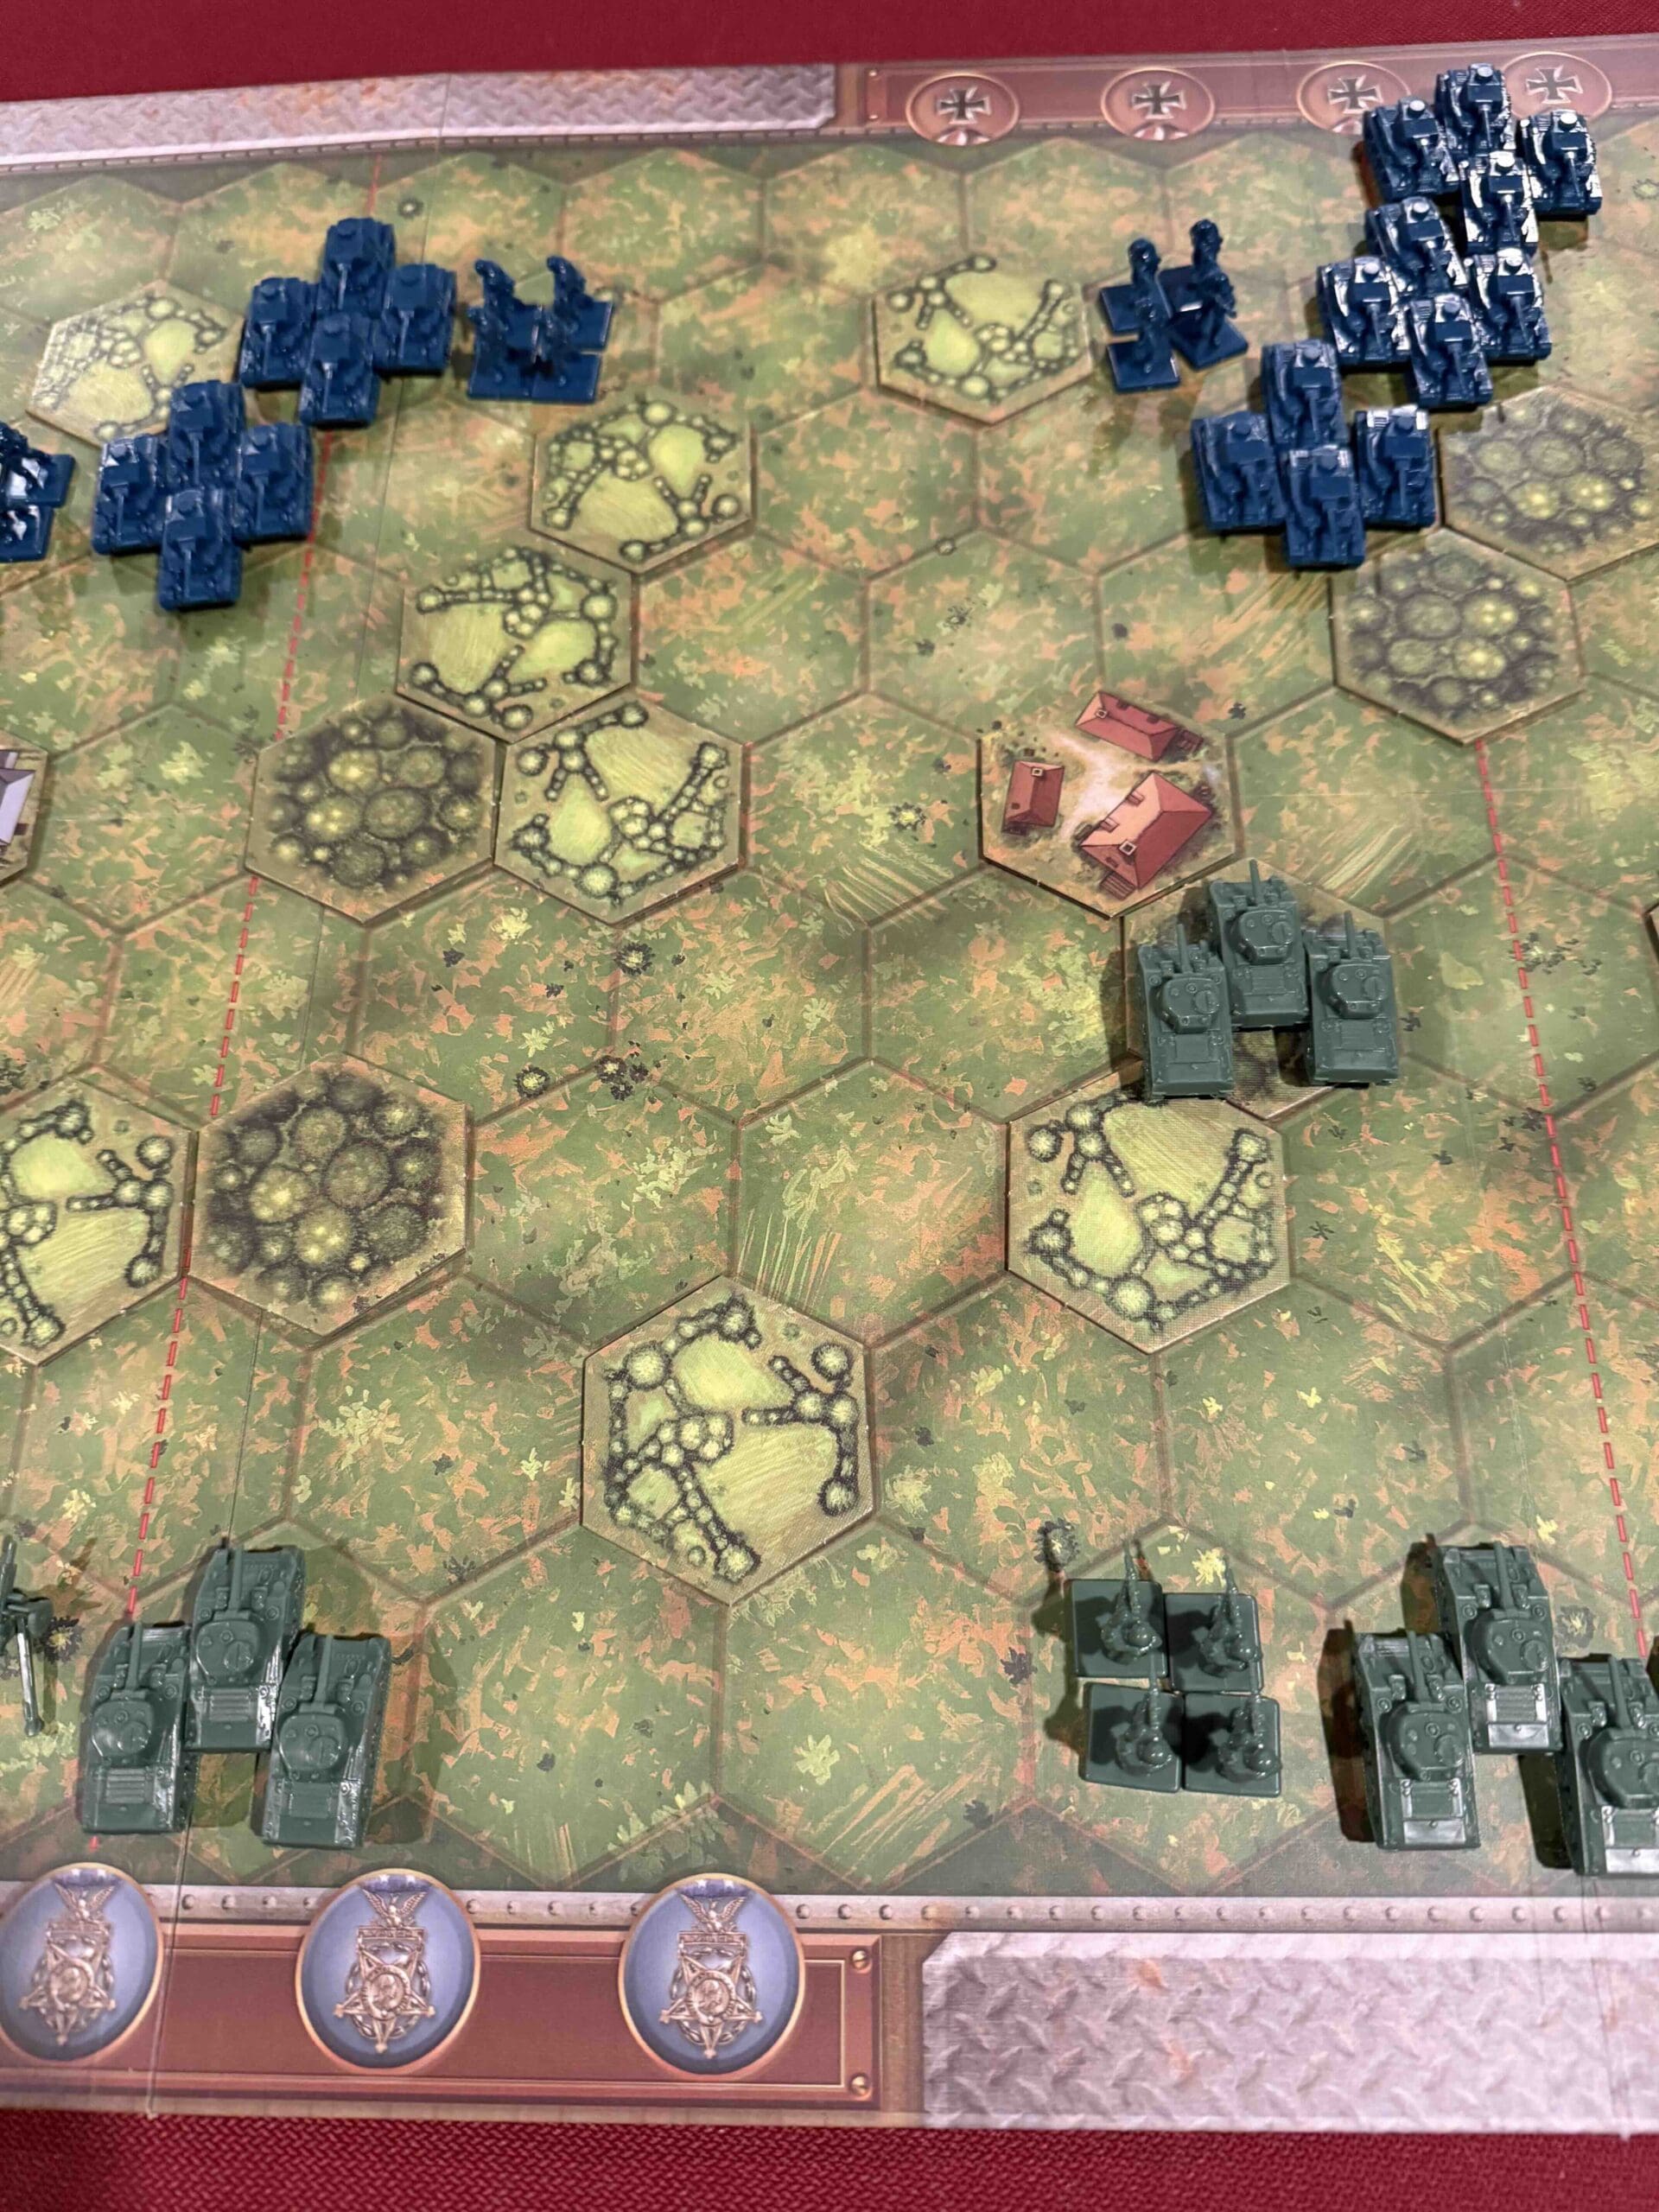
The asymmetrical starting pattern of this game makes for an interesting and challenging battle for both sides.
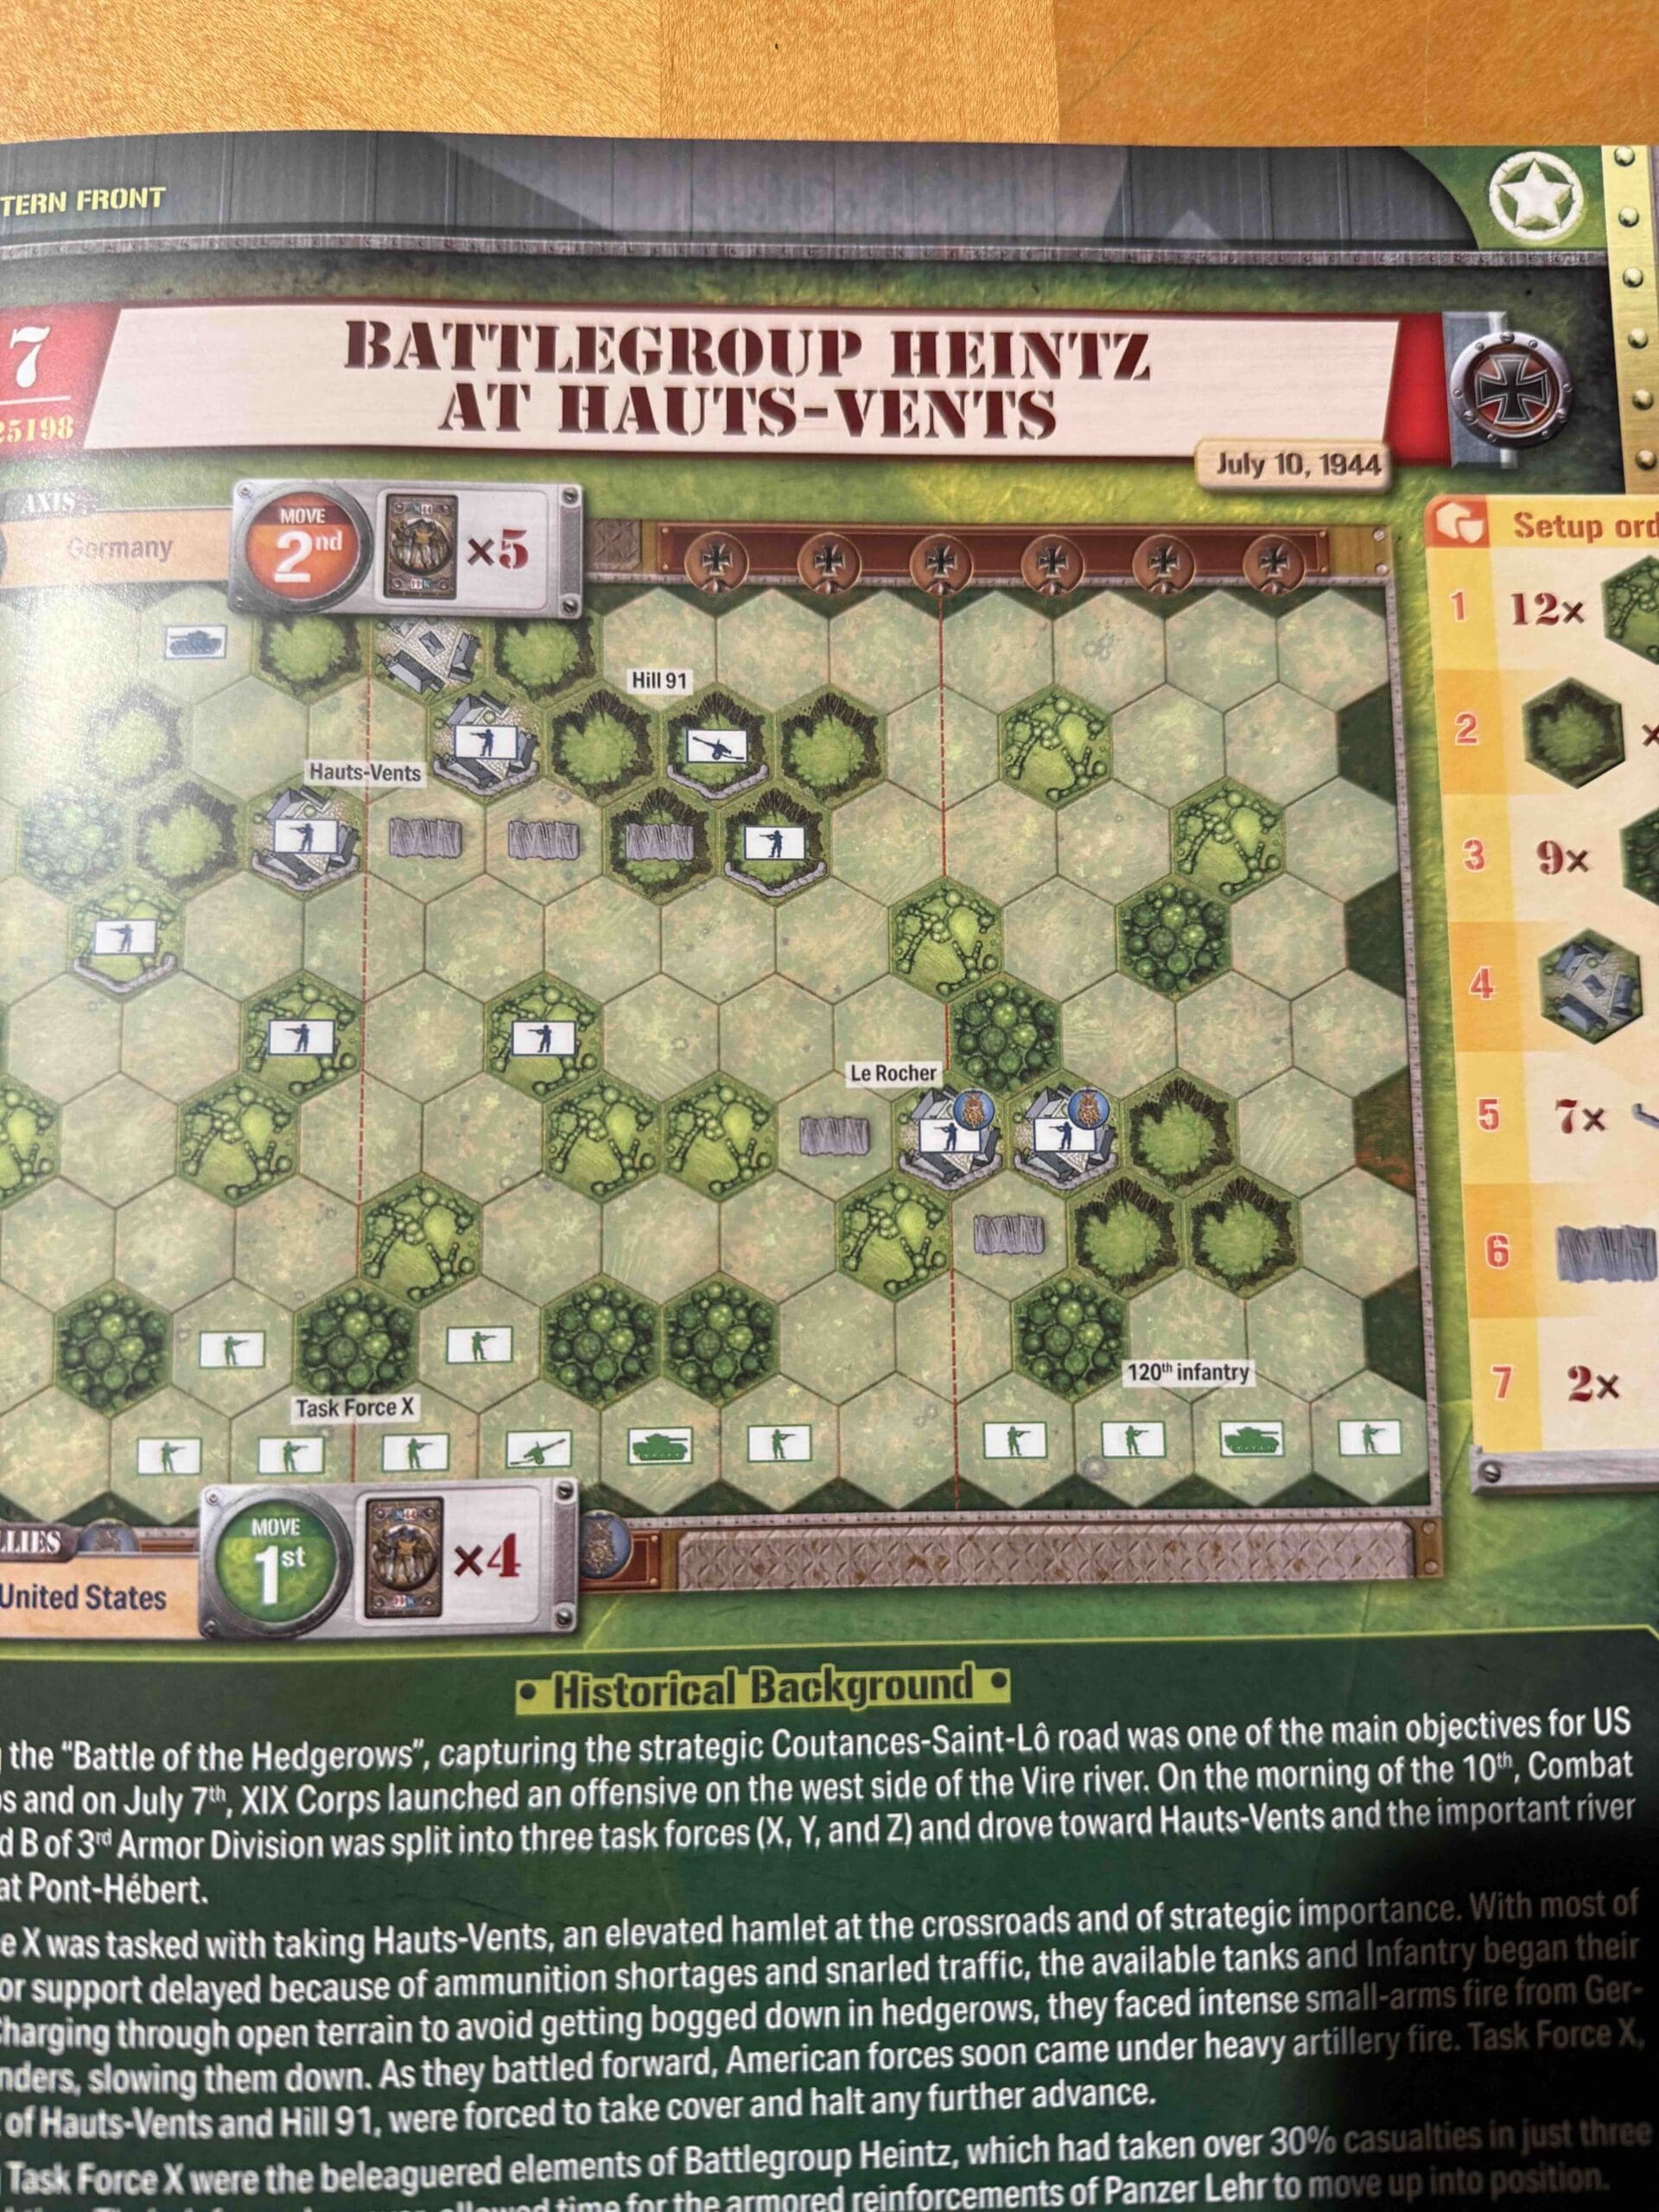
Objectives: 6 Medals
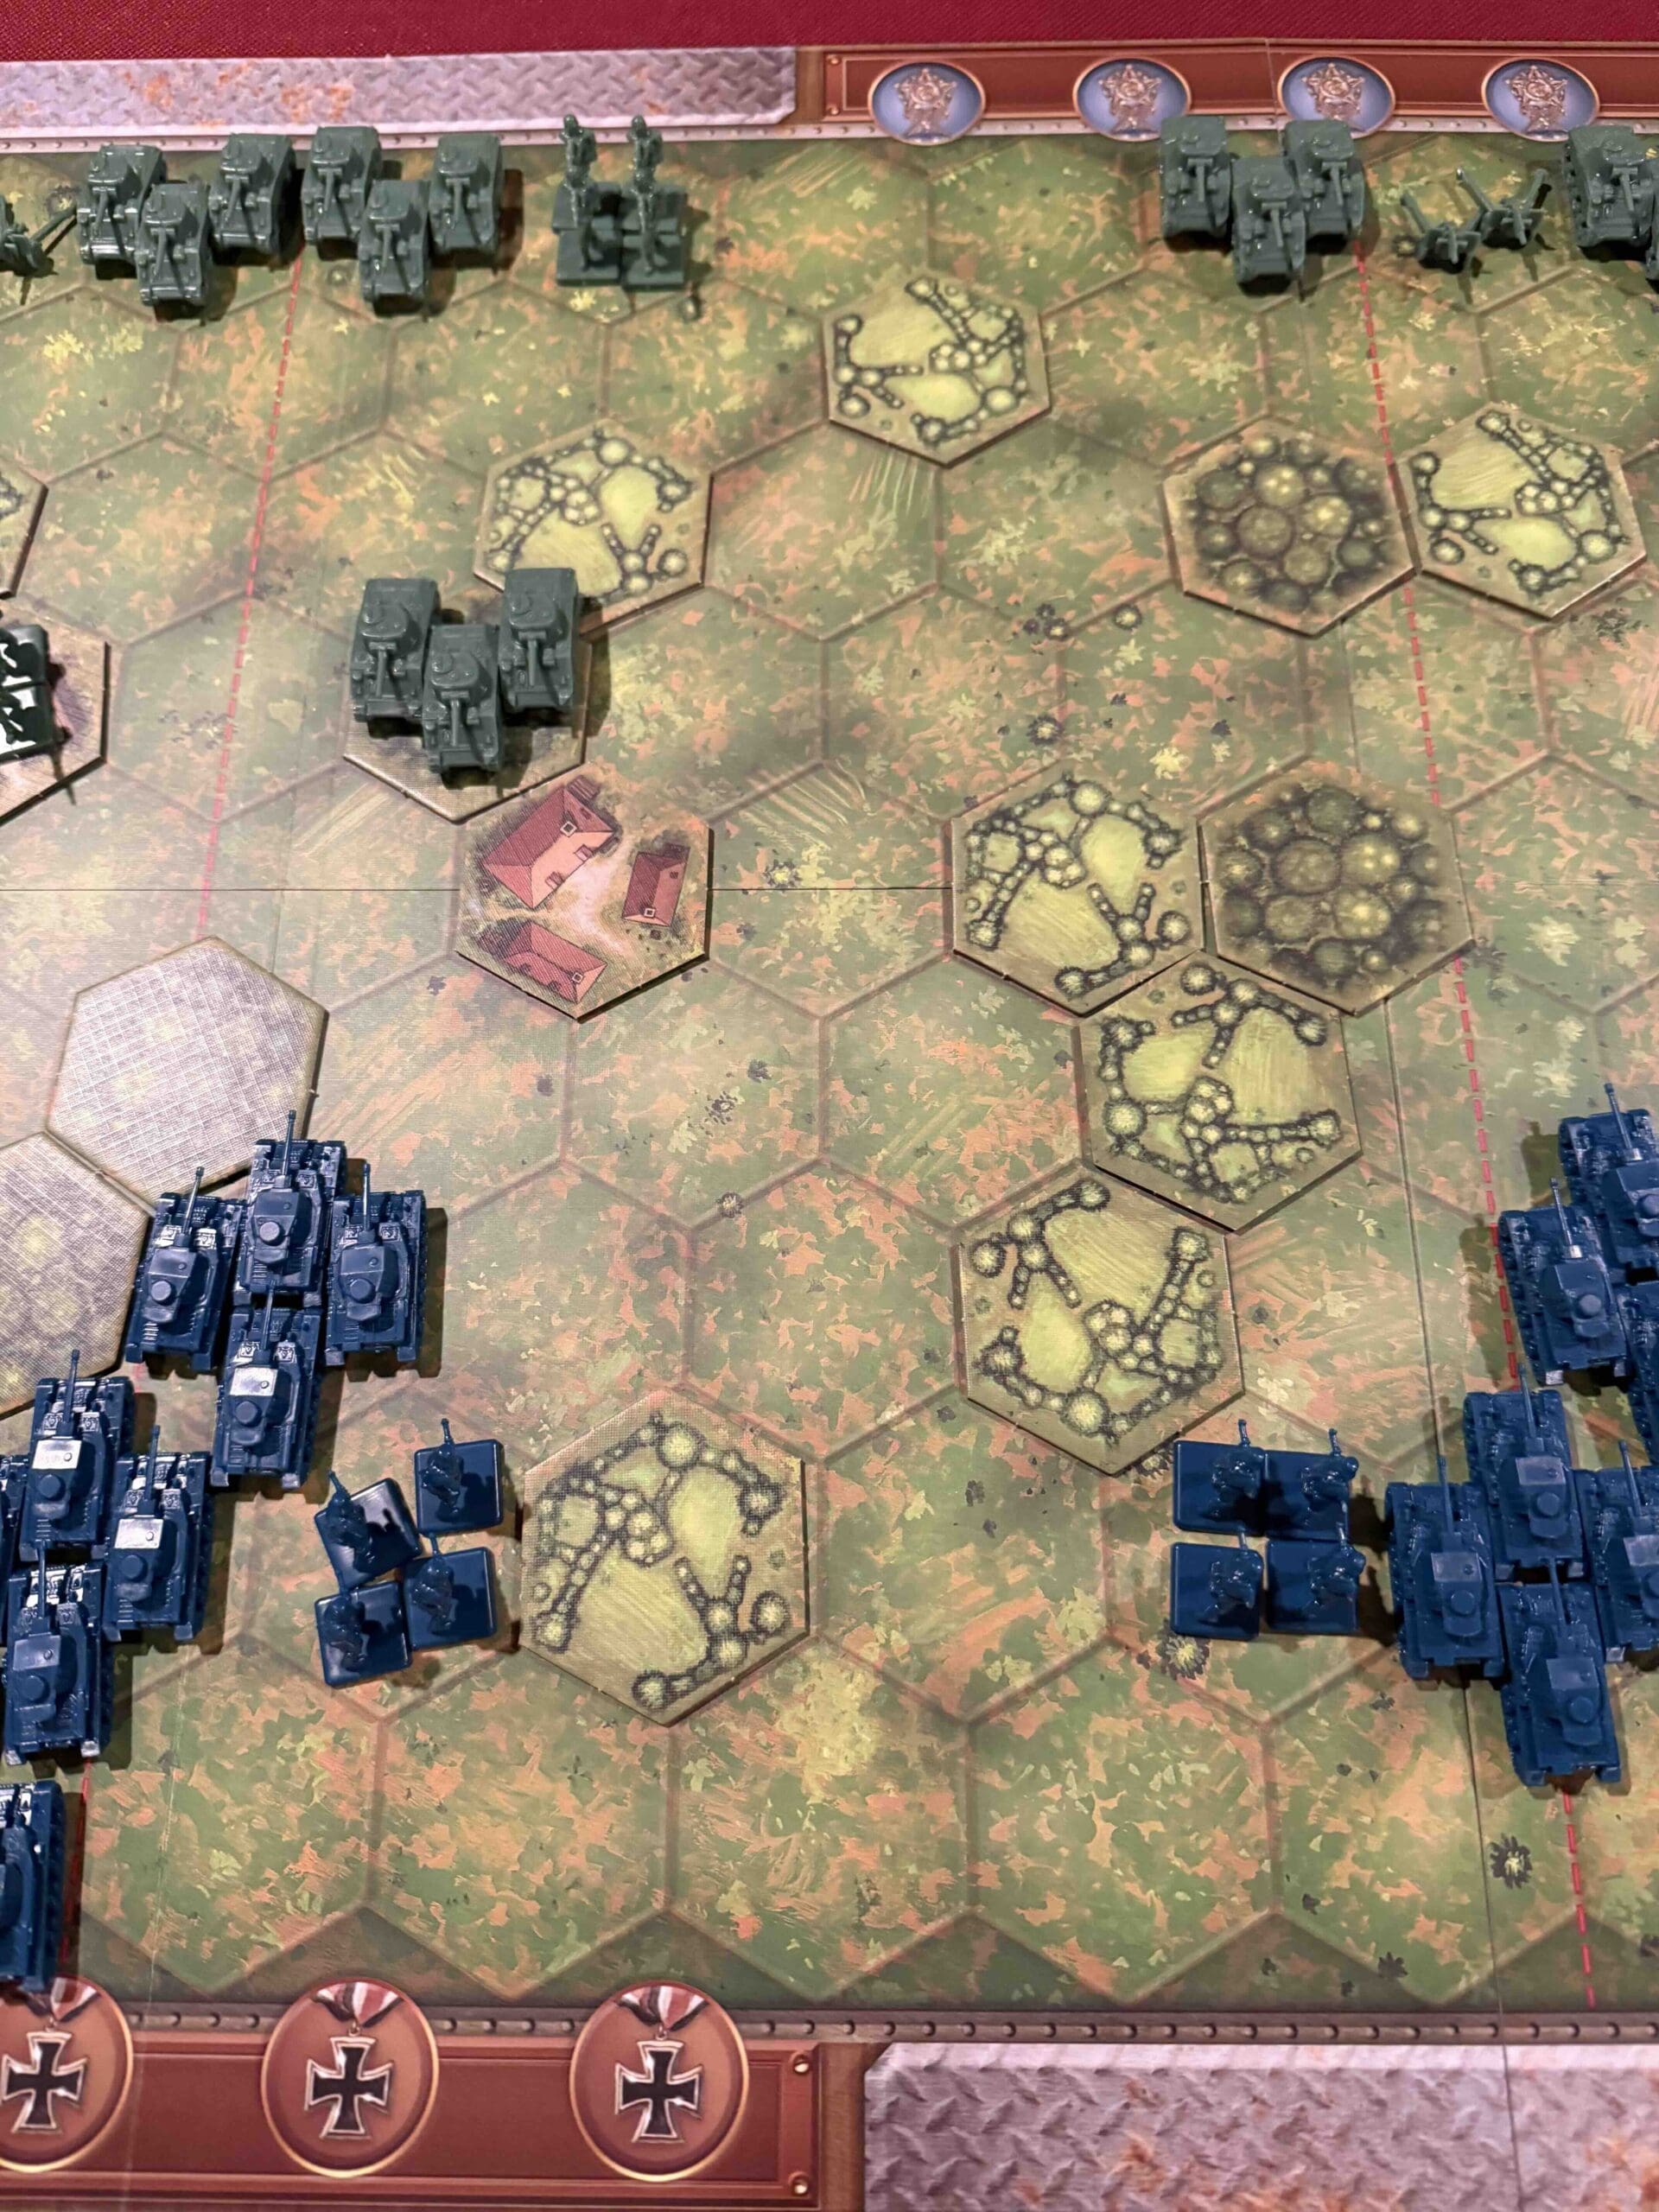
The three hexes of Hauts-Vents are each a temporary medal objective for the Allied player.
Hill 91 is composed of six hexes. If the Allied player controls at least two of those hexes at the start of their turn, they earn TWO temporary medals. If there are less than two Allied forces on the hill, then both medals are returned.
Terrain:
Countryside with hedgerows and hills.
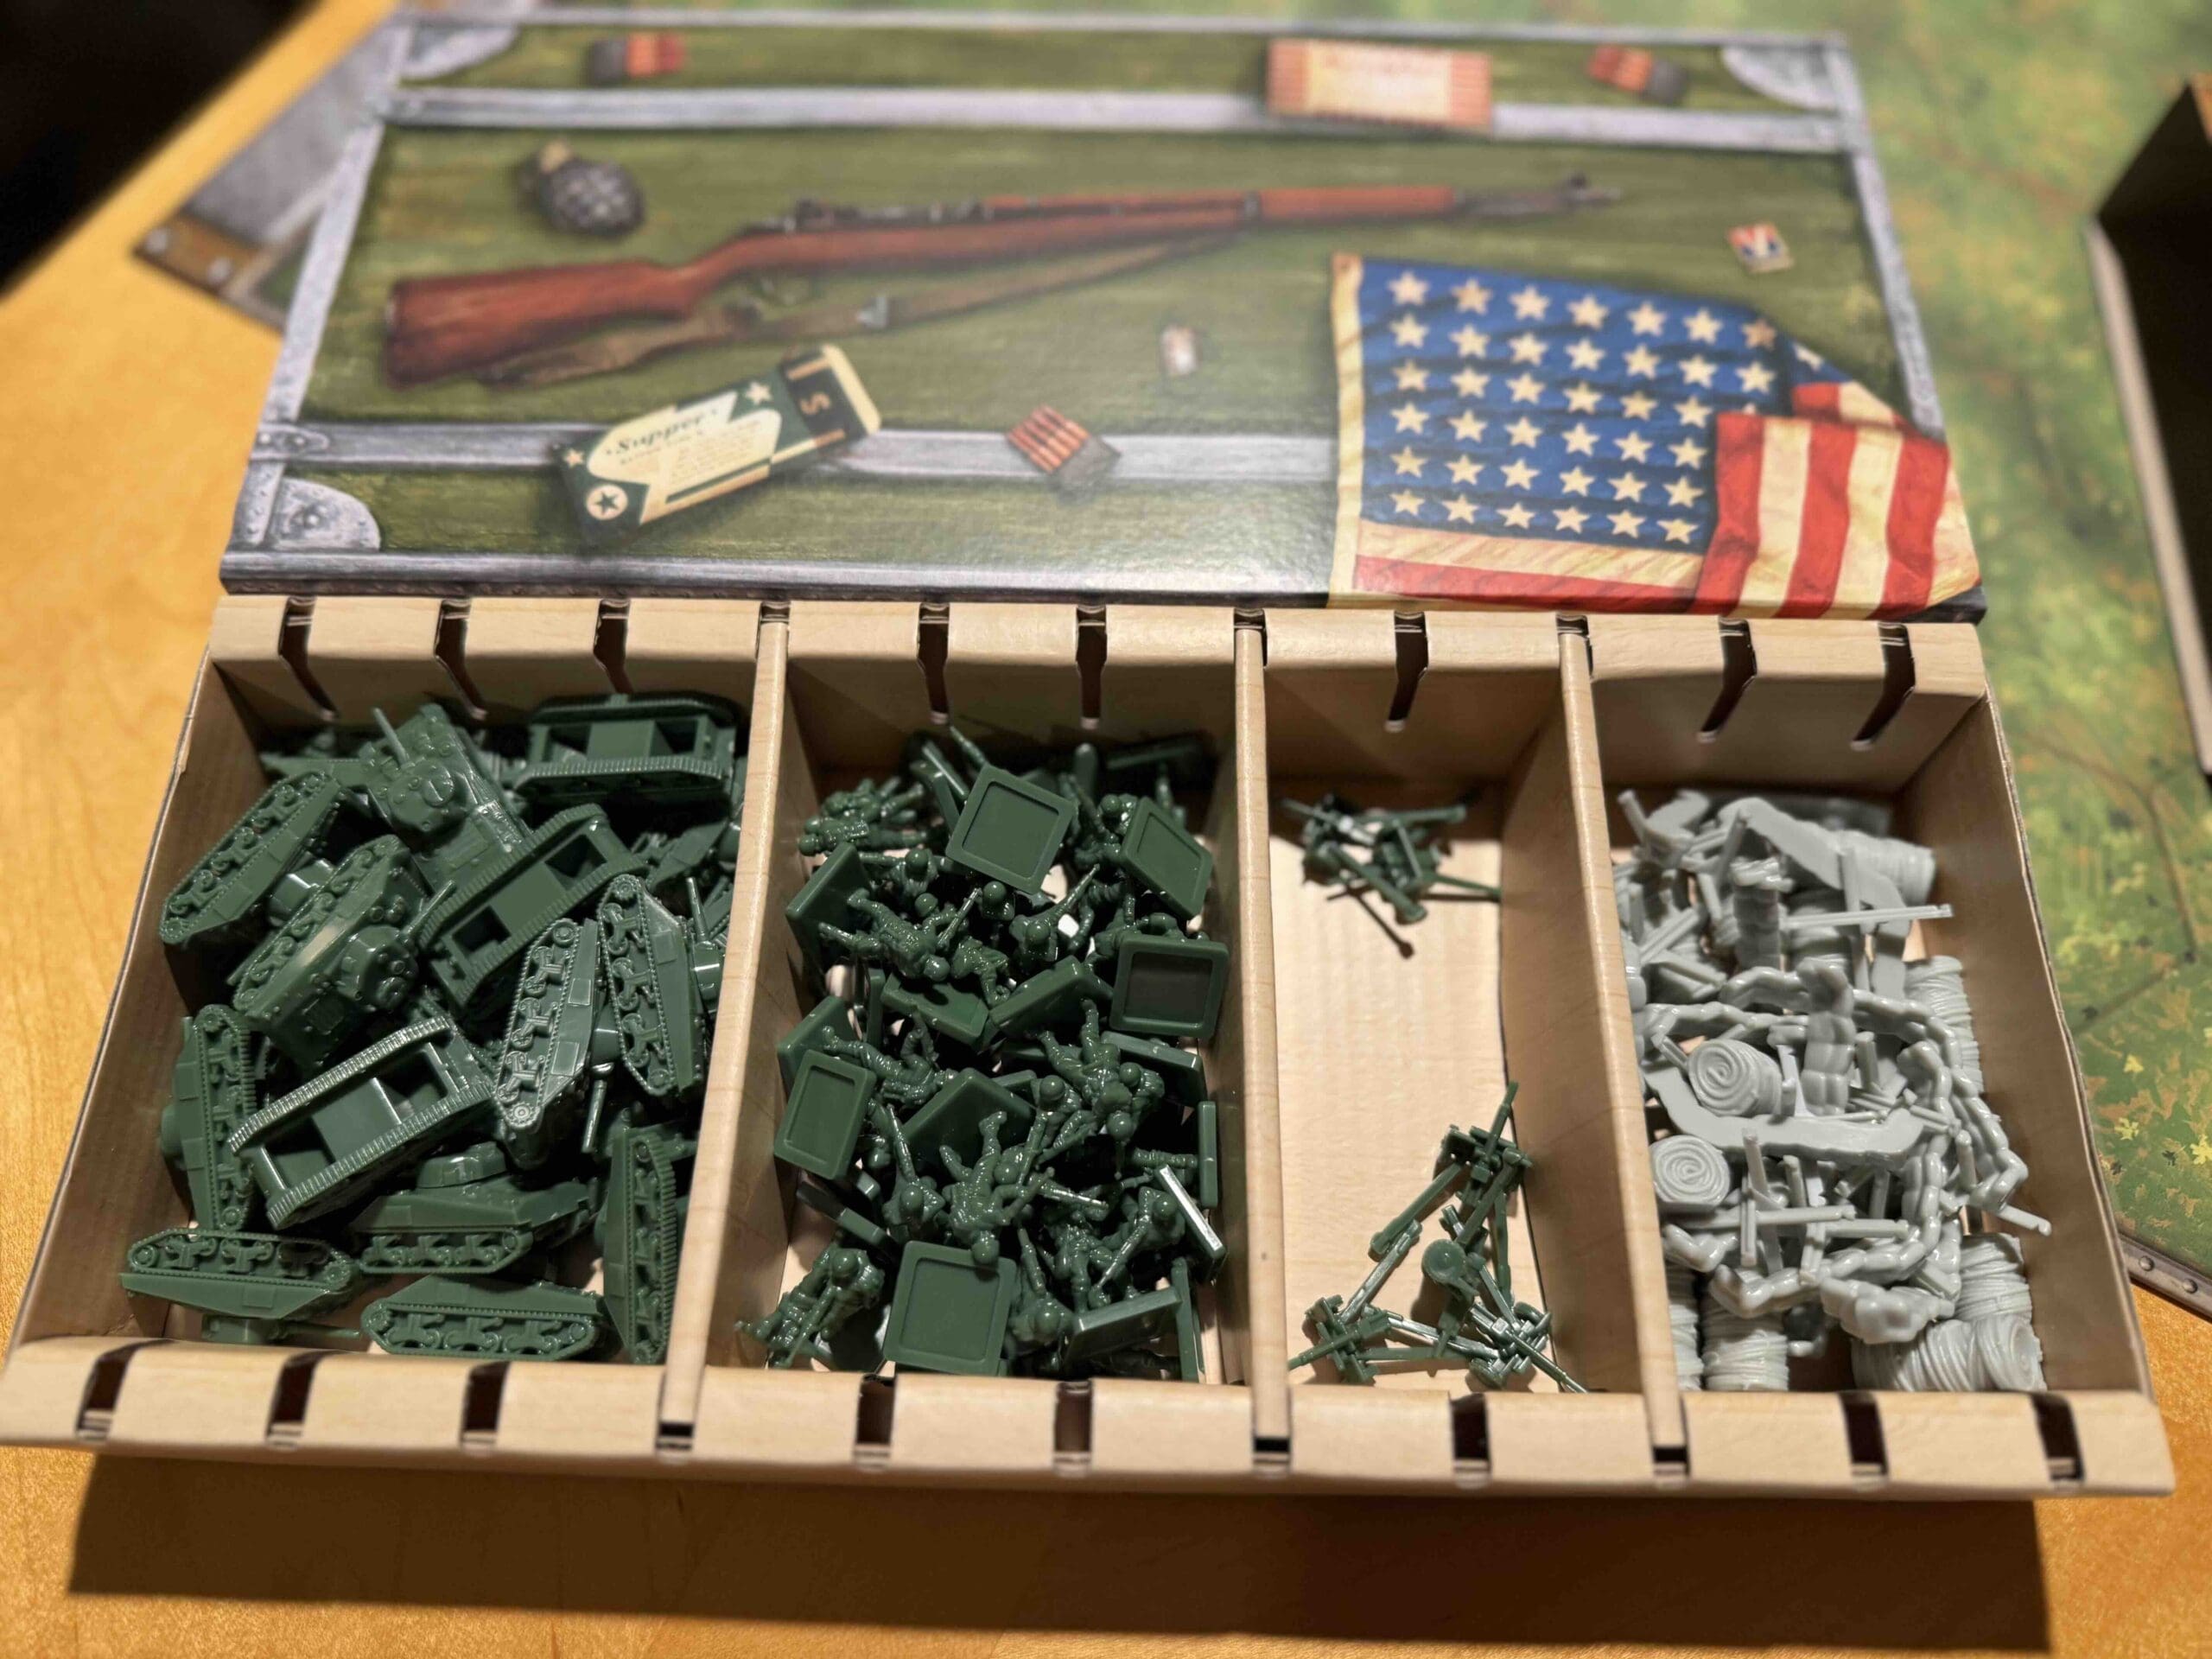
Troops:
Allies – 7 Infantry, 5 Armor, 2 Artillery
Axis – 6 Infantry, 3 Armor, 1 Artillery

🔥 Winning as Allies
1. The three hexes of Hauts-Vents are Temporary Medal Objectives for the Allies. And Hill 91 counts as two medals if the Allies control at least two of the six hexes. These objectives should shape your attack vector.

🔥 Winning as Axis
1. The enemy will try to take Hauts-Vents, as occurred historically, so move into defensive positions and finish them off as they try to move in.
Battle Reports
Author:
Days of Wonder, part of the 2025 Refresh of the Base Game
Link: