Battle Of Tannenburg Line (BT,EF,TP)
Battle Of Tannenburg Line (BT,EF,TP)
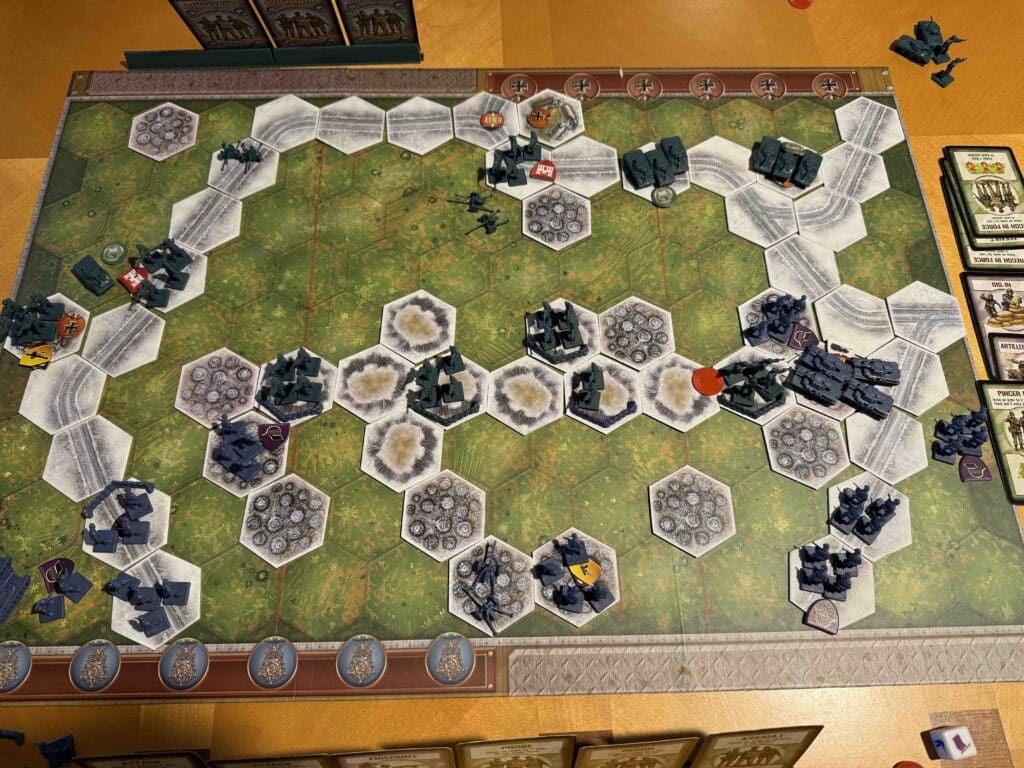
By the summer of 1944, the Soviet Red Army was on the offensive, pushing westward toward the Baltic Sea in a bid to crush the German Army Group North. One of the most critical defensive positions for the Germans lay in northeastern Estonia, on the Tannenberg Line. This line was anchored by the Sinimäed Hills — a series of three steep elevations known as Lastekodumägi, (Children’s Home Hill), Põrguaugu (Hell’s Hole), and Tornimägi (Tower Hill). These hills provided a natural defensive barrier, and the Germans had heavily fortified them with bunkers, trenches, and artillery positions.
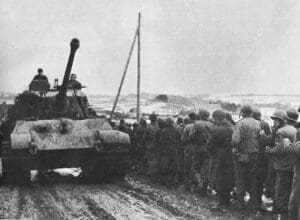
Facing them was the Soviet Leningrad Front, under the command of Marshal Leonid Govorov, tasked with breaking through the Tannenberg Line and opening the path to the Baltic Sea. Soviet forces included powerful infantry, armor, and artillery units, determined to seize the high ground. However, the rugged terrain and Axis fortifications posed a formidable challenge. Swamps, forests, and anti-tank obstacles complicated the Soviet advance, making coordinated assaults difficult. The German defenders, led by General Johannes Frießner, included regular Wehrmacht units and elite Estonian Waffen-SS forces, fighting tenaciously to hold their positions on the Sinimäed Hills. These defensive positions offered a clear advantage, giving the Axis the ability to rain down fire on Soviet units struggling to traverse the open ground and difficult terrain below.
The Soviet assault began on July 25, 1944, with fierce fighting erupting on the hills. Over the course of the battle, Soviet forces launched wave after wave of attacks, while the Axis defenders, outnumbered but well-entrenched, fiercely resisted.
The stage is set, the battle lines are drawn, and you are in command. The rest is history.
12 VP’s
Card Balance:
Allies – 5
Axis – 6
Complexity:
4
Conditions:
Countryside
Context:
Historical
Location:
Estonia
Year:
1944
Theater:
Eastern Front
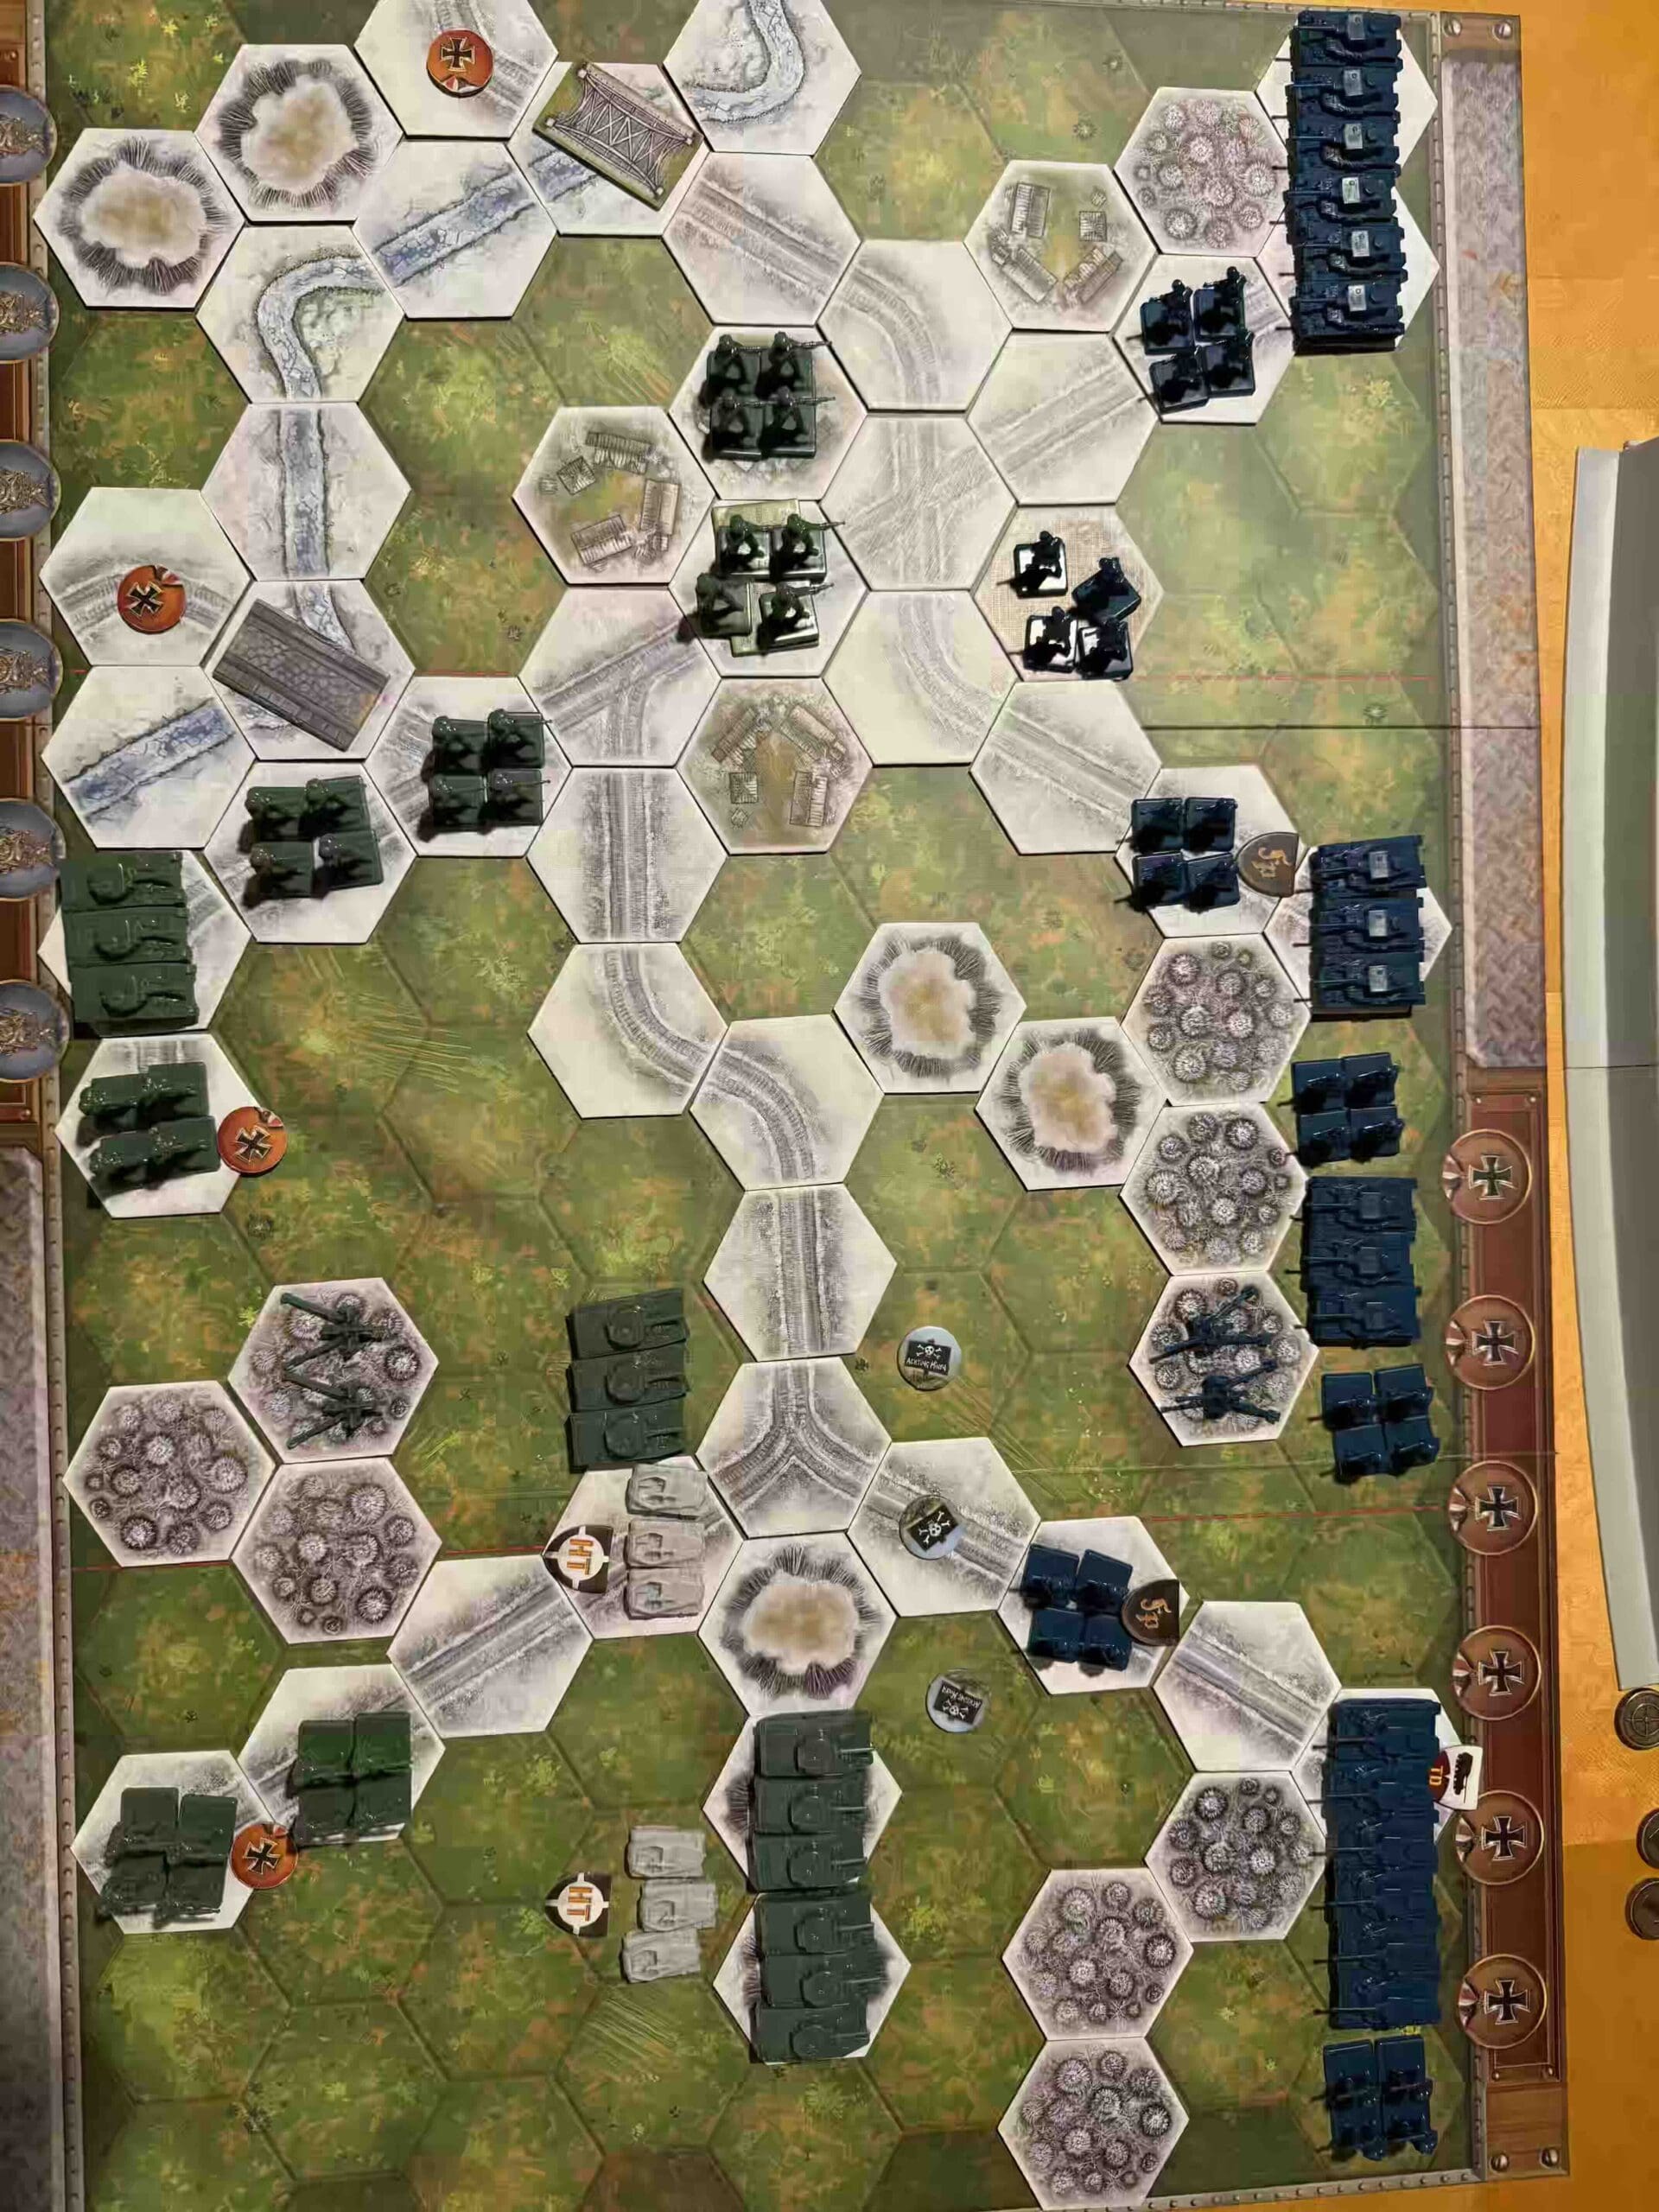
Summary:
Objectives:
12 VP’s, including some territorial objectives:
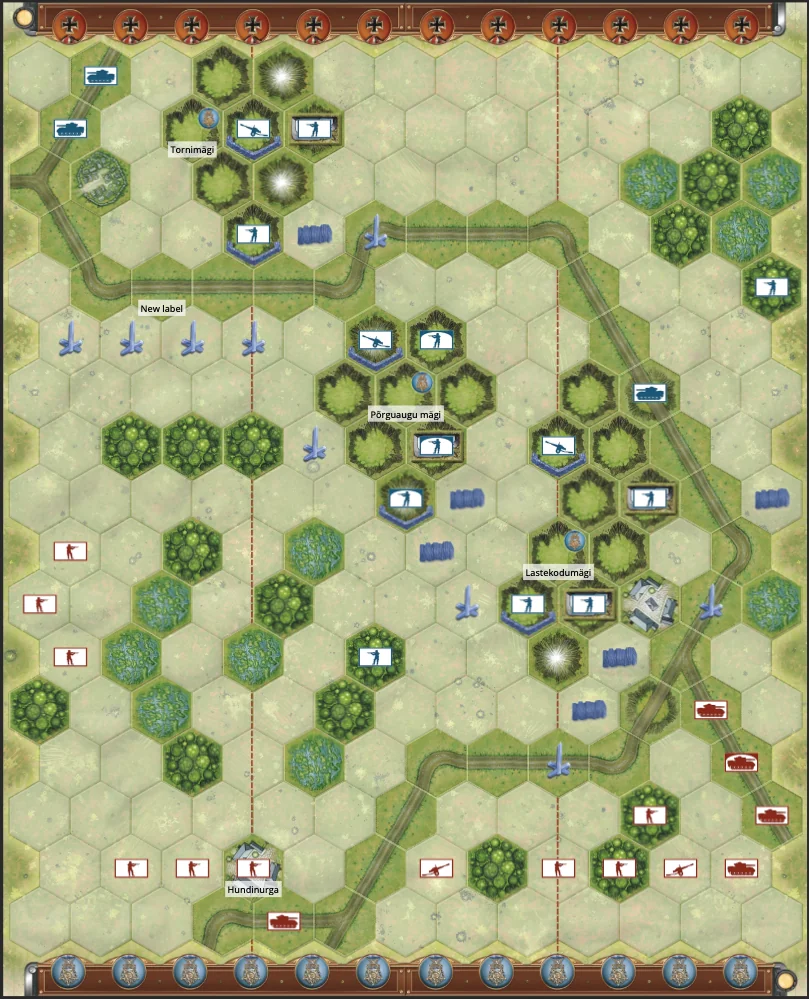
Lastekodumägi, Põrguaugu mägi and Tornimägi are Permanent Medal Objectives for the Allied forces.
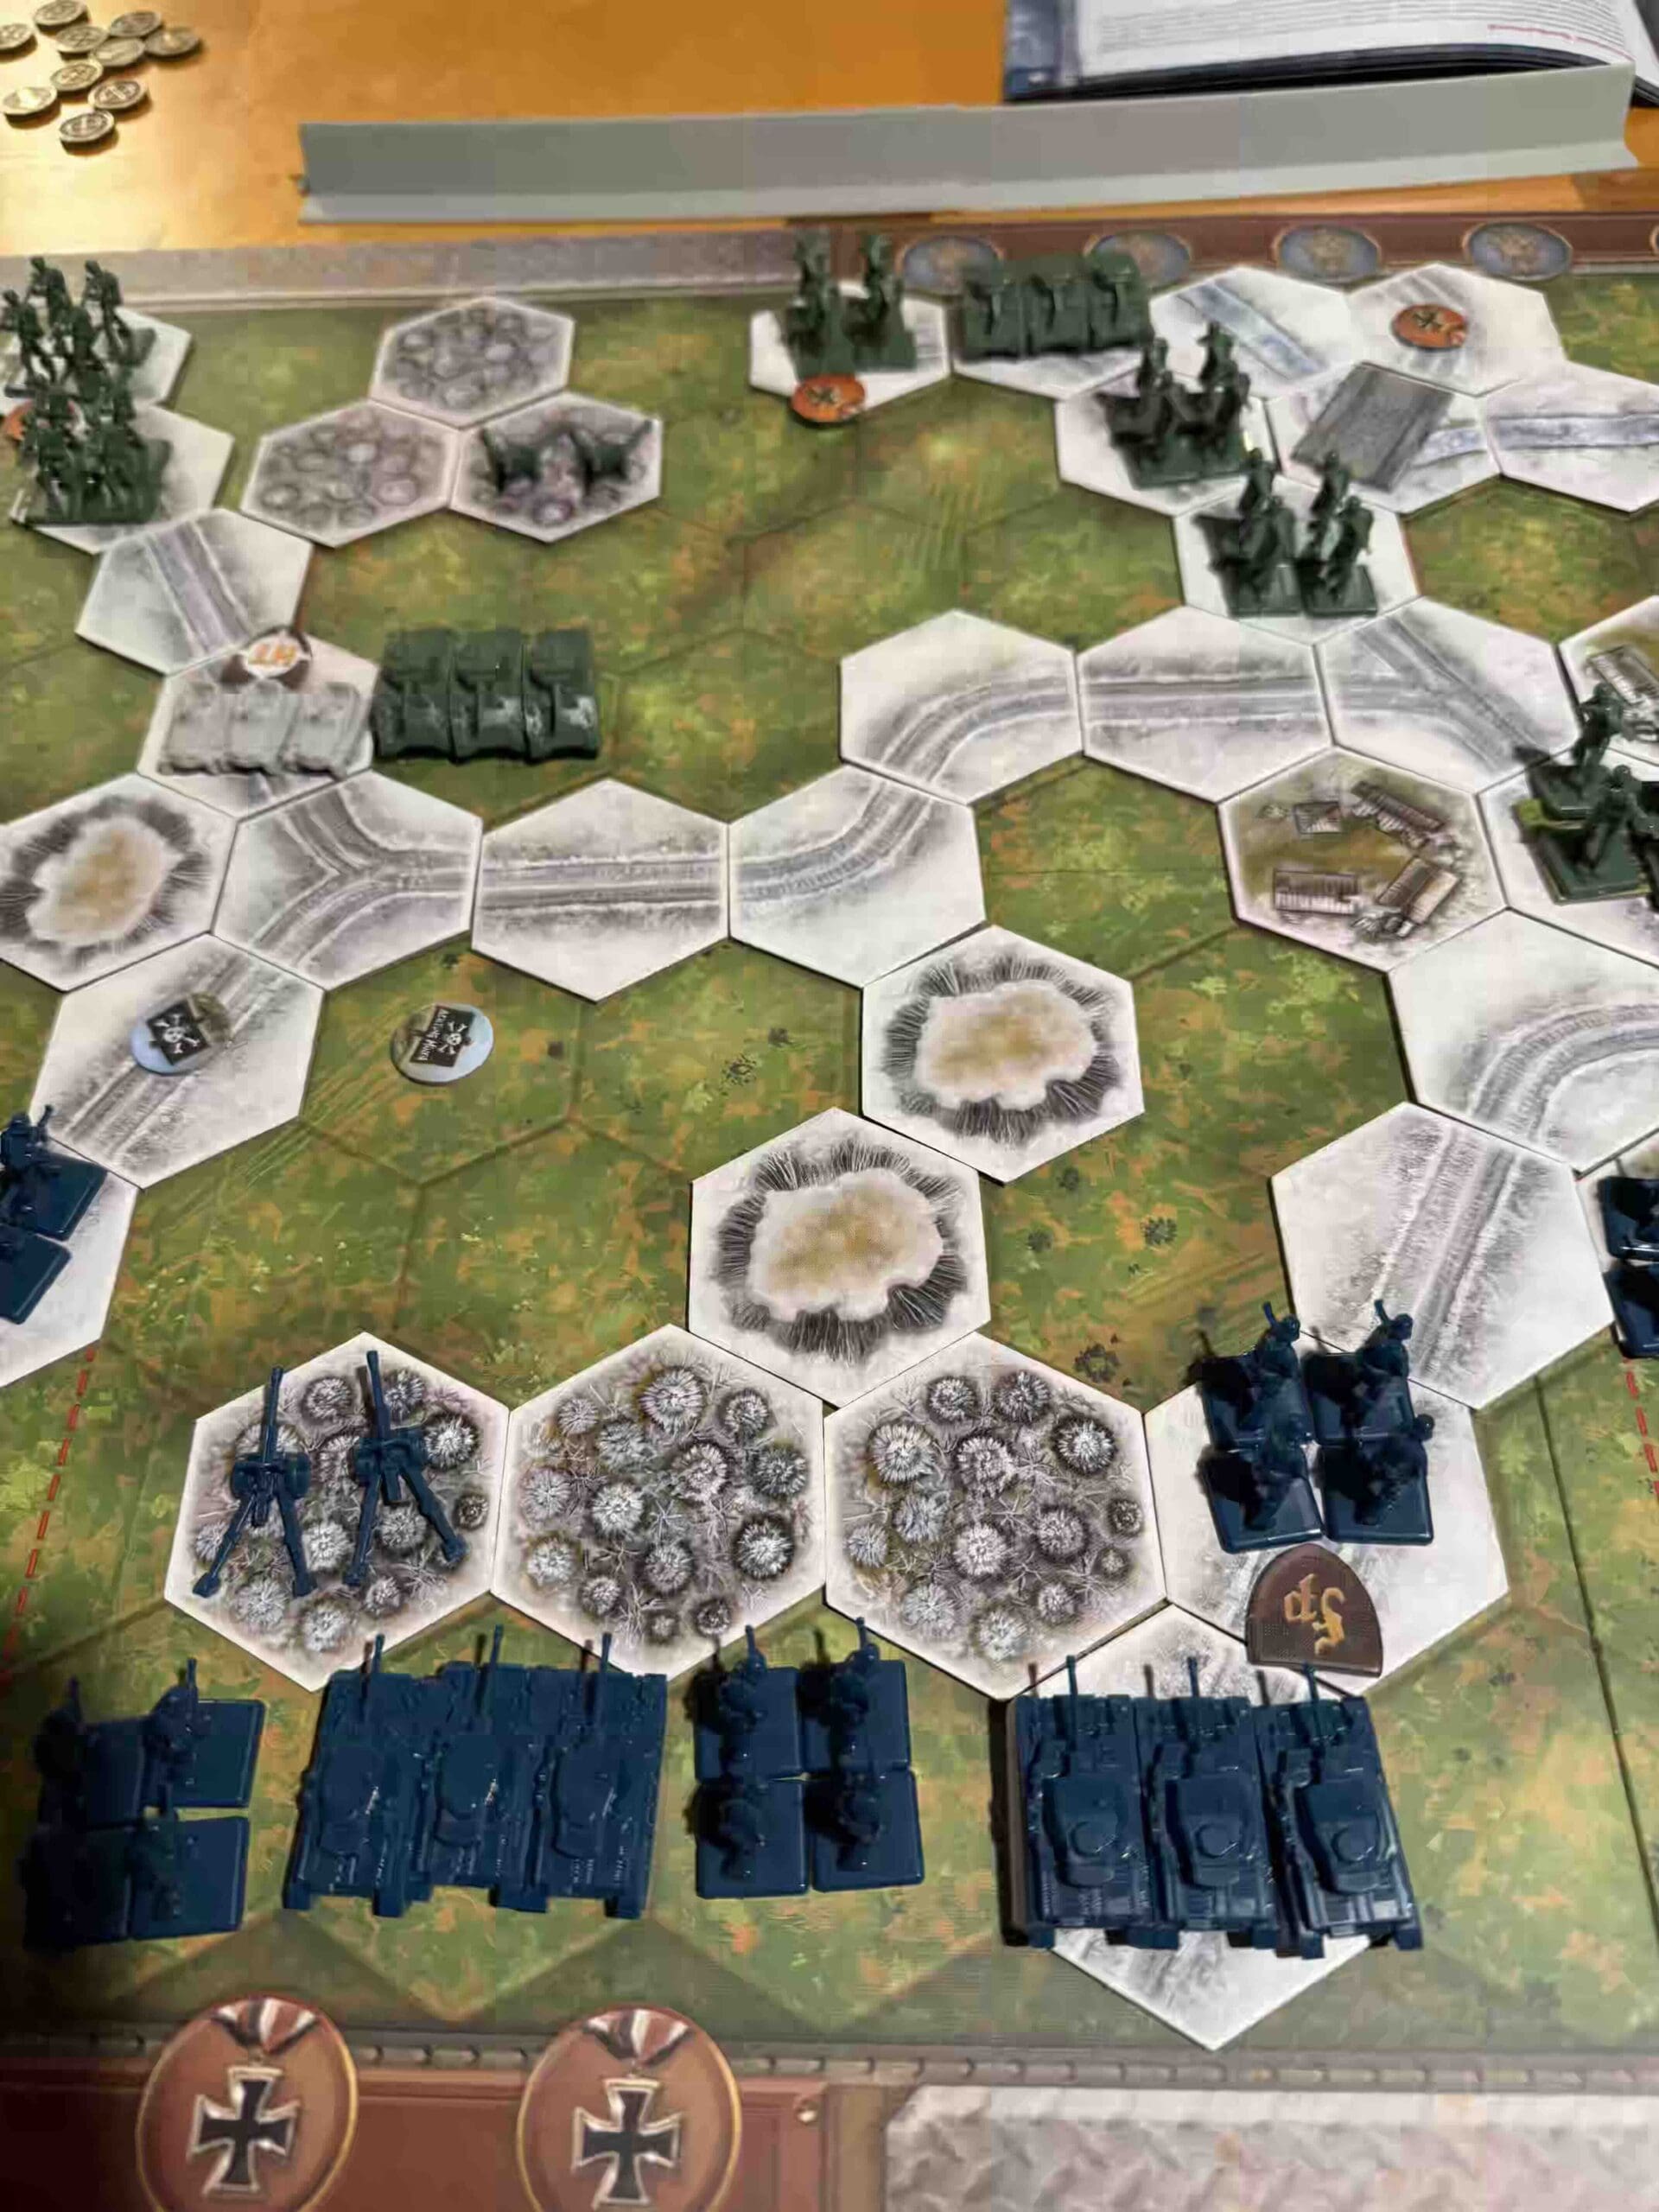
Terrain:
Includes a series of three steep elevations known as Lastekodumägi, (Children’s Home Hill), Põrguaugu (Hell’s Hole), and Tornimägi (Tower Hill). These hills provided a natural defensive barrier, and the Germans had heavily fortified them with bunkers, trenches, and artillery positions.
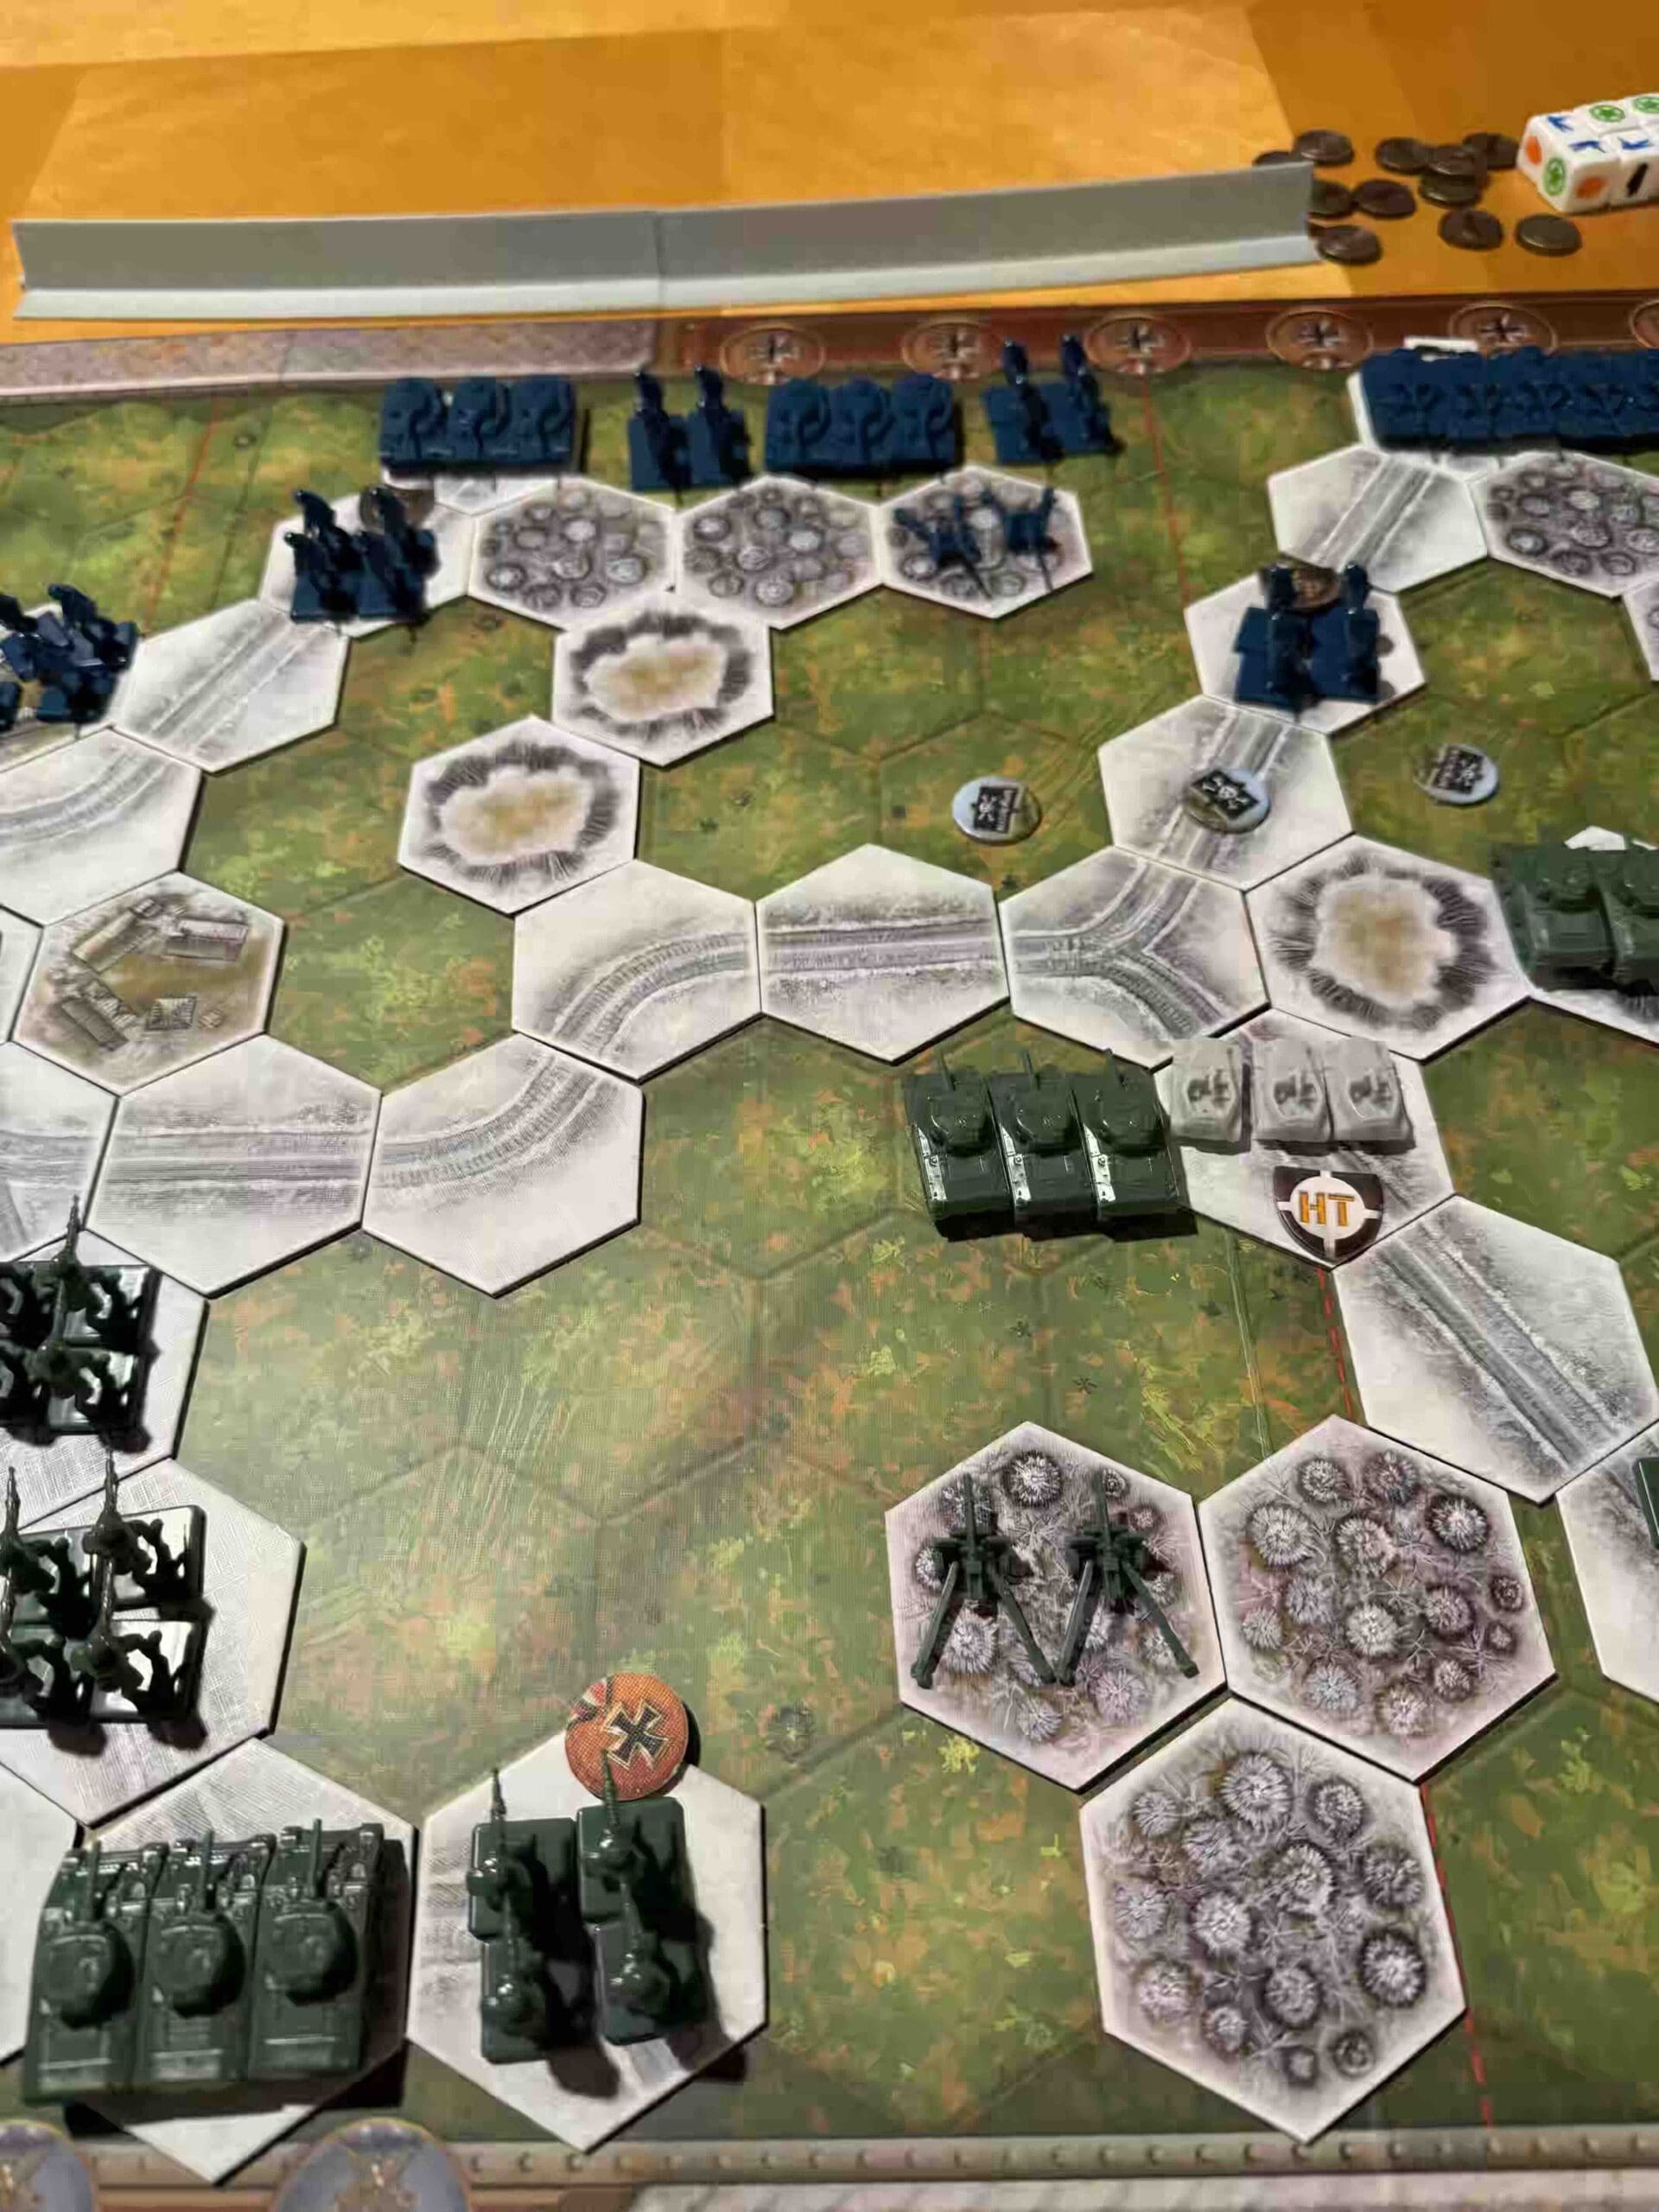
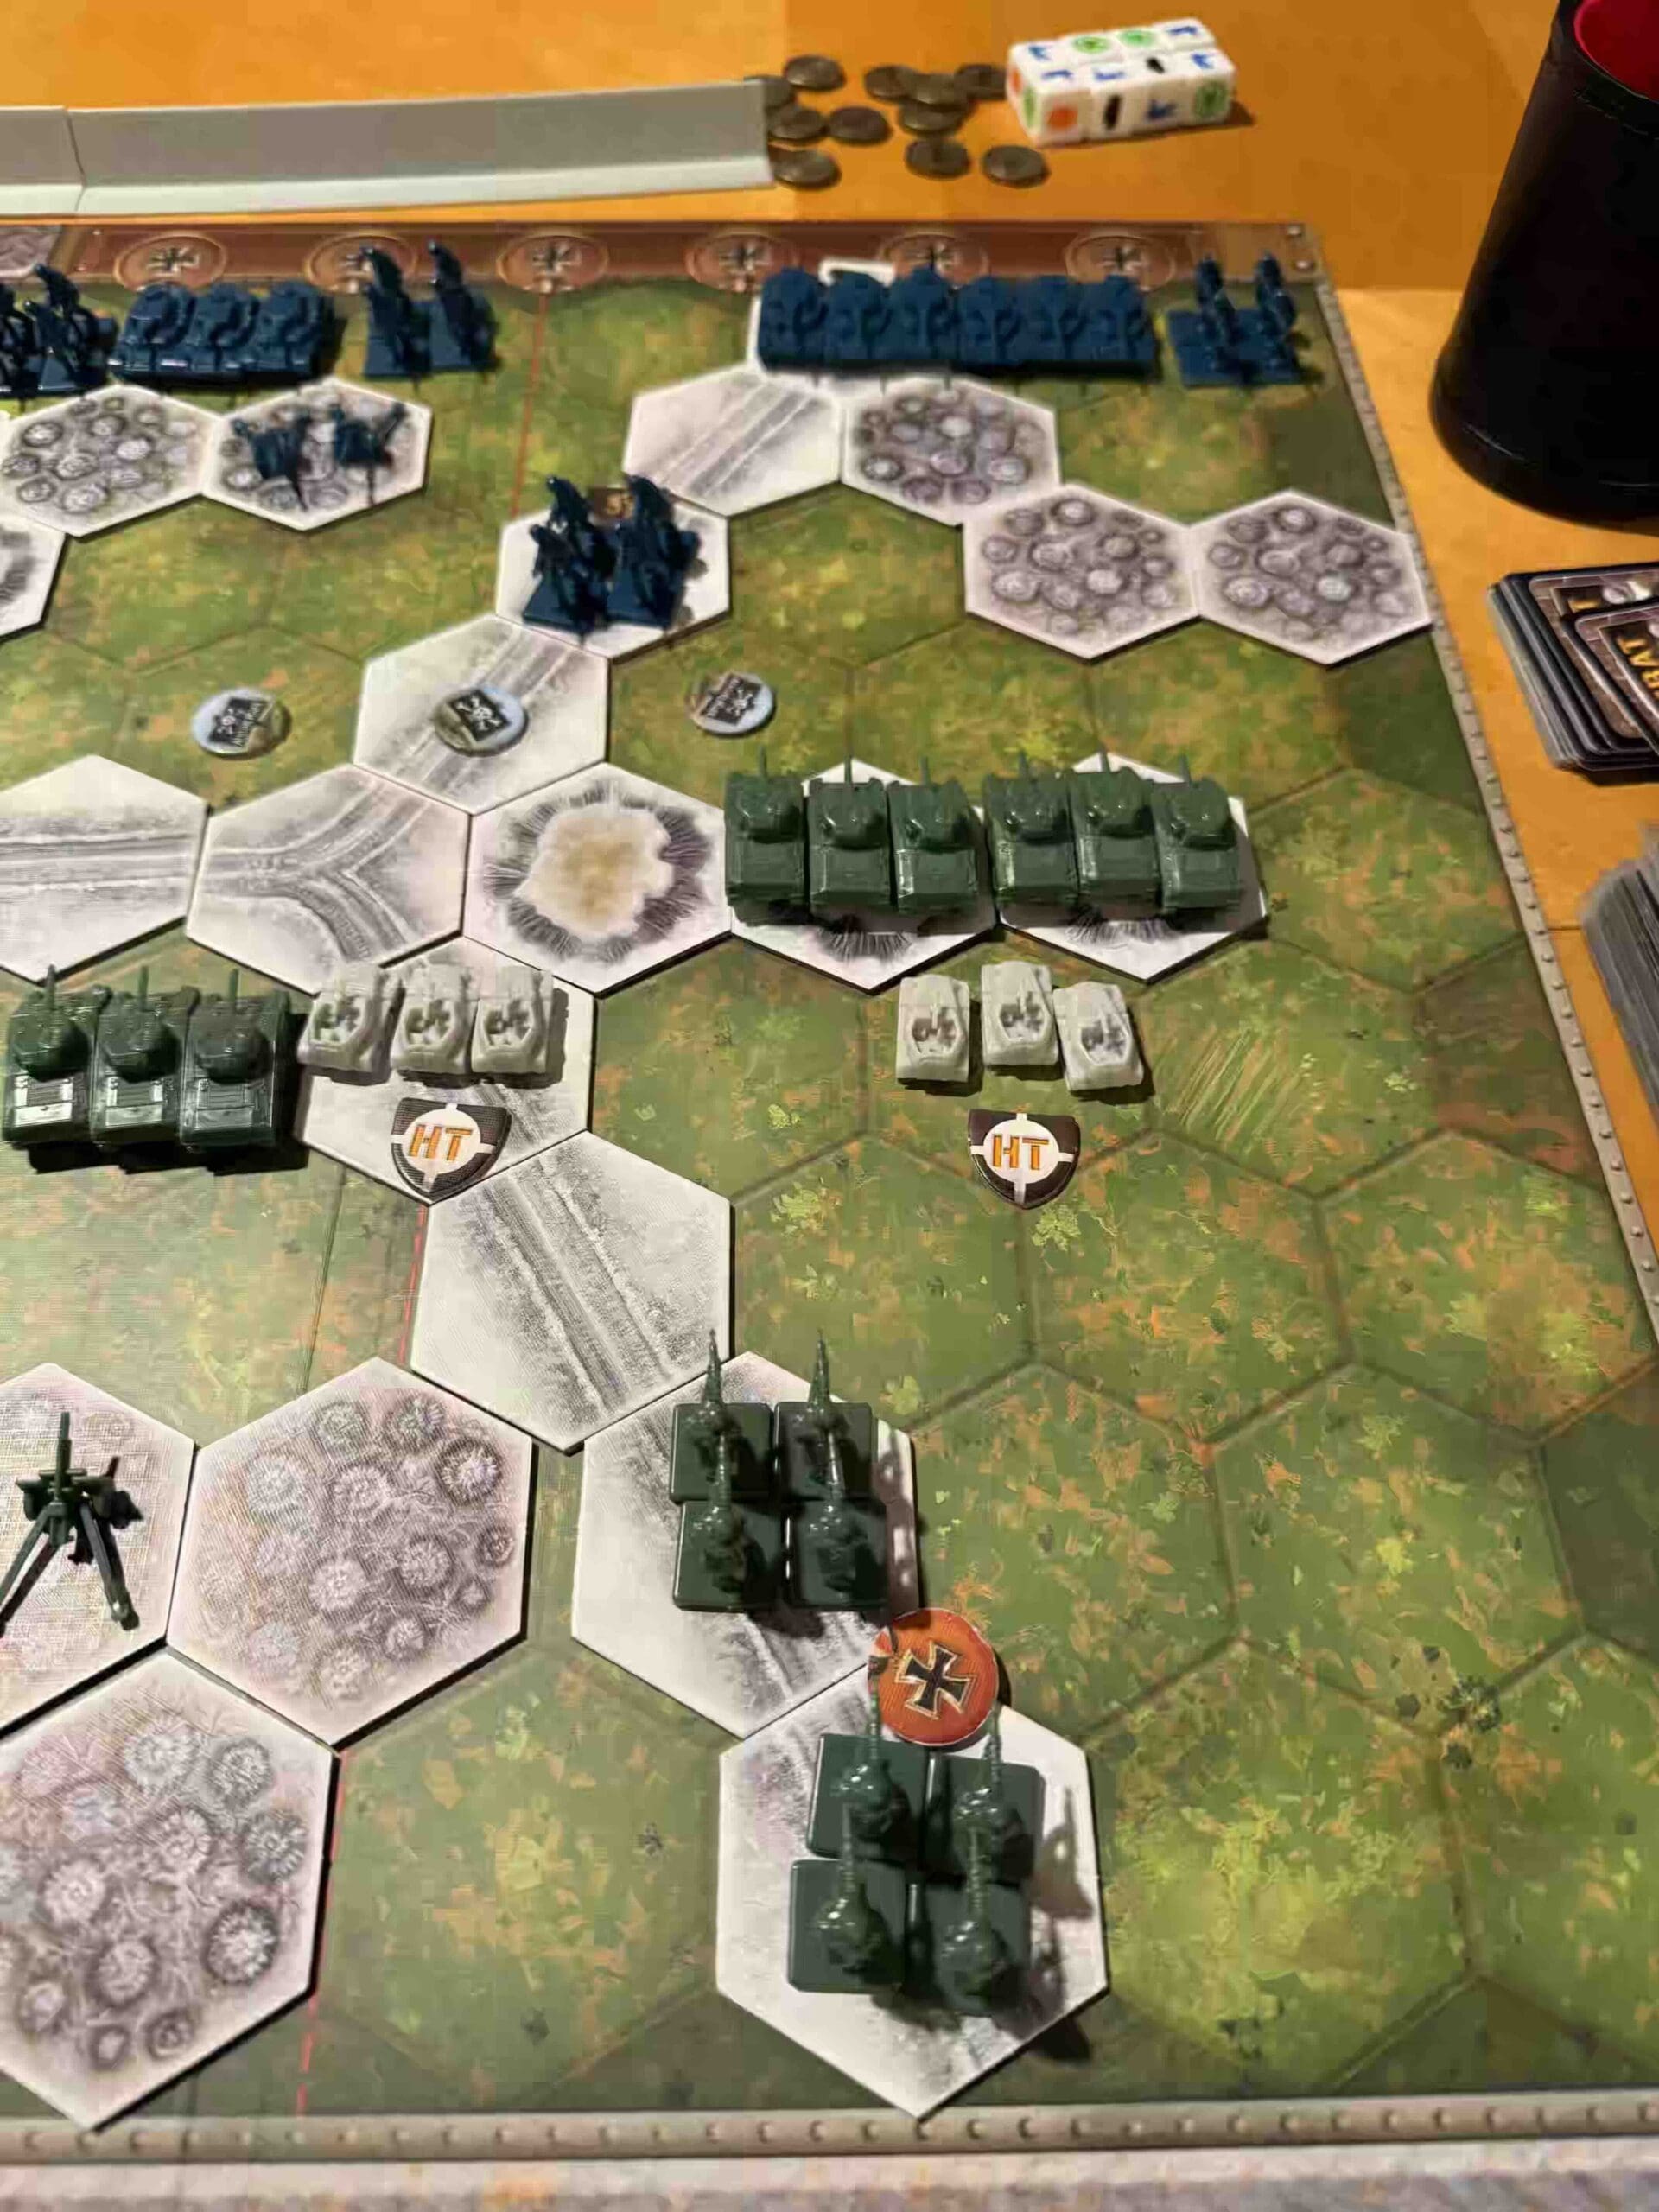
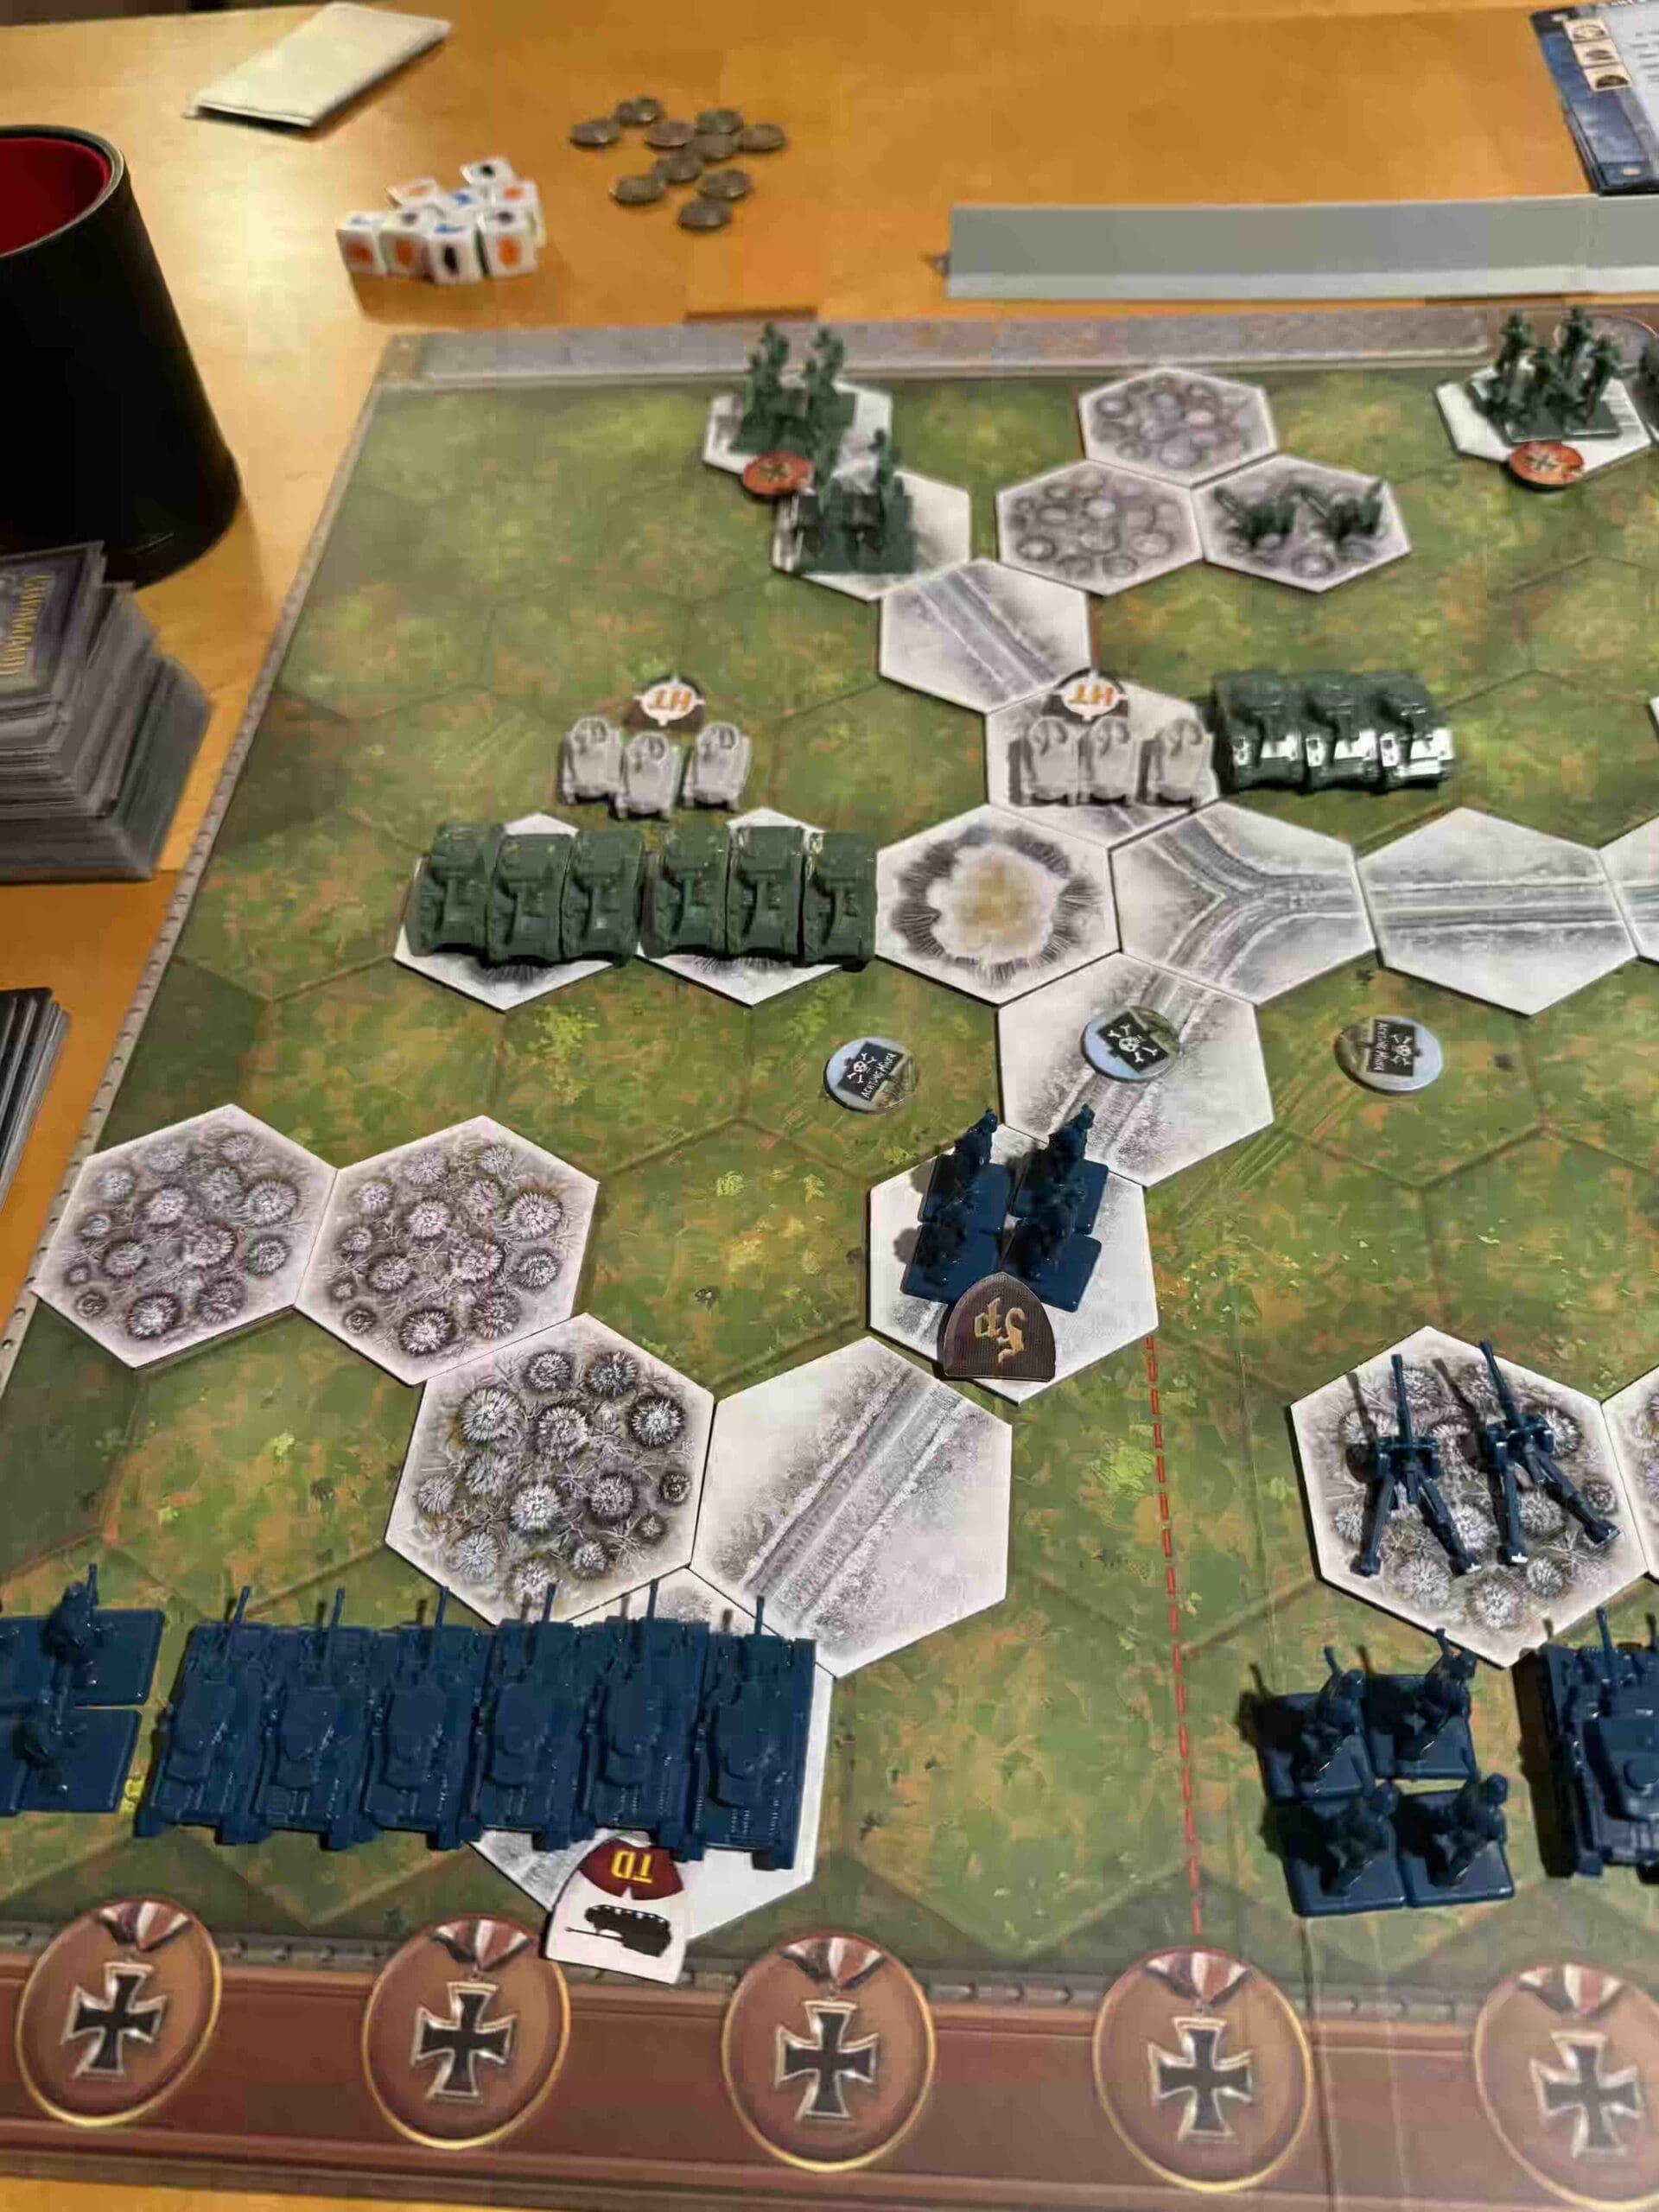
Troops:
Allies – 9 Infantry, 5 Armor, 2 Artillery
Axis – 10 Infantry, 3 Armor, 3 Artillery
Special Rules:
Russian command rules are in effect
Allied Strategy:
Axis Strategy
Author:
Link: