Hedgerow Hell
Hedgerow Hell
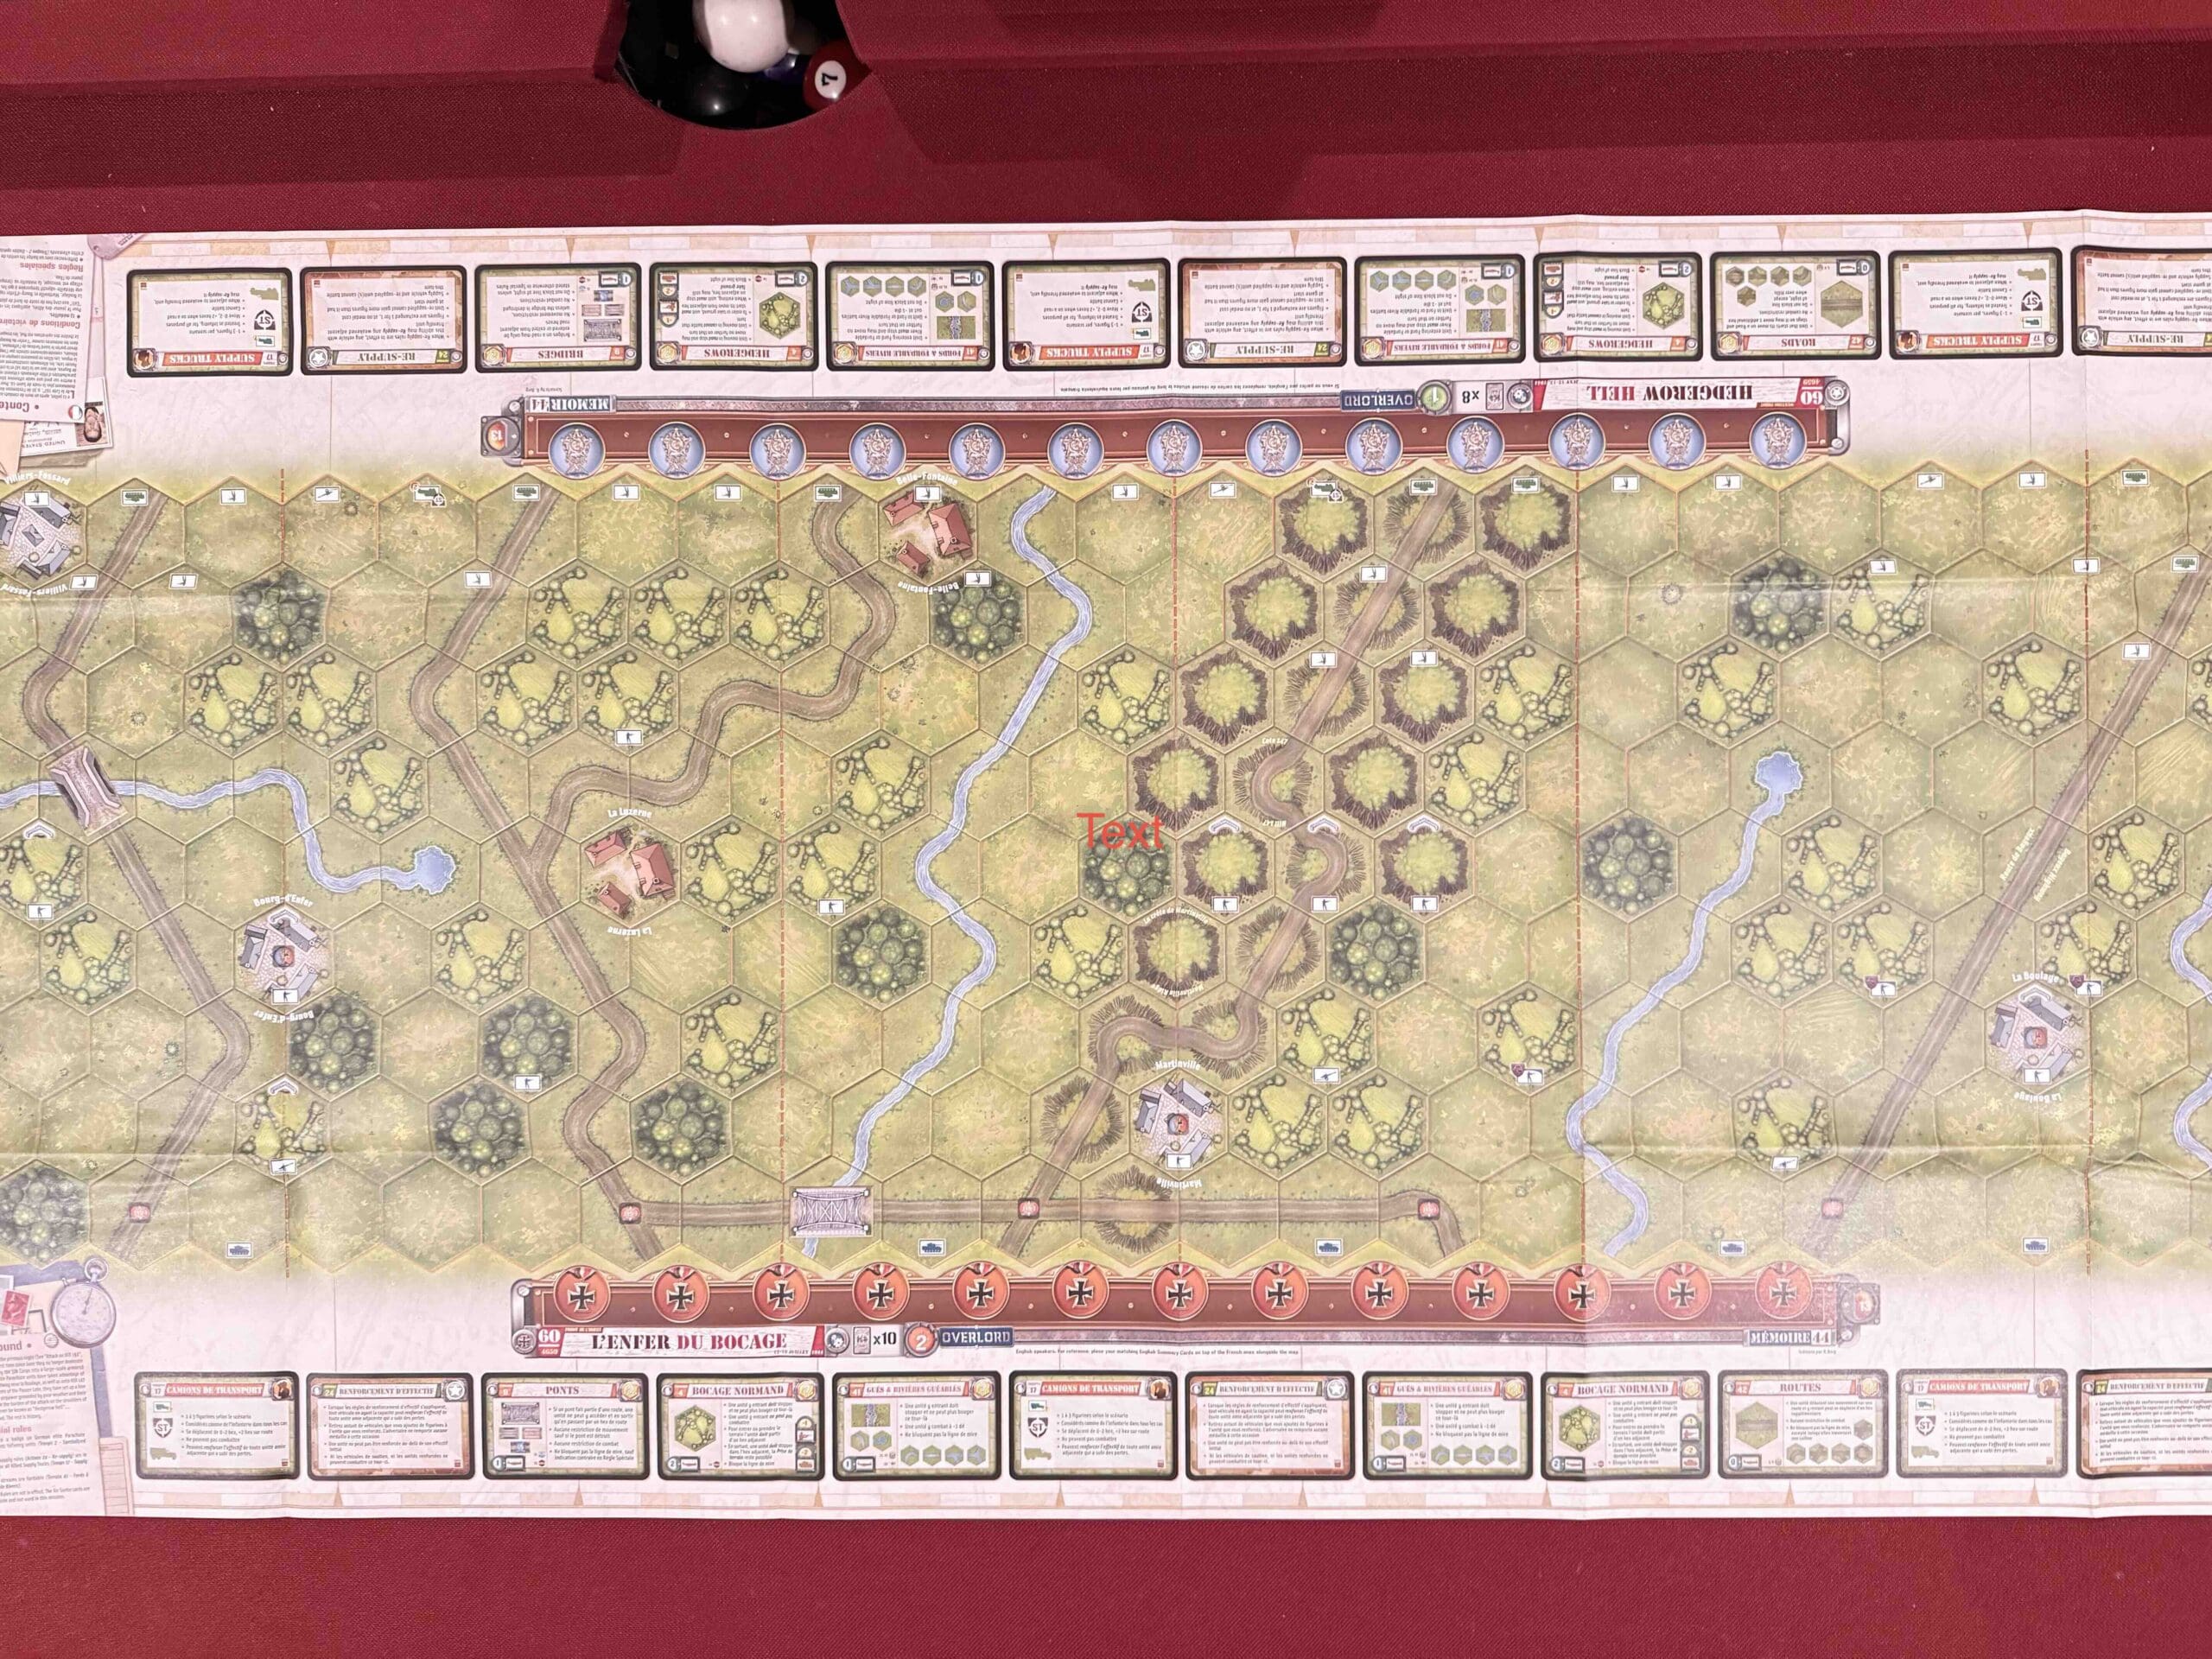
Hedgerow-Hell_whole
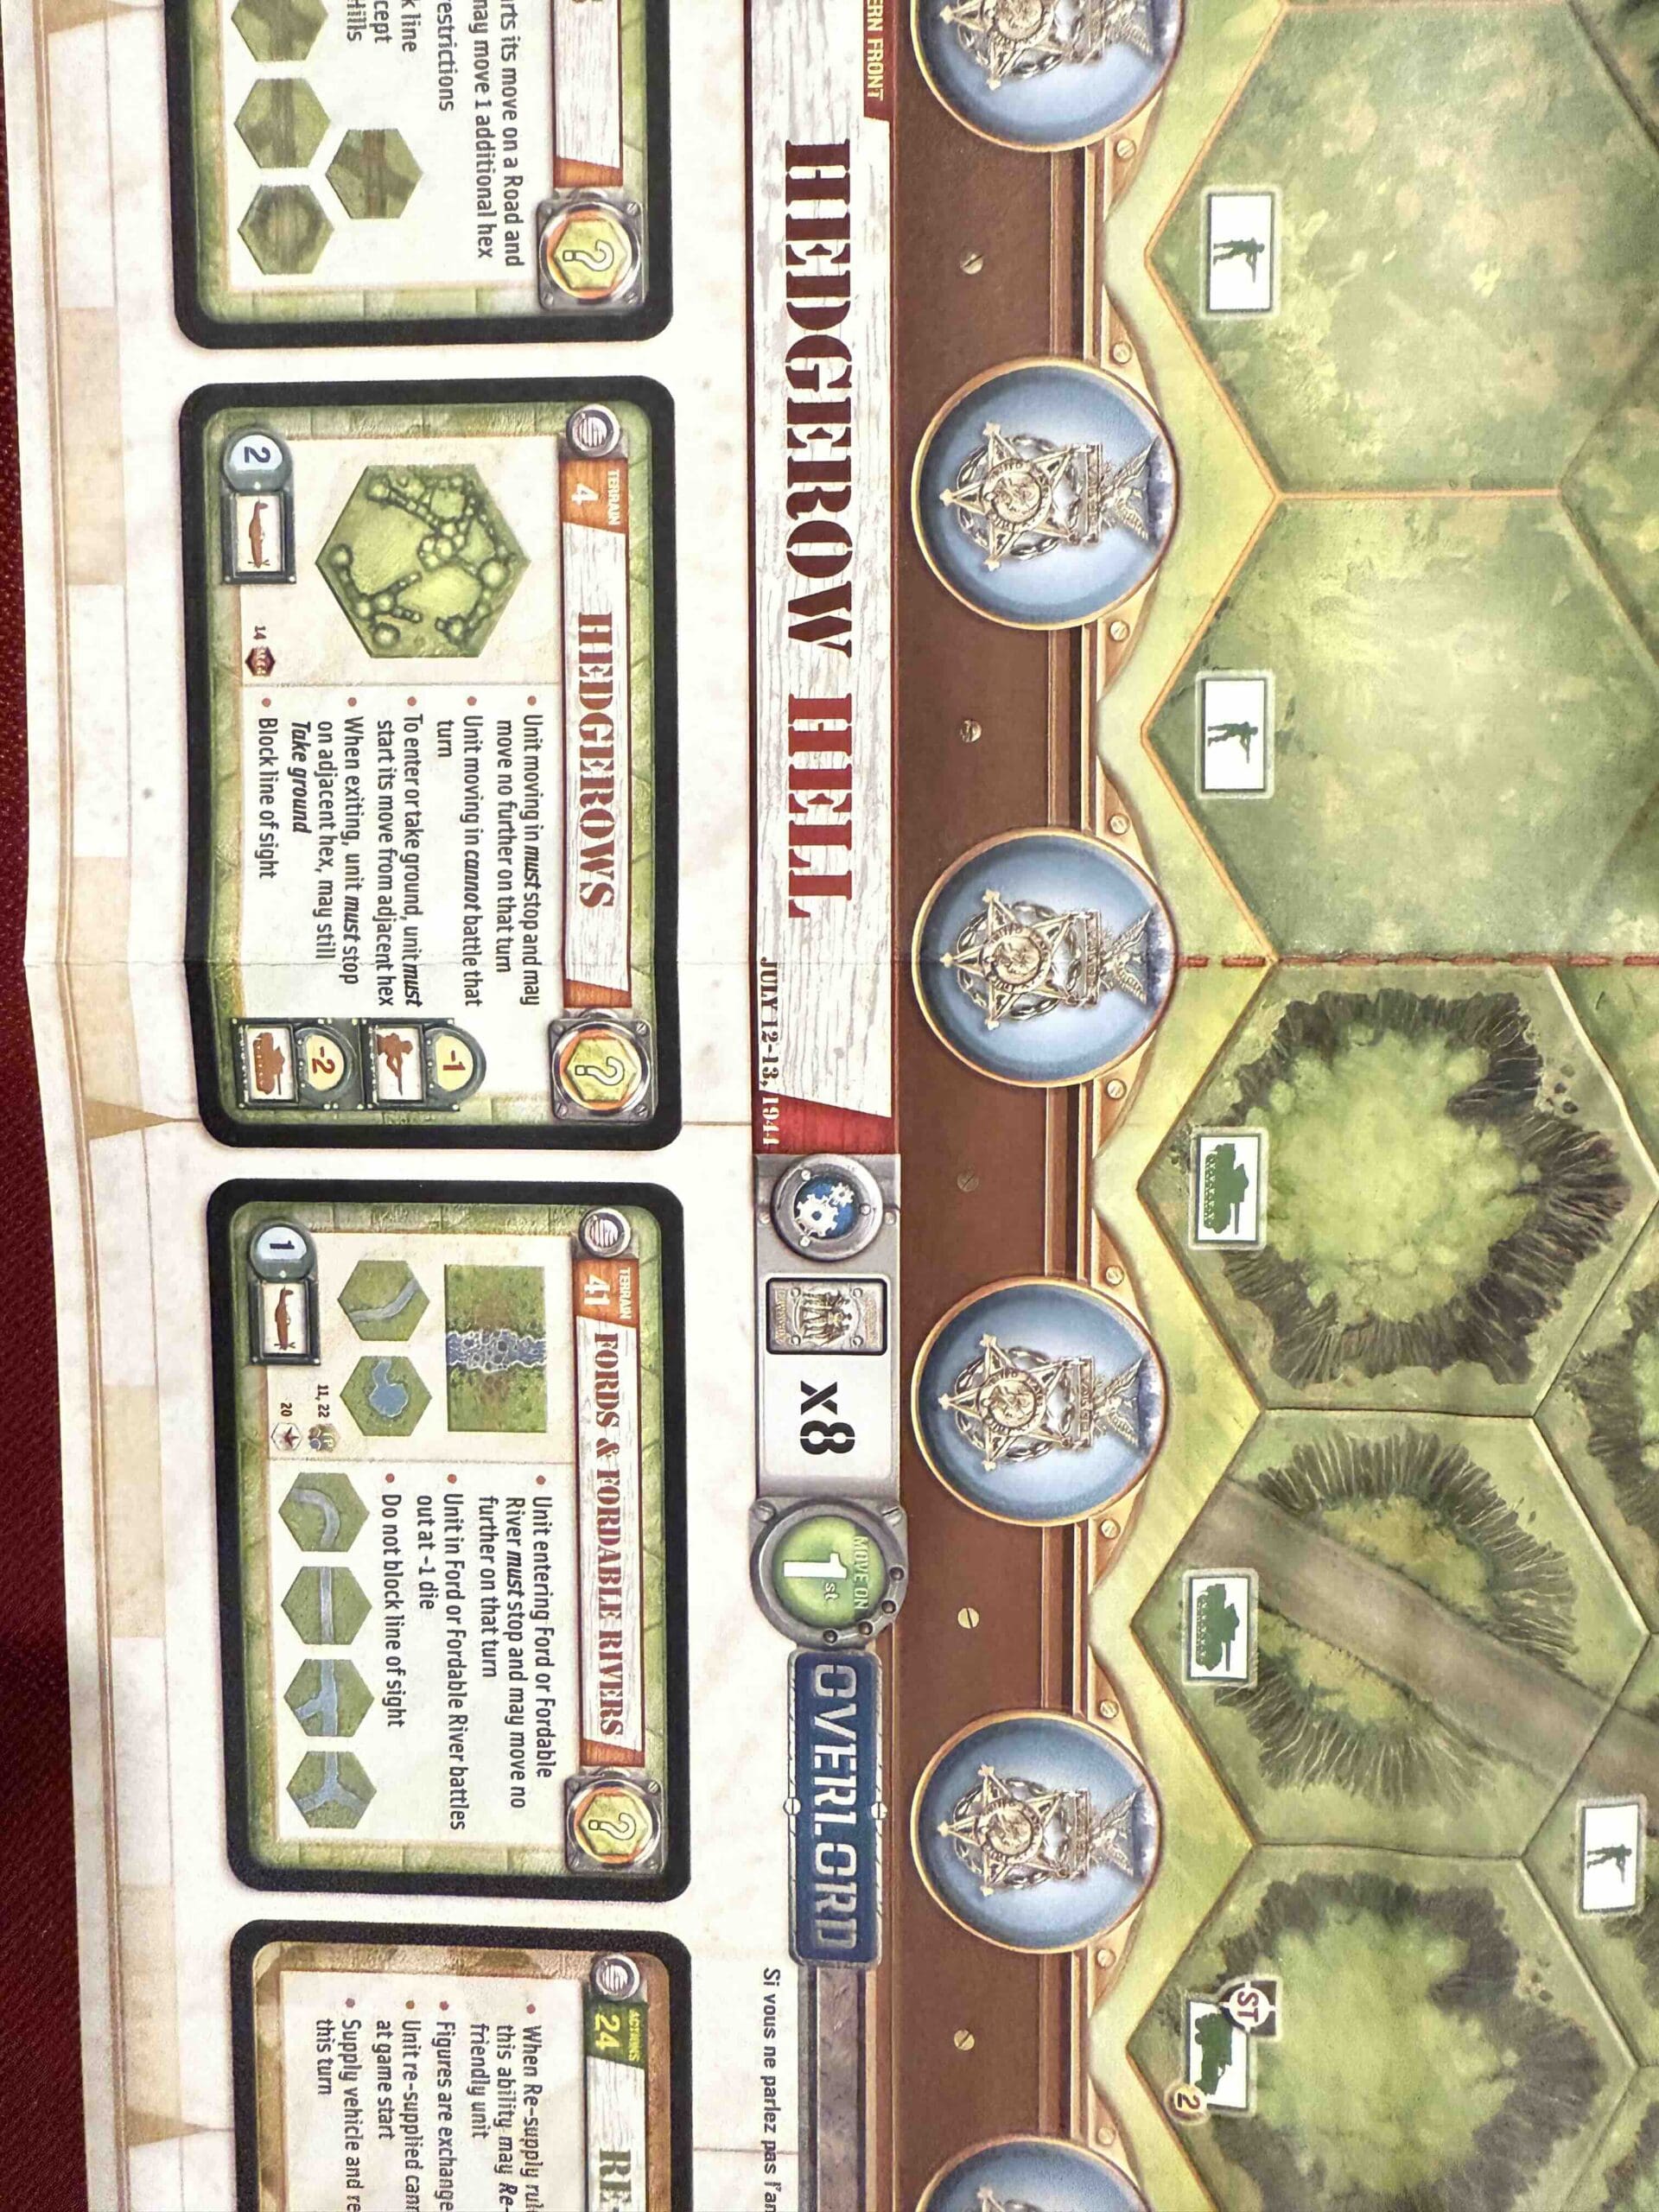
Hedgerow-Hell_title
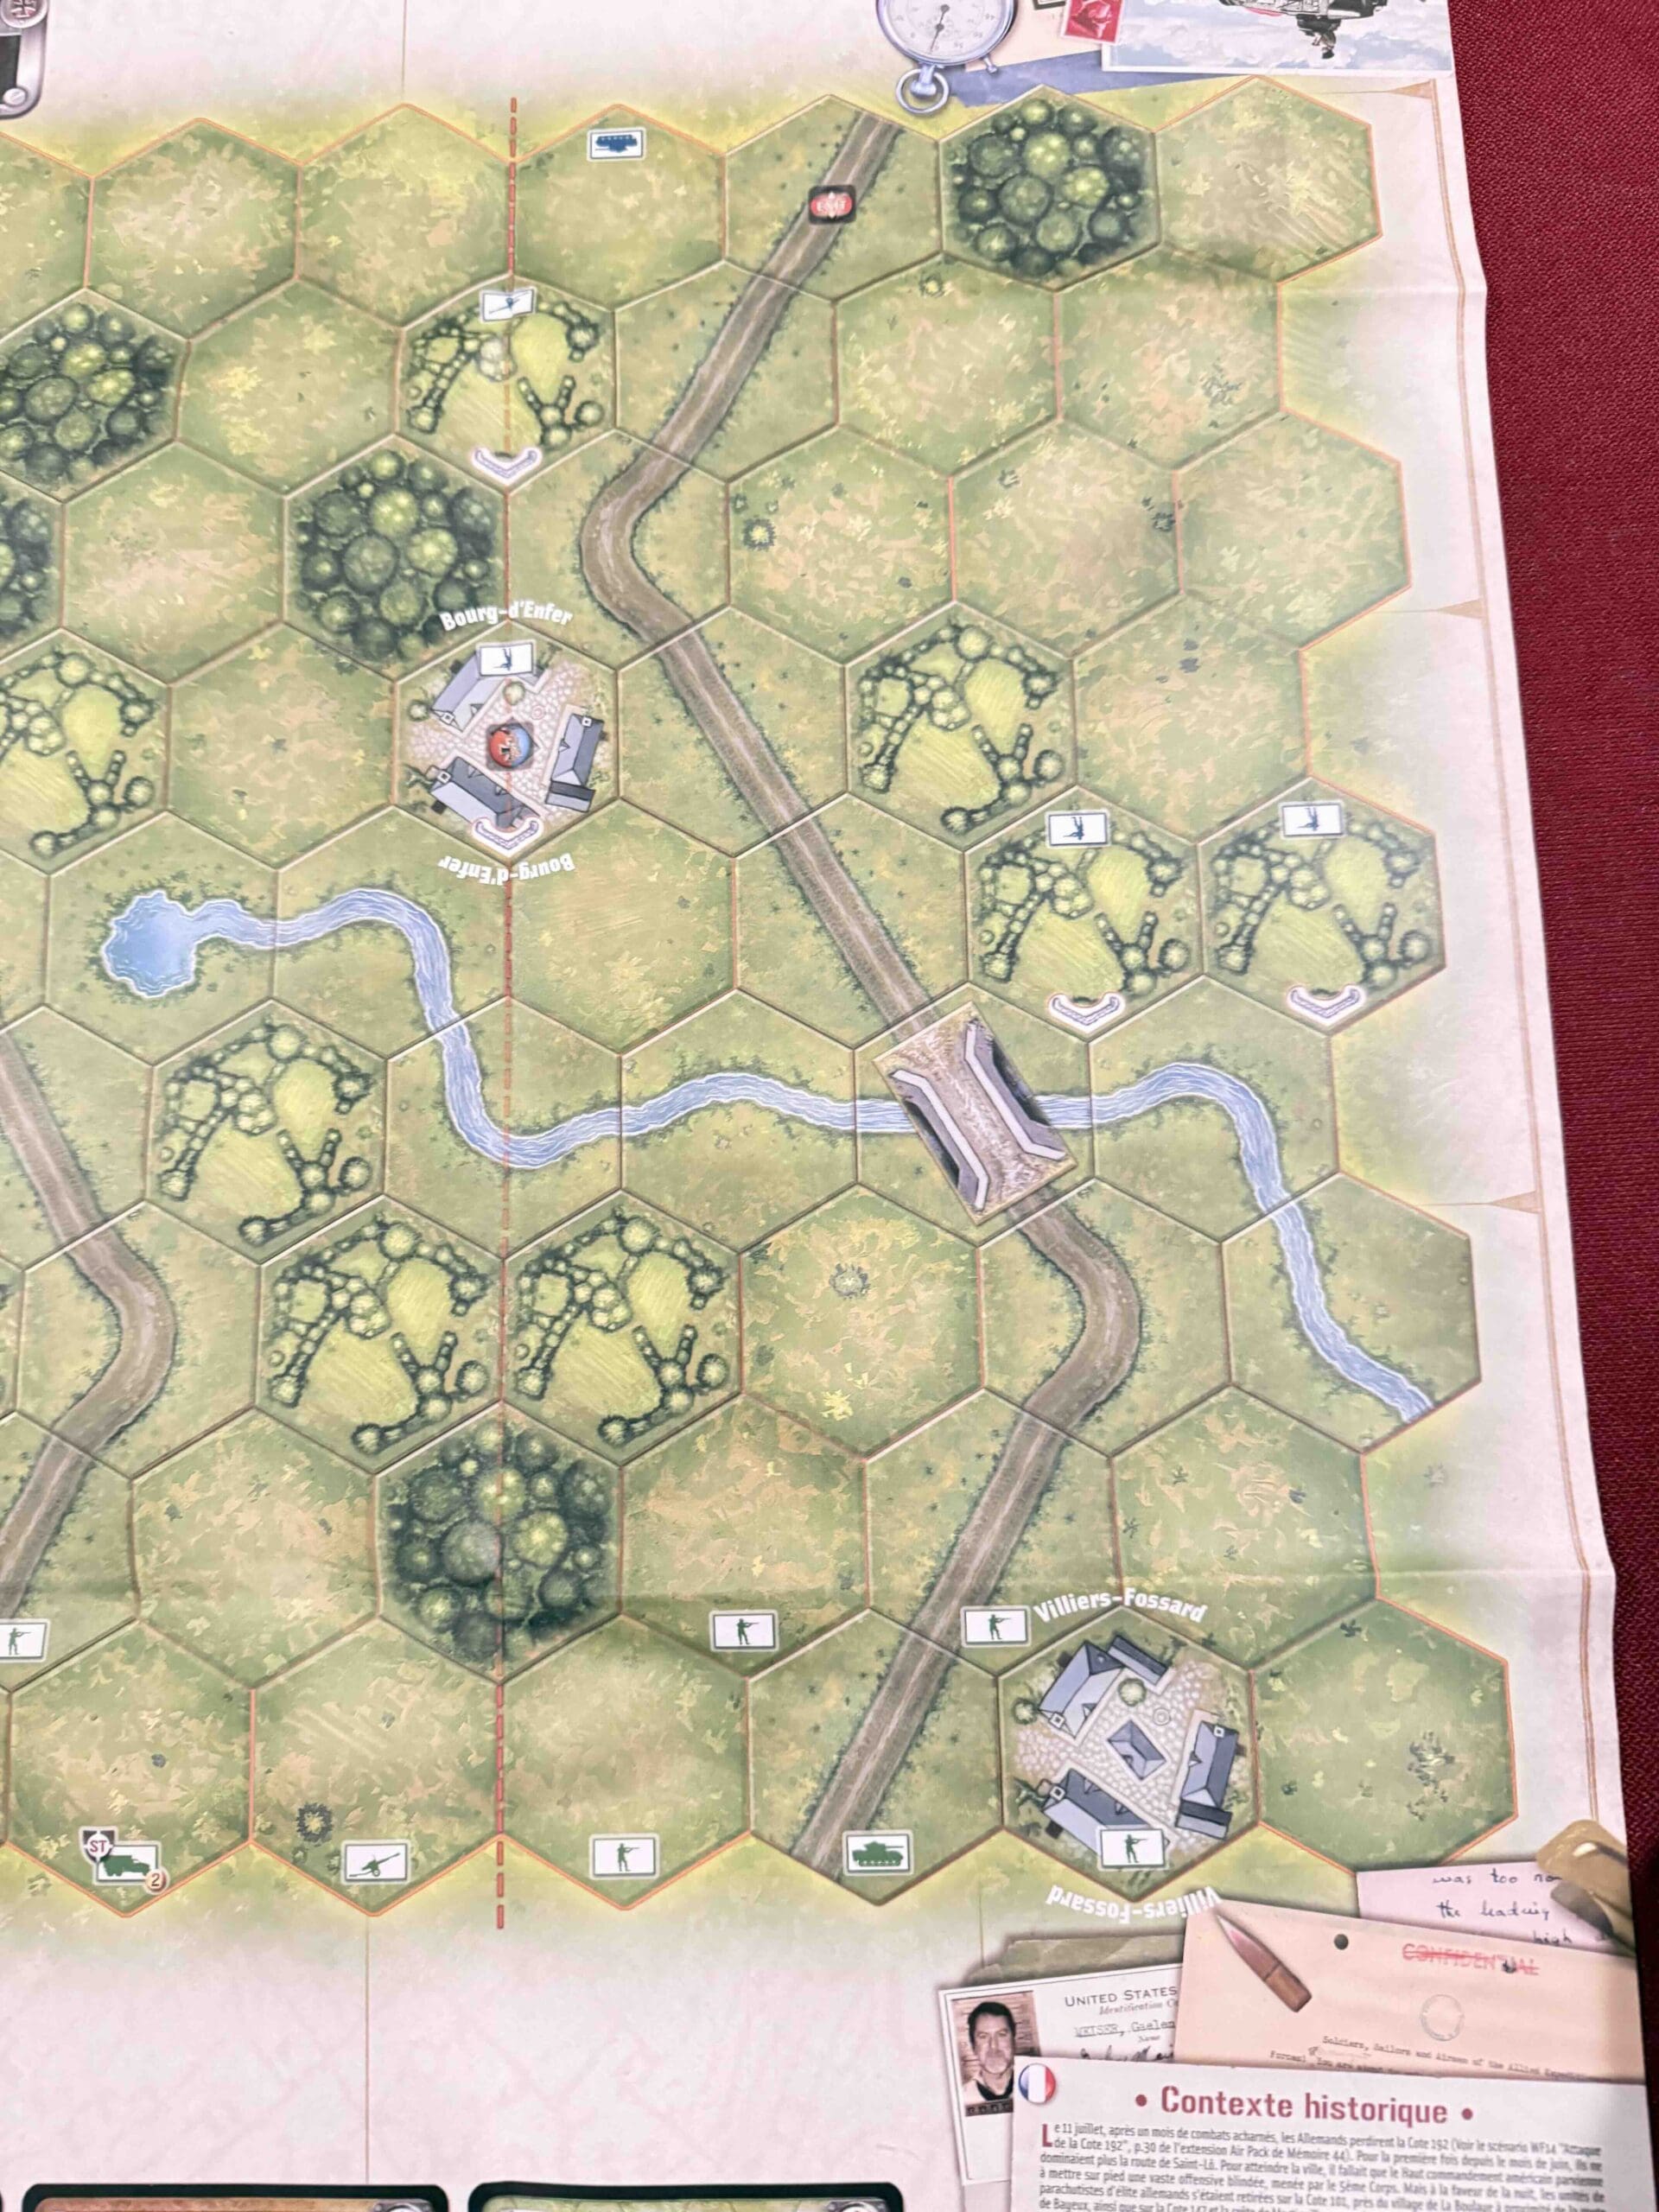
Hedgerow-Hell_right2
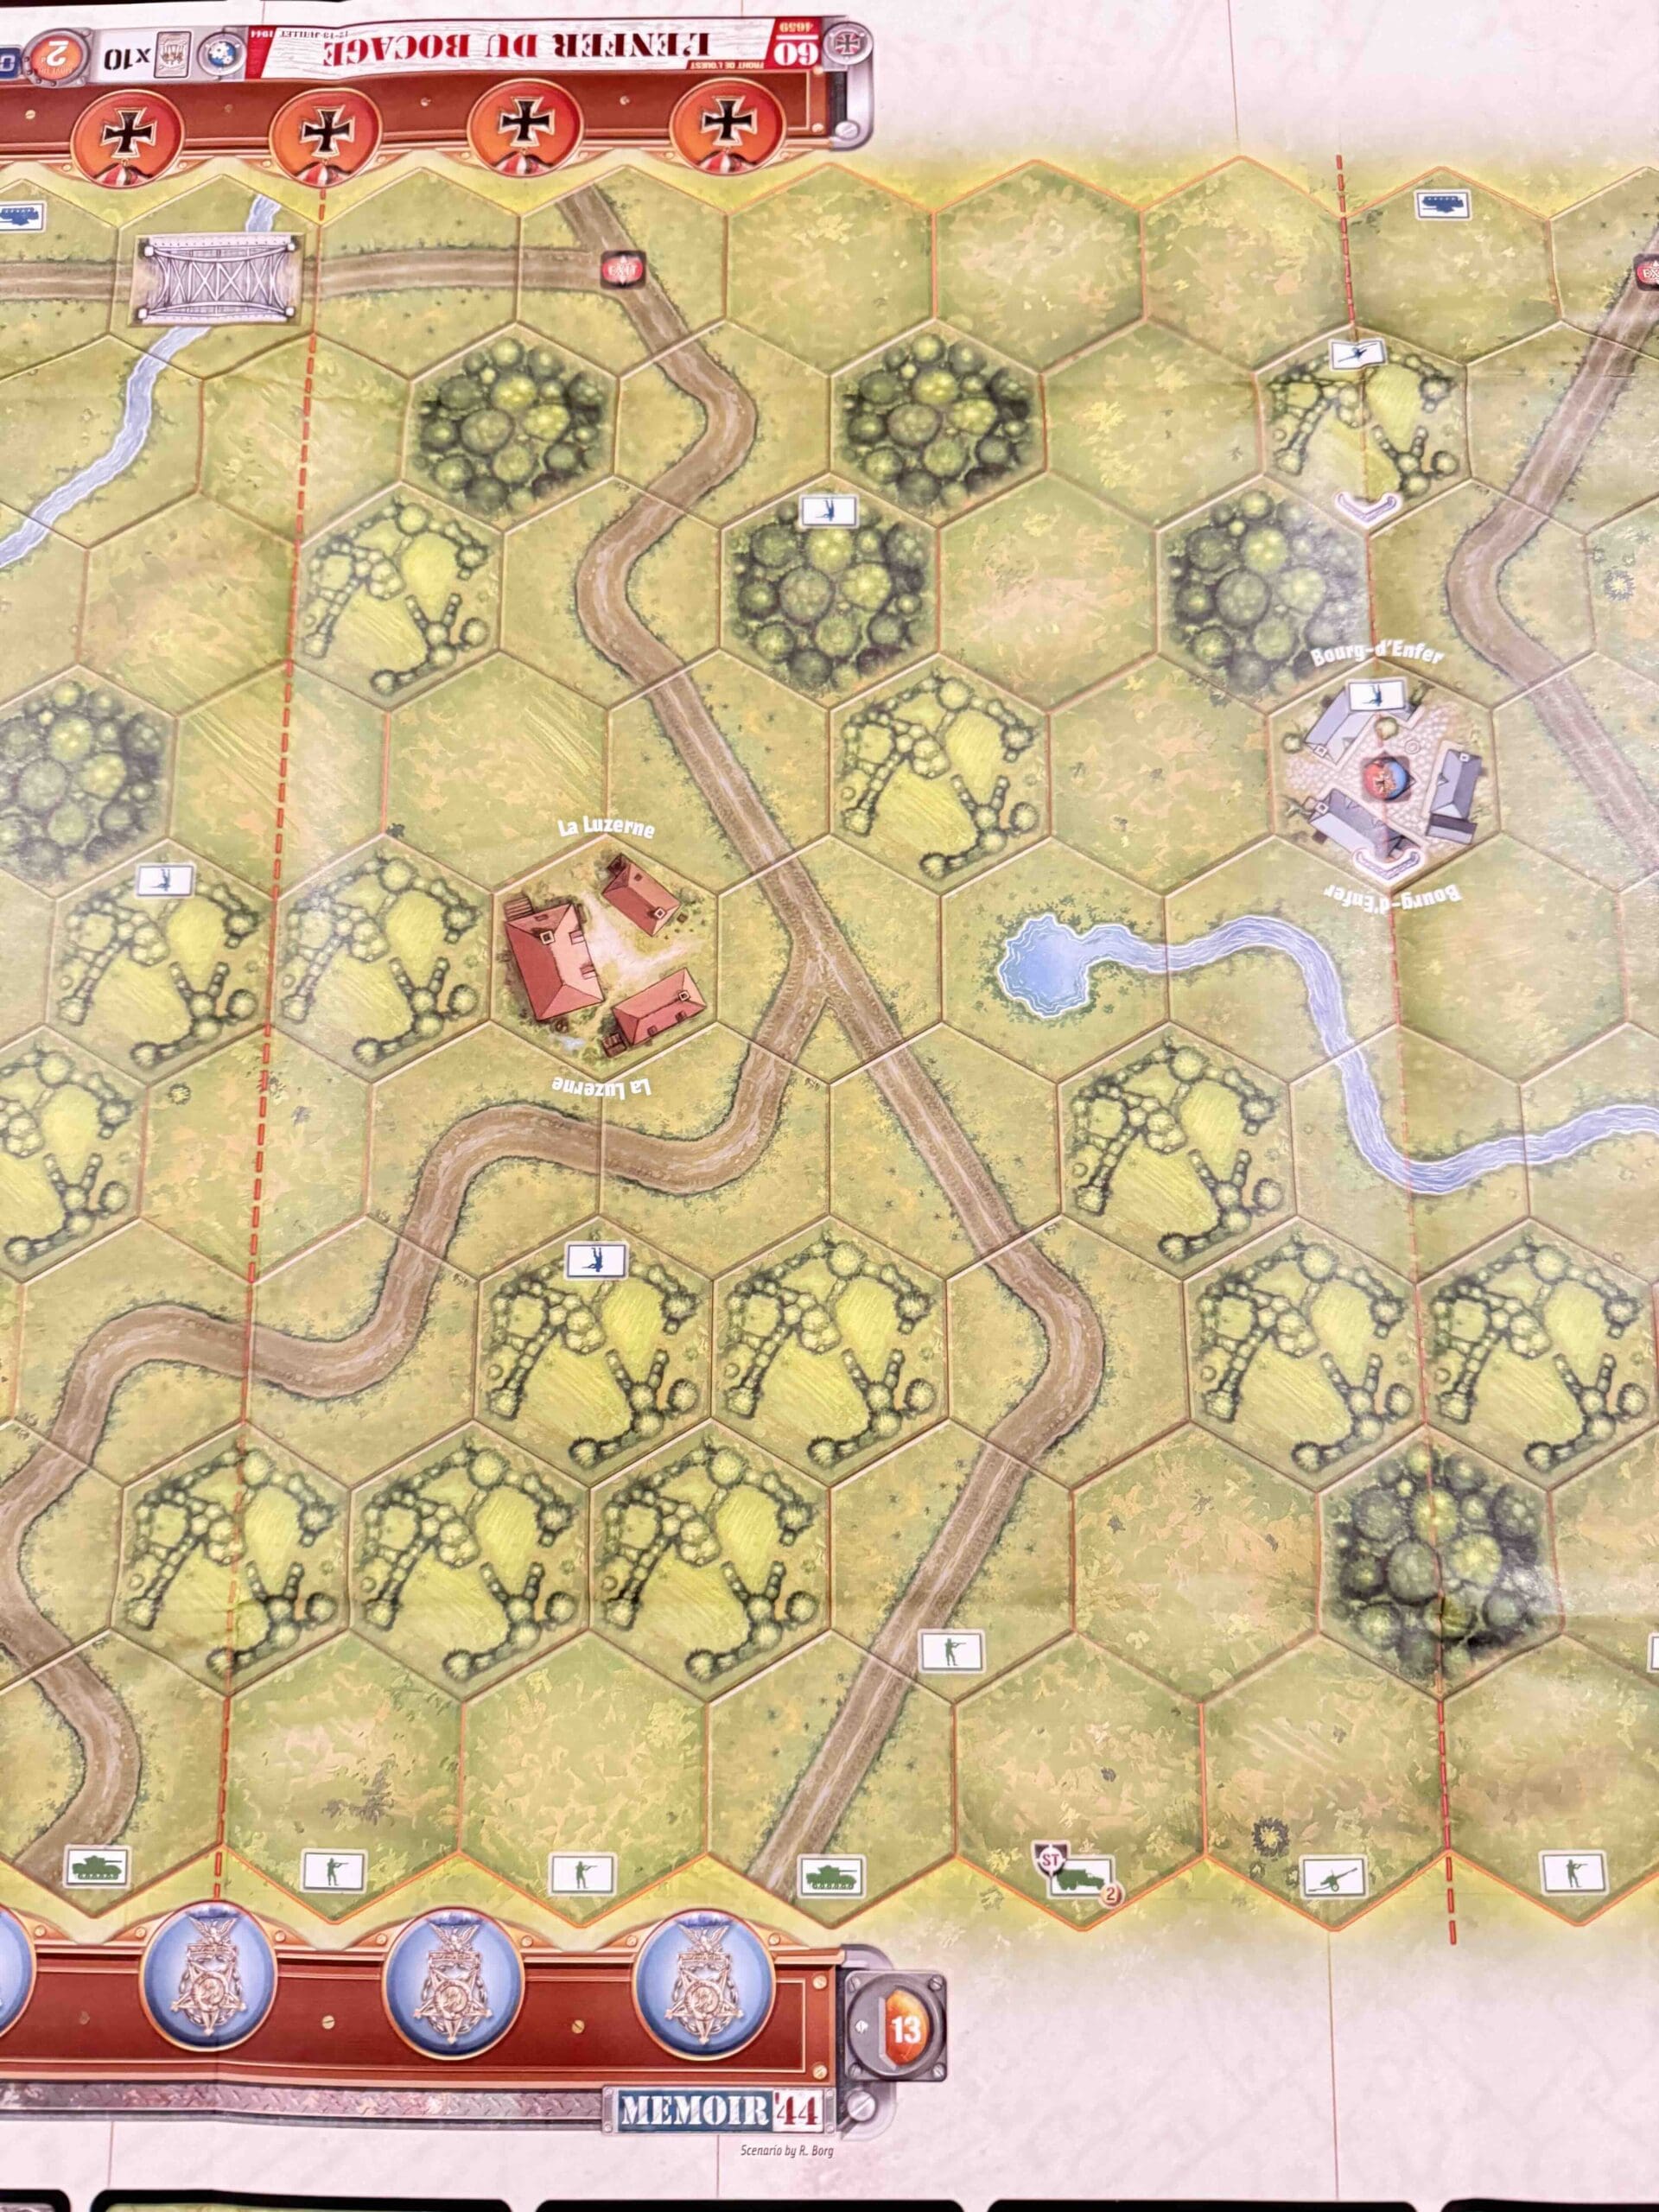
Hedgerow-Hell_right1
Hedgerow-Hell_left2
Hedgerow-Hell_left1
Hedgerow-Hell_center2

Here’s a brief summary of the Battle of Hedgerow Hell in July 1944:
-
When & Where:
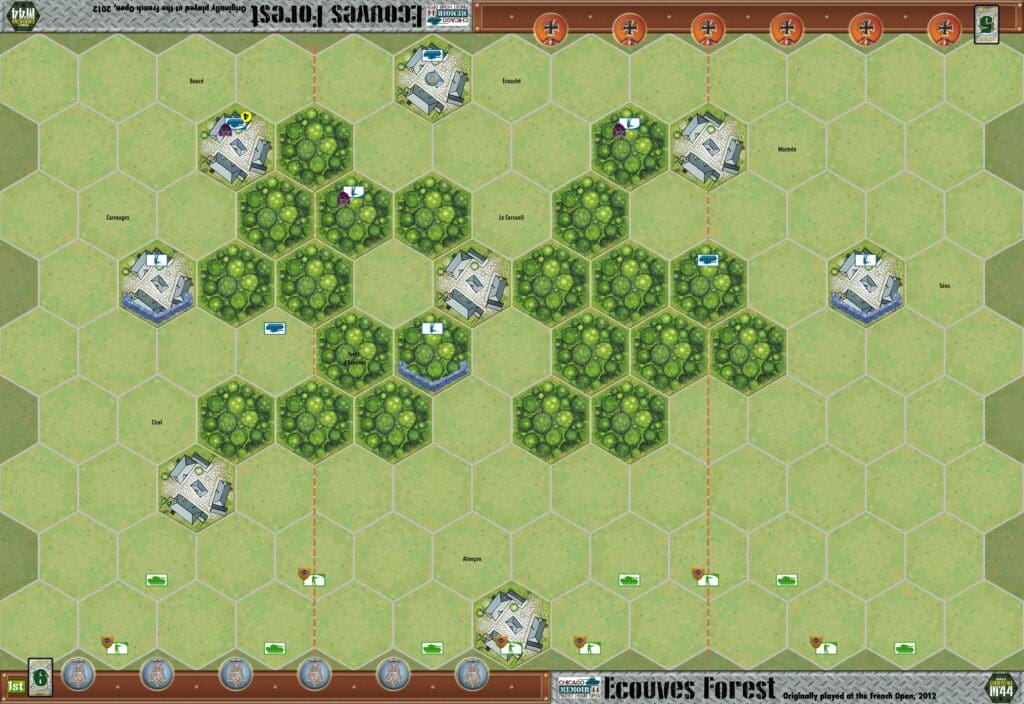
July 1944, in the dense hedgerow country of Normandy, France. -
Context:
After the D-Day landings, U.S. forces faced stiff German resistance in the bocage (hedgerow) terrain, which made attacks and movements extremely difficult. -
The Battle:
Fighting was slow and brutal—close-quarters combat with tanks and infantry often forced to blast through thick hedgerows. German forces used the terrain to launch ambushes and hold up the American advance. -
Outcome:
Despite the difficulties, American troops adapted with new tactics and overcame German defenses, breaking out of the hedgerows and paving the way for the later launch of Operation Cobra.
Here is General Howitzer’s comments on it:
“Listen up, men! July ‘44 in Normandy—the damn hedgerows were like fighting in a jungle made of dirt and stone, and the Germans knew every inch of it. We called it Hedgerow Hell, and that’s exactly what it was.
We started on July 1st, smashing forward, inch by inch, day by day. Those Germans were dug in like ticks, every hedgerow a fortress, every field a killing ground. But our boys didn’t back down—they learned to blow holes in those hedgerows with explosives, and we turned those obstacles into stepping stones.
Week by week, we kept at it—infantry, tanks, engineers working together, and by the end of July, we’d beaten the bastards back. We learned to fight smarter, and we learned to hit ‘em so hard they couldn’t catch their breath.
July 25th—Operation Cobra—that was the payoff, boys! We broke out of that green hell and took the fight back to where they didn’t have those hedgerows to hide in.
So remember this—no matter how tough the terrain or how deep the enemy’s dug in, we keep pushing, keep killing, and never let the bastards stop us!”
13 VP’s
![]()
Card Balance:
Allies – 8
Axis – 10
Complexity:
5
Conditions:
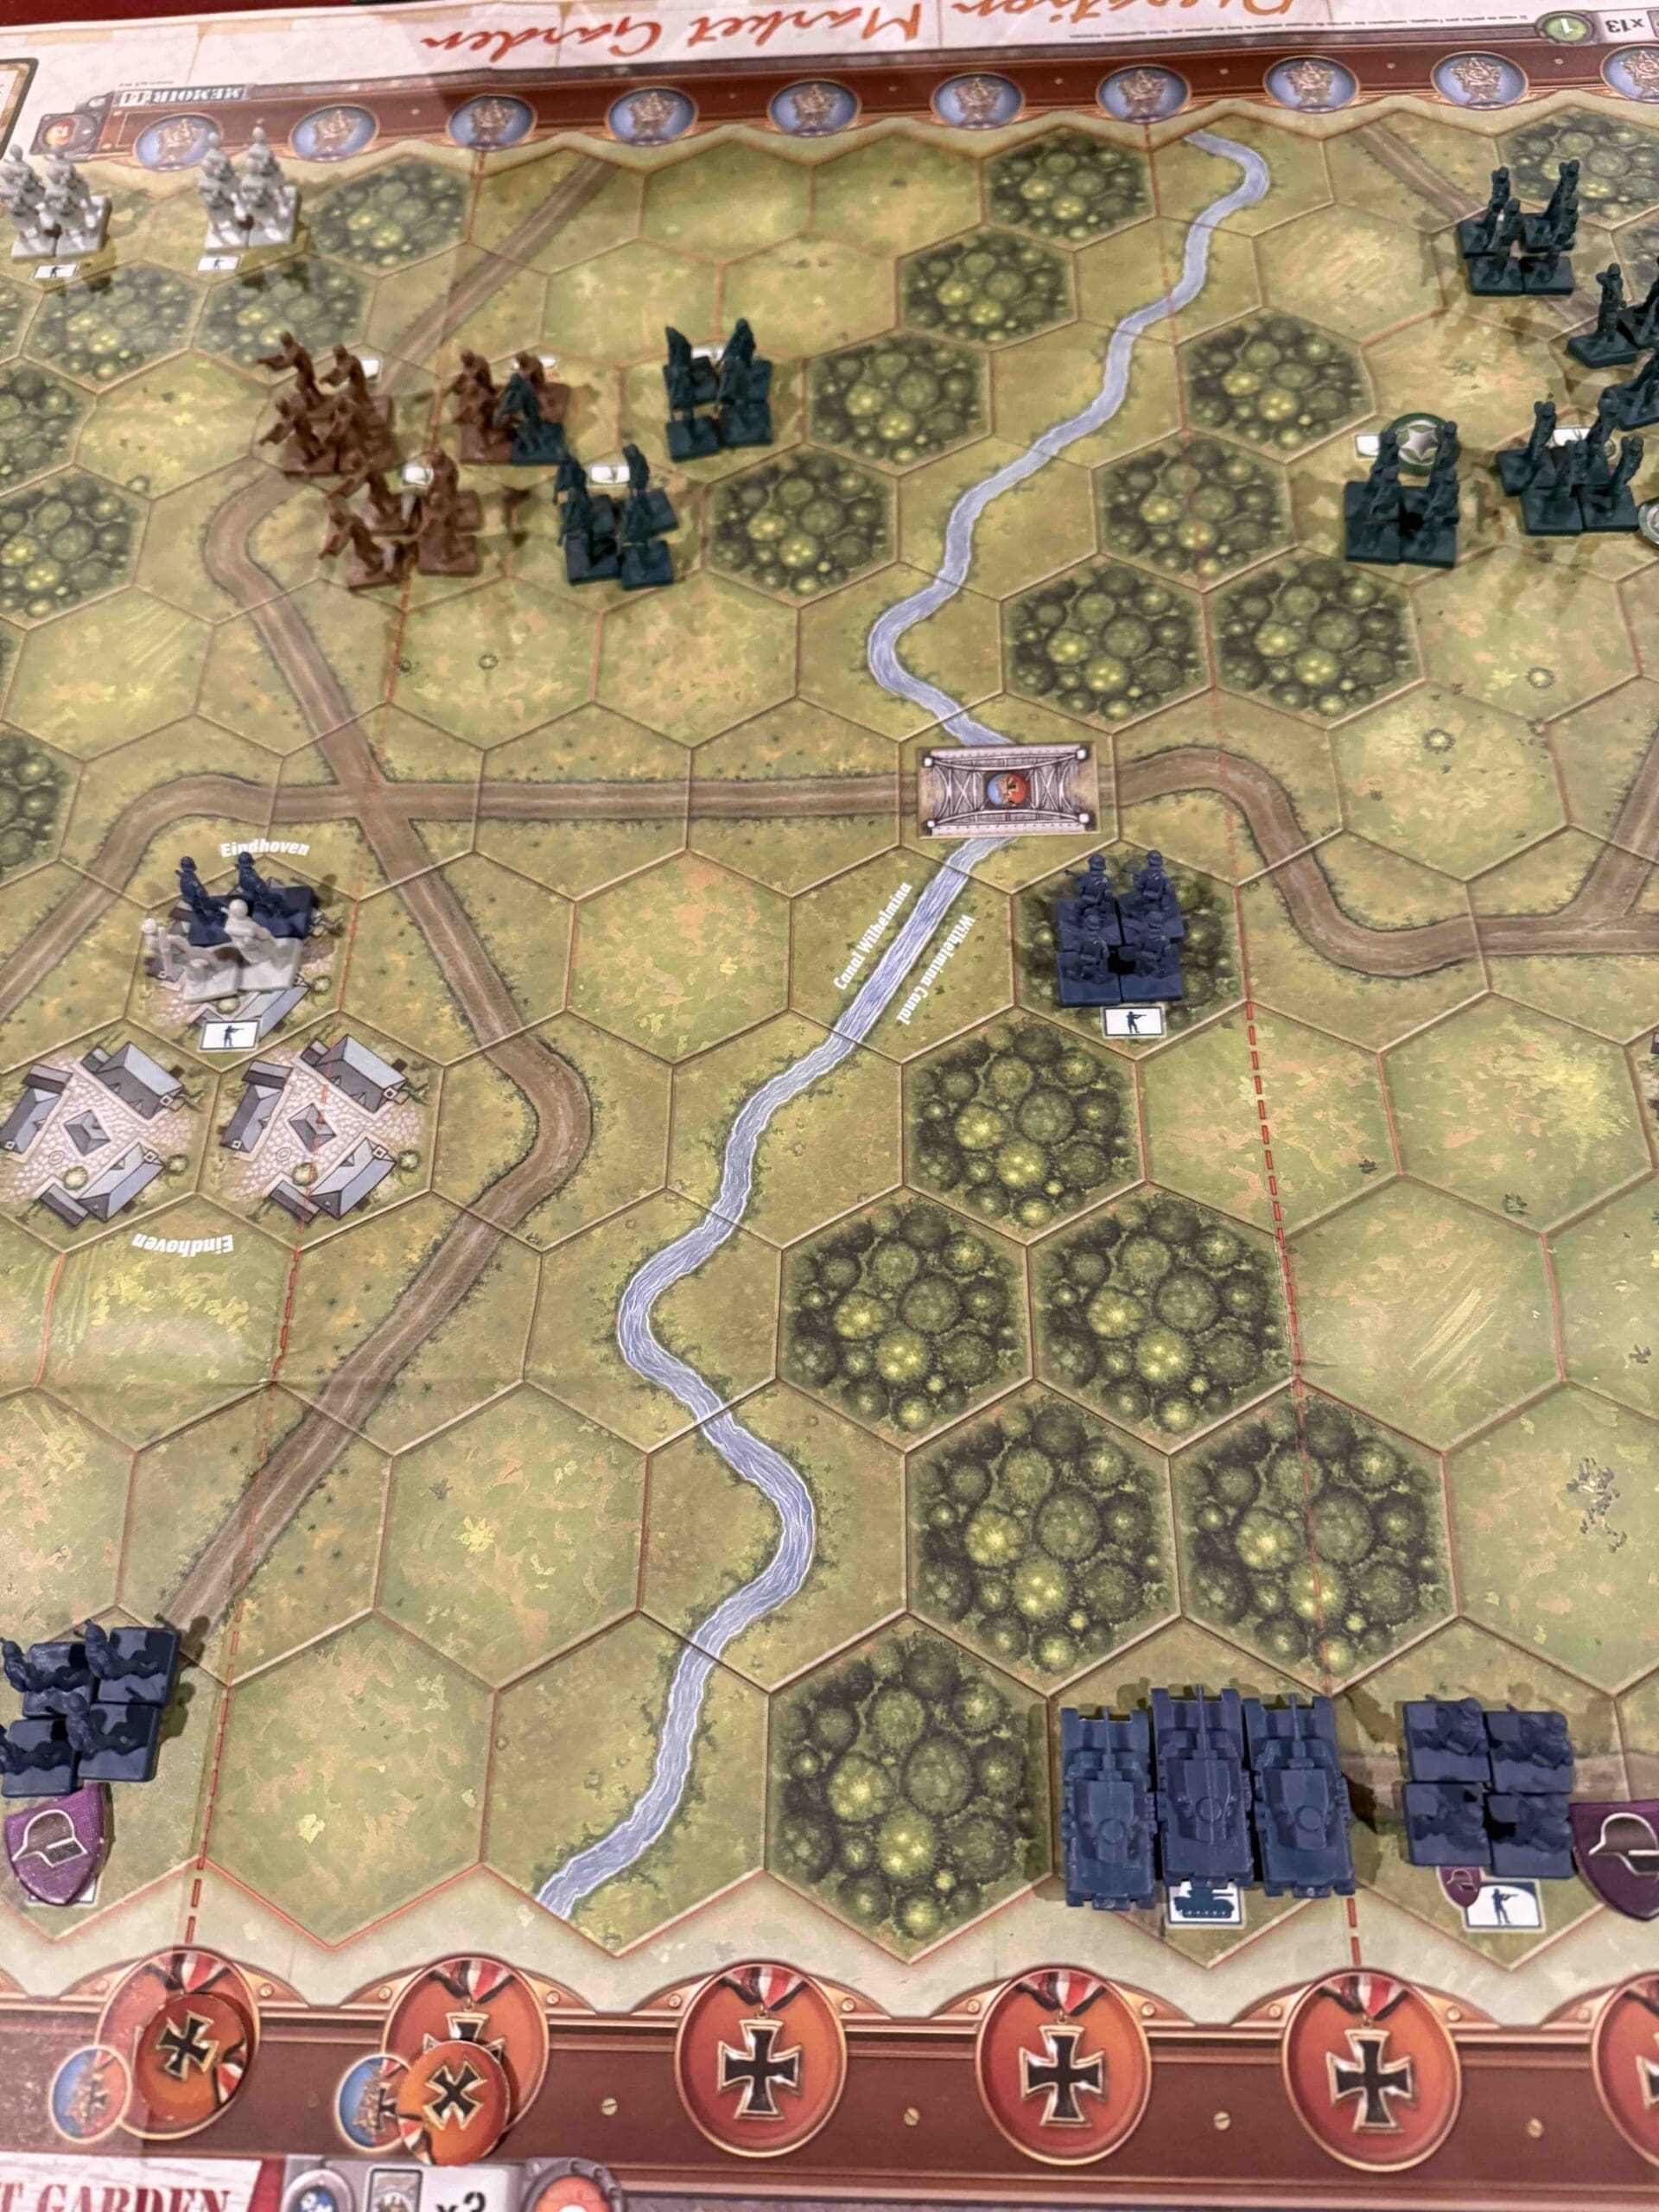
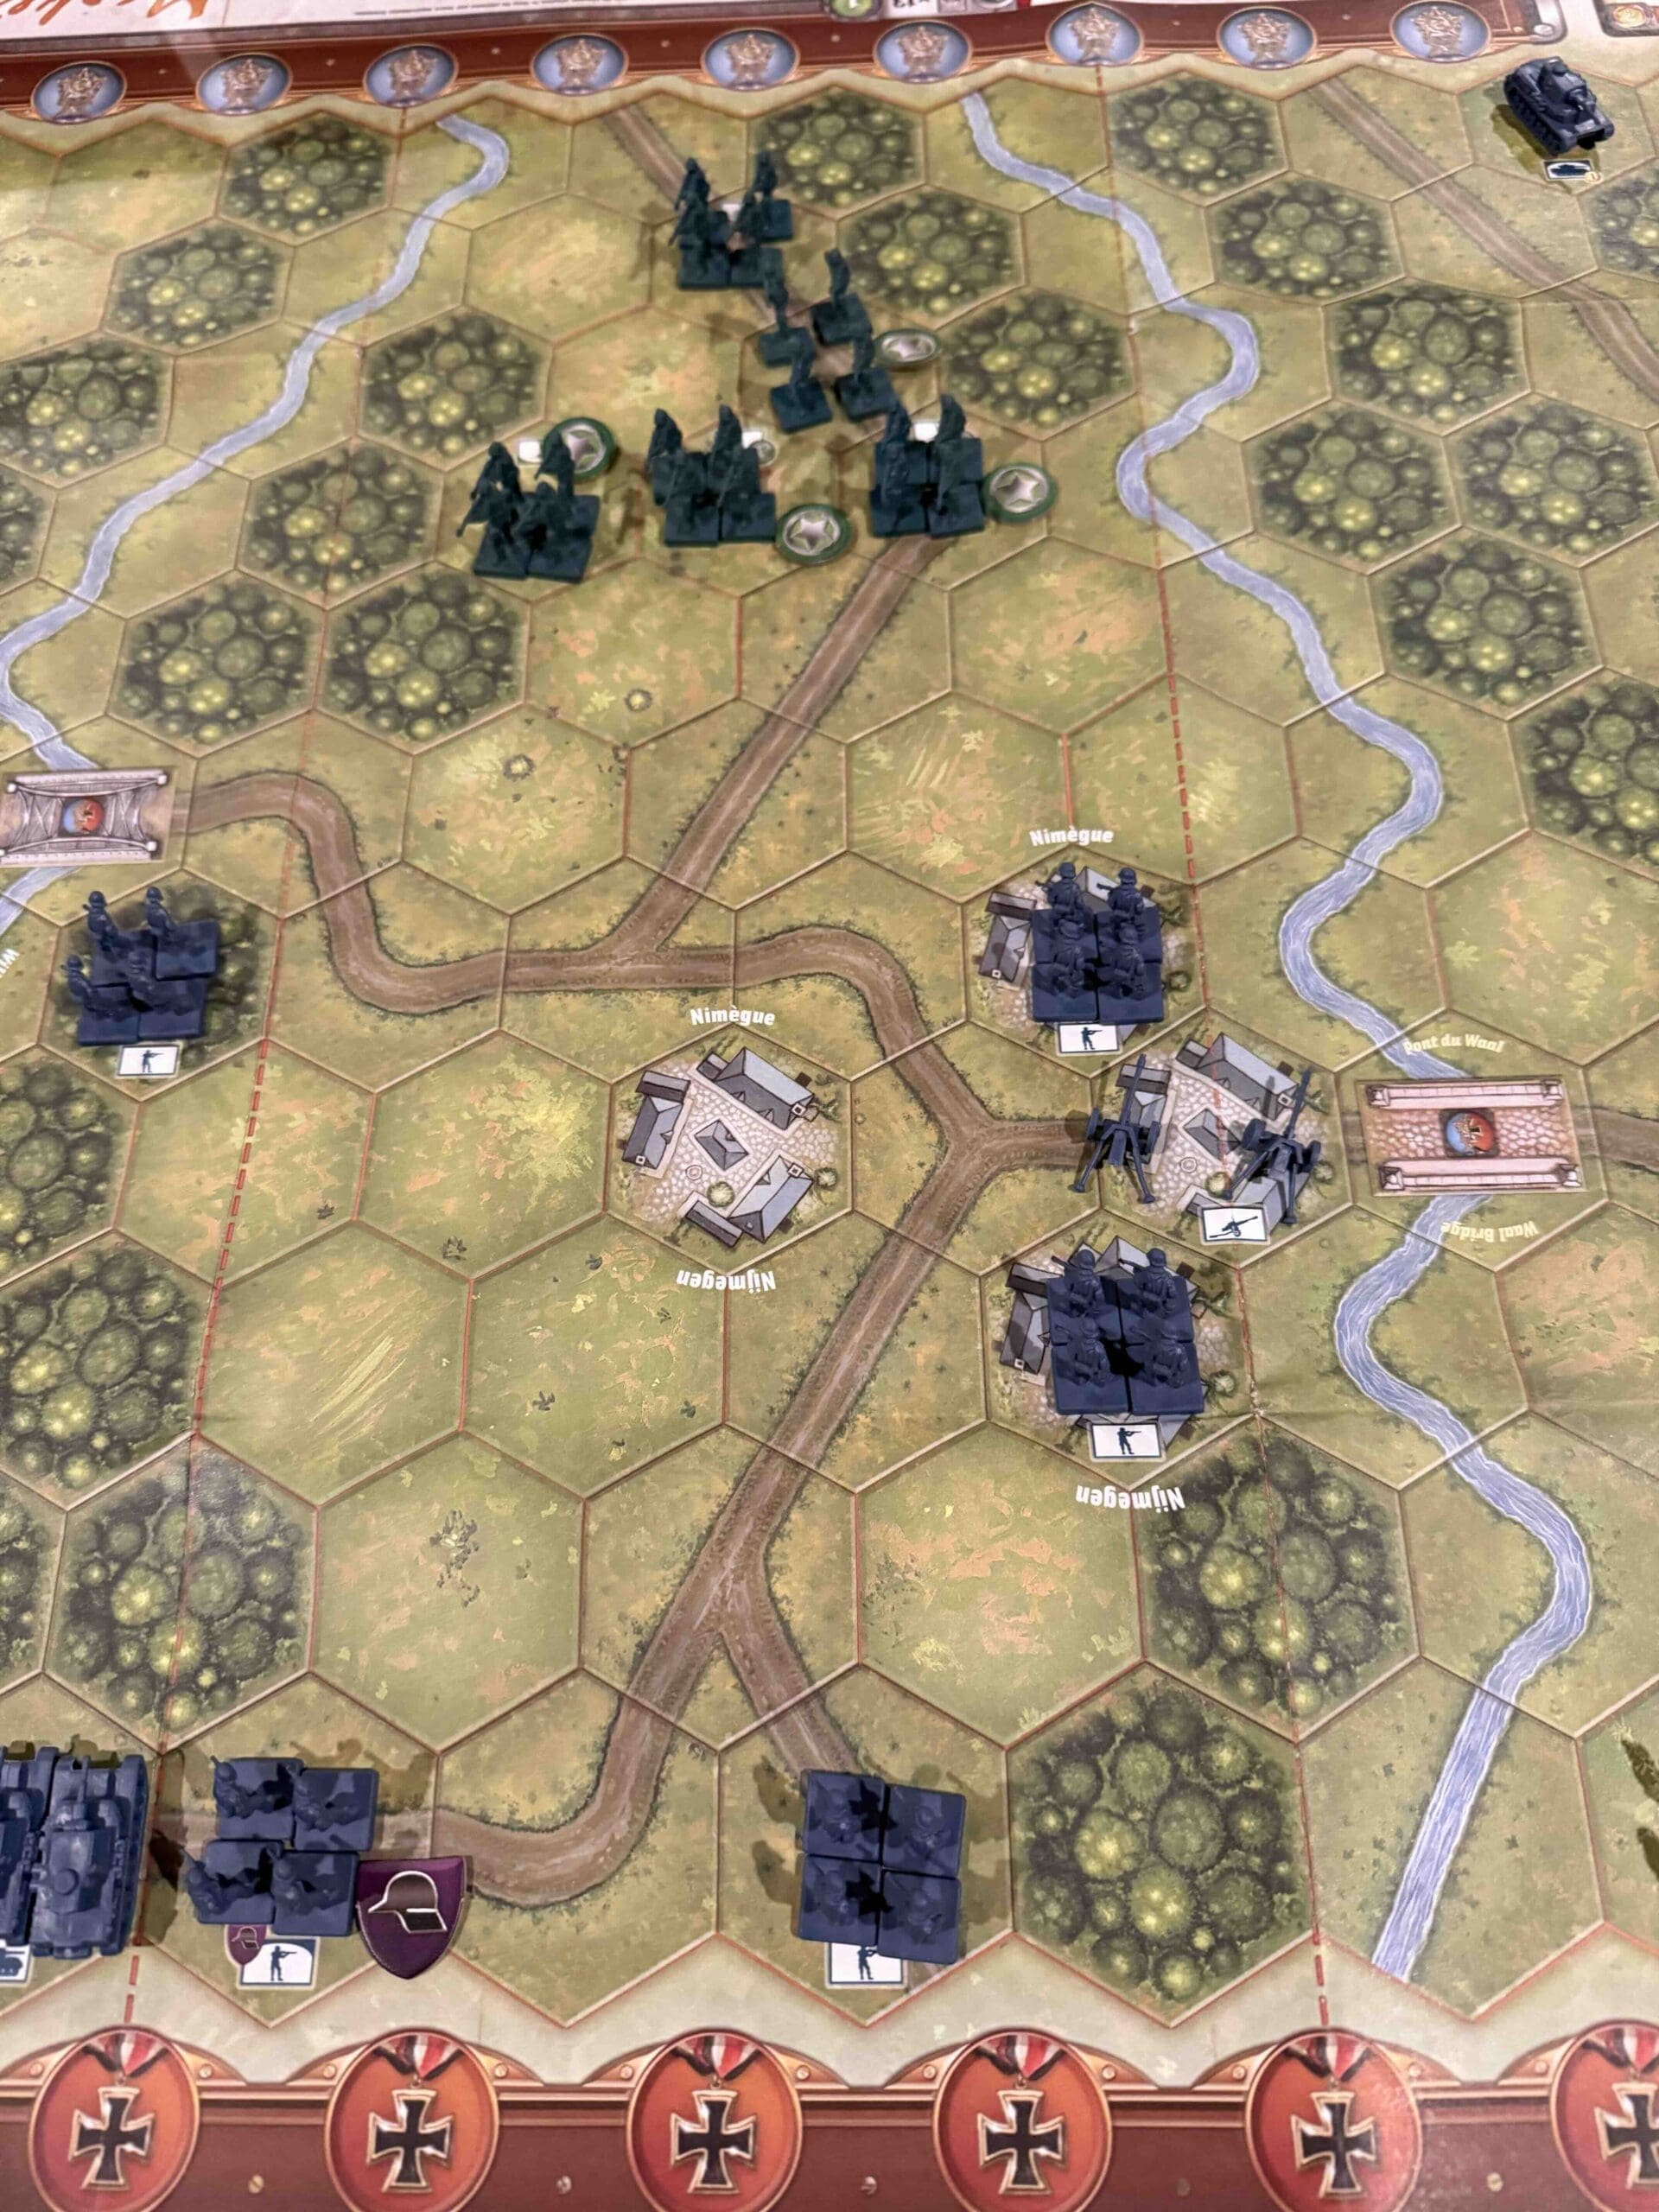
Countryside

Context:
Historical
Location:
Normandy, France
Year:
1944
Theater:
Western
Campaign:
Normandy
Codename:
Summary:
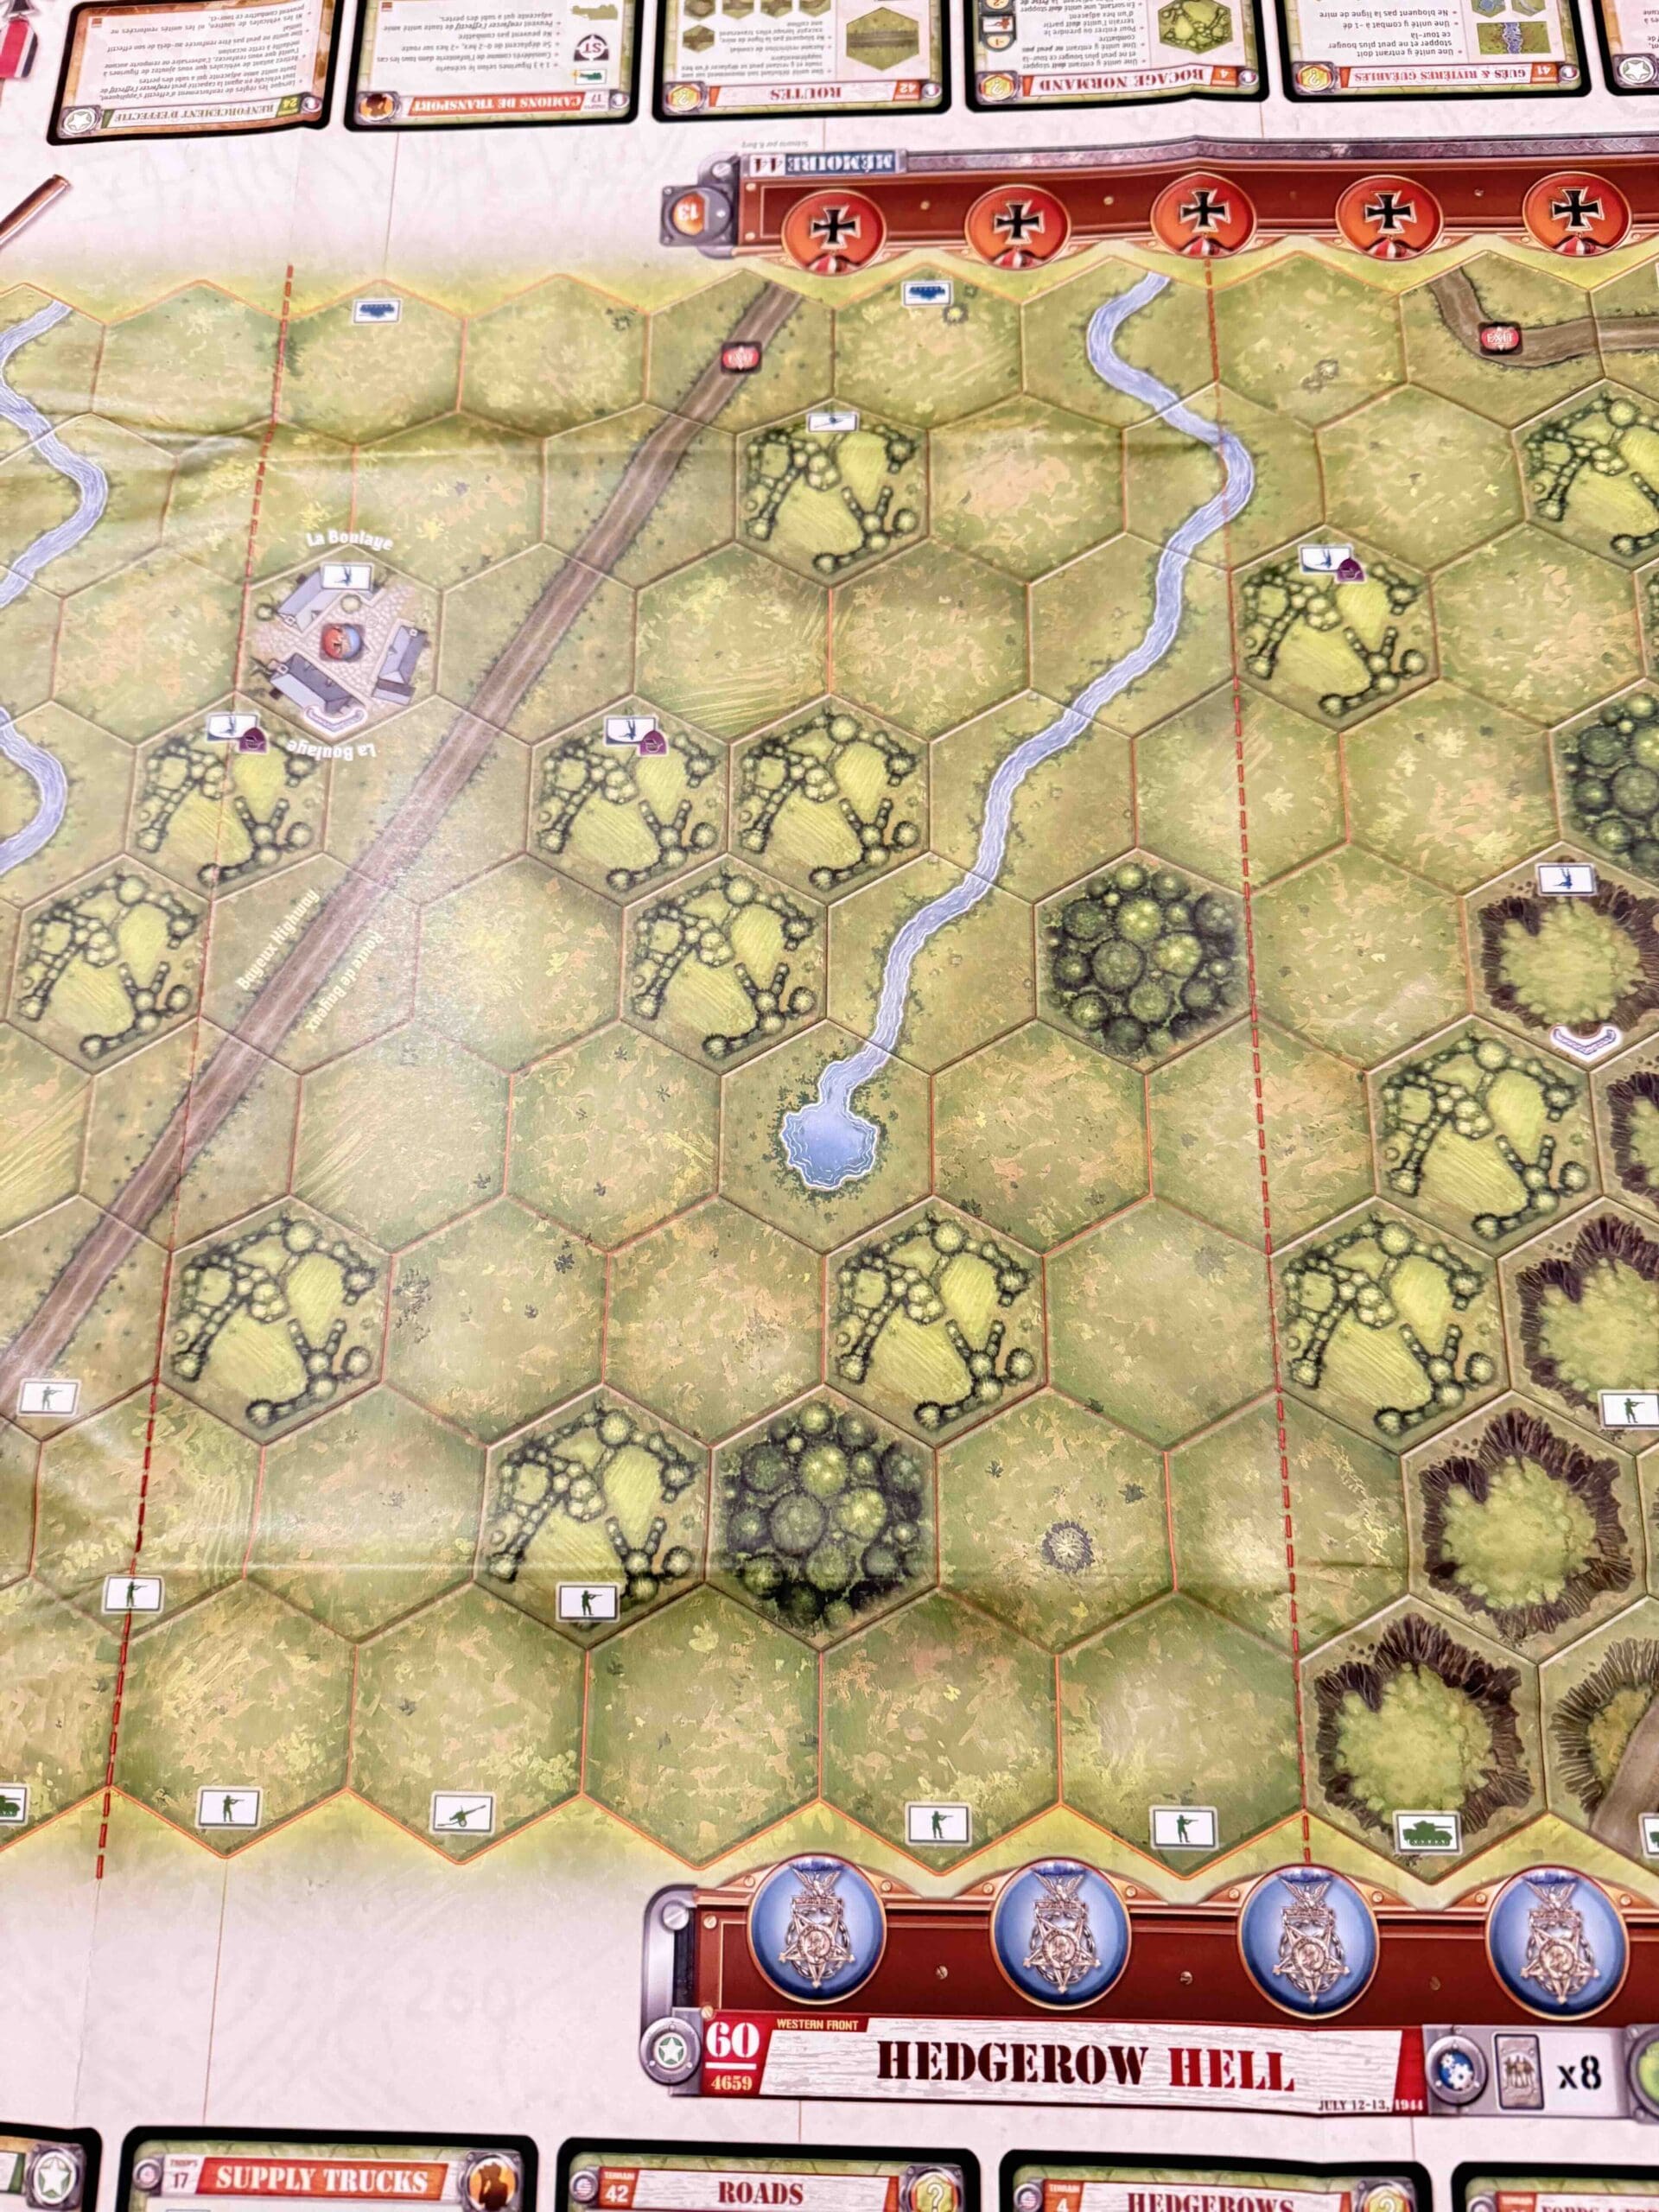
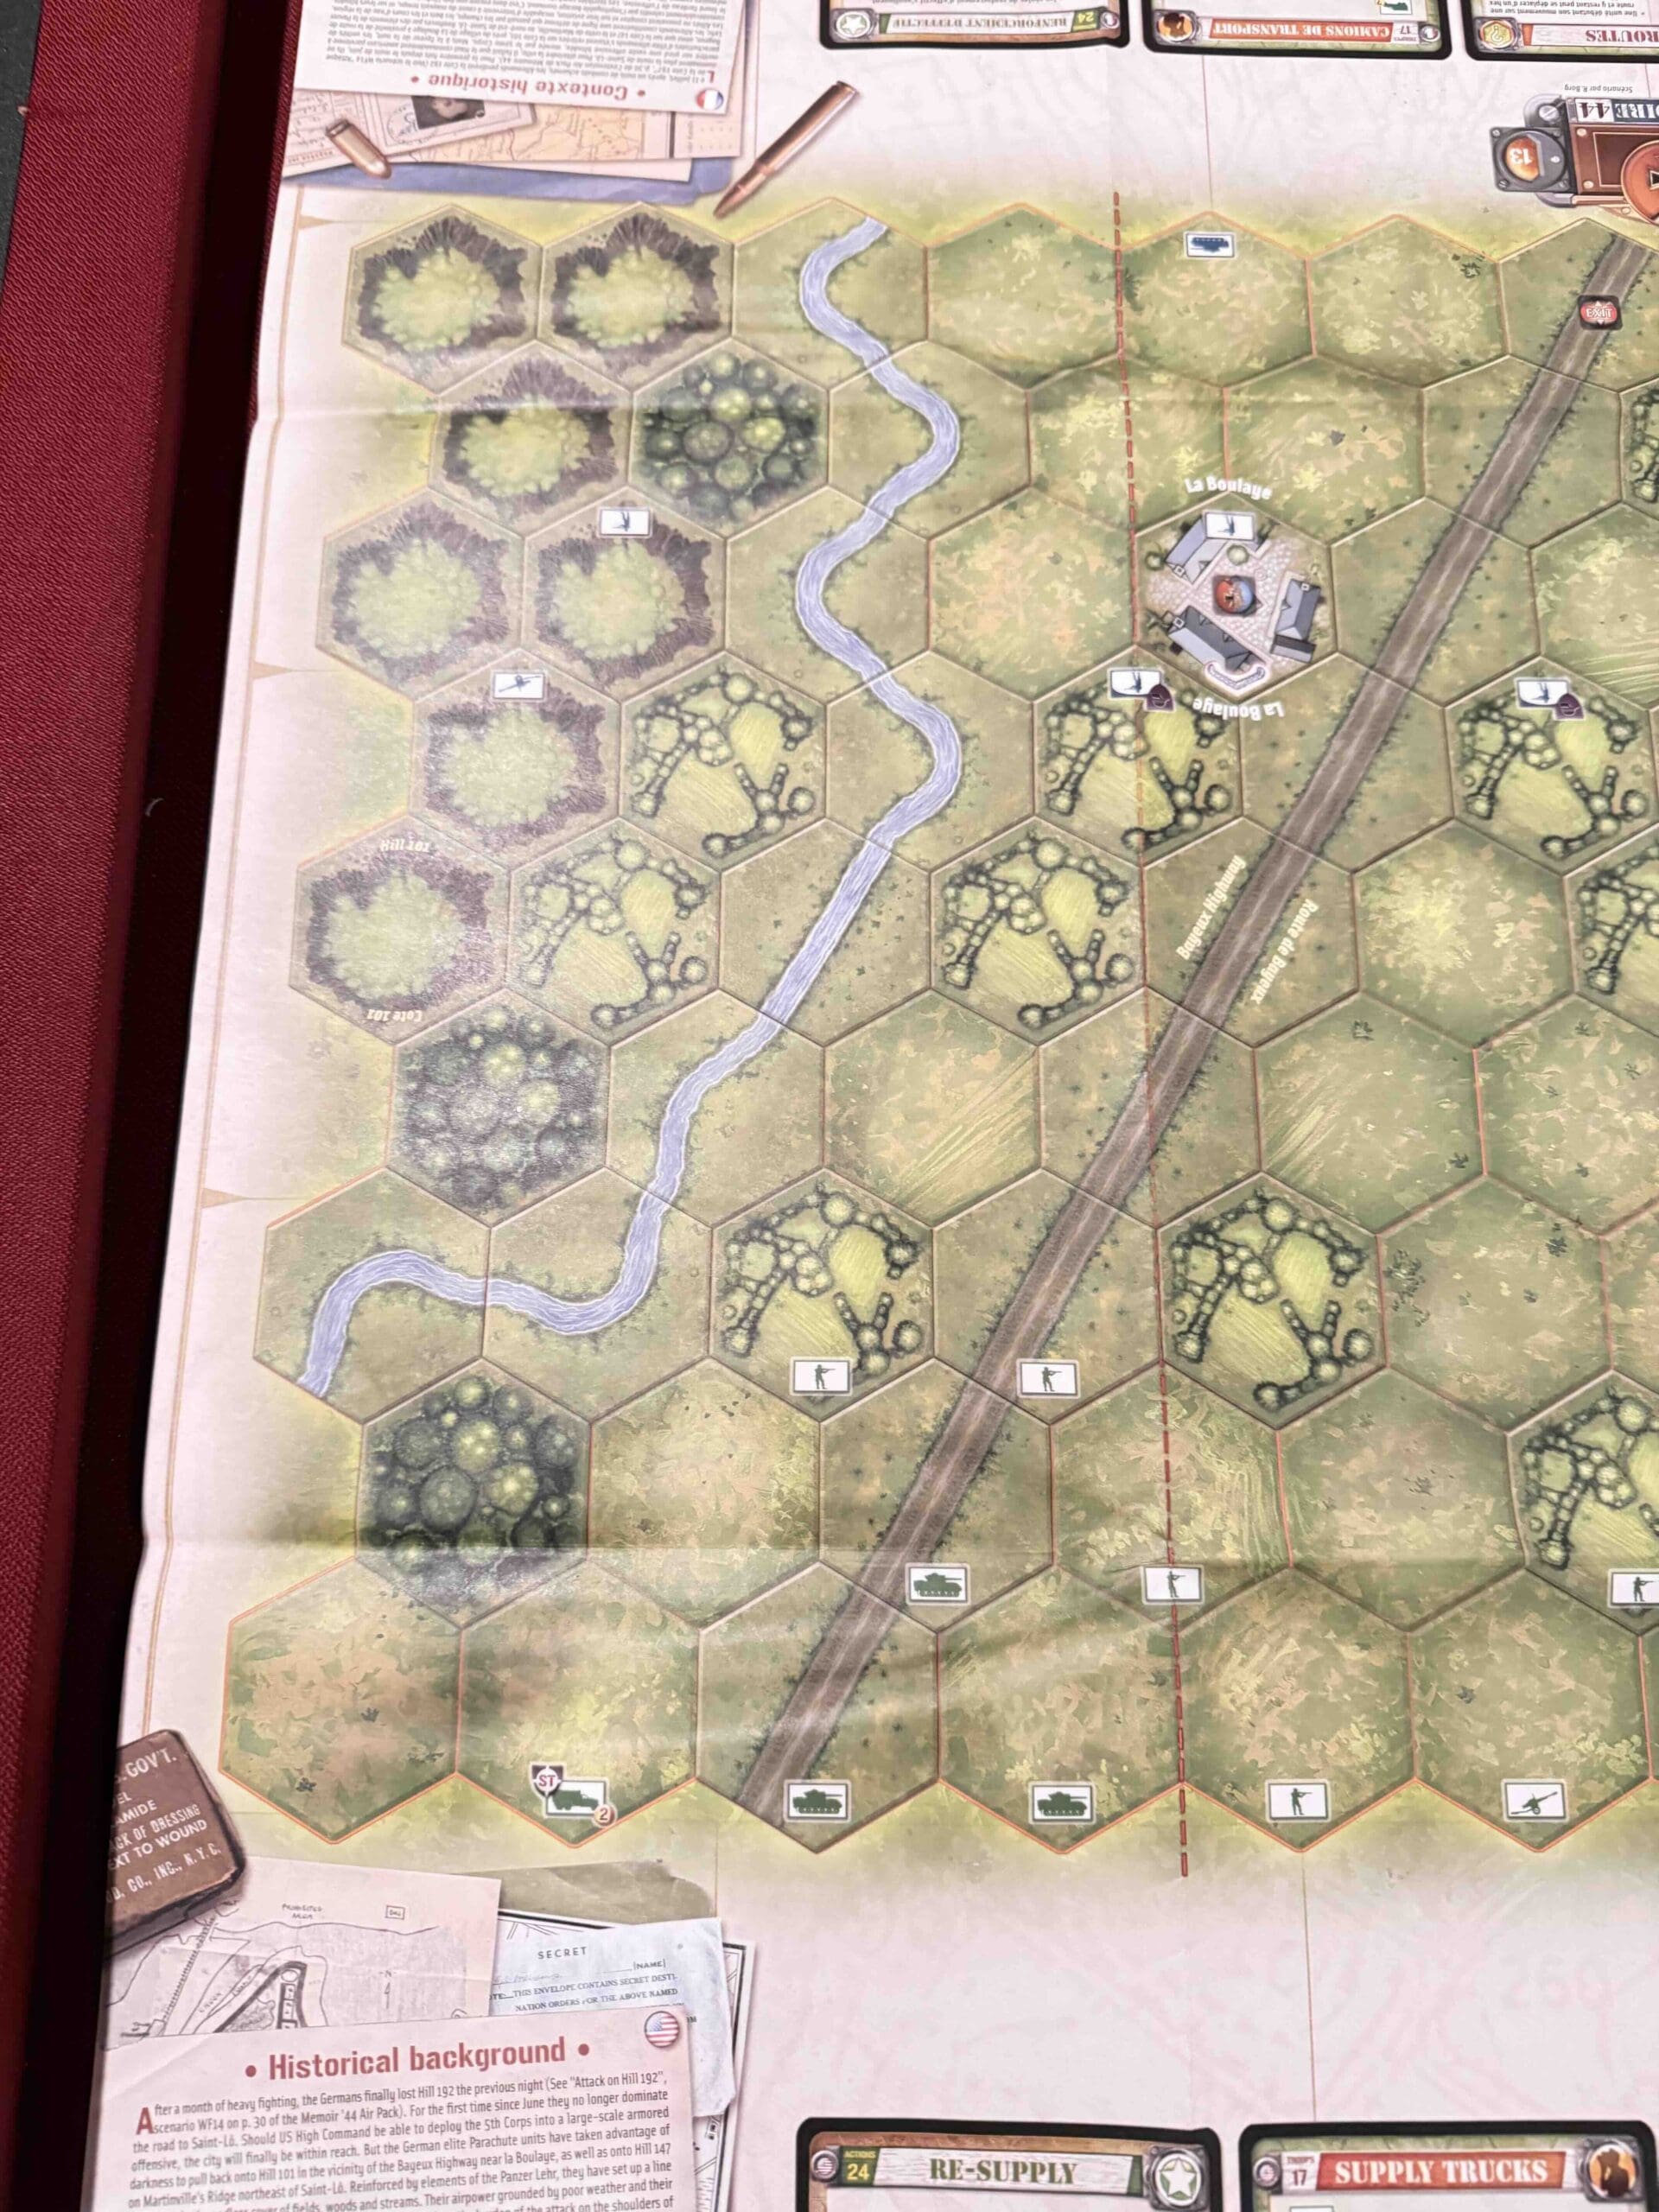
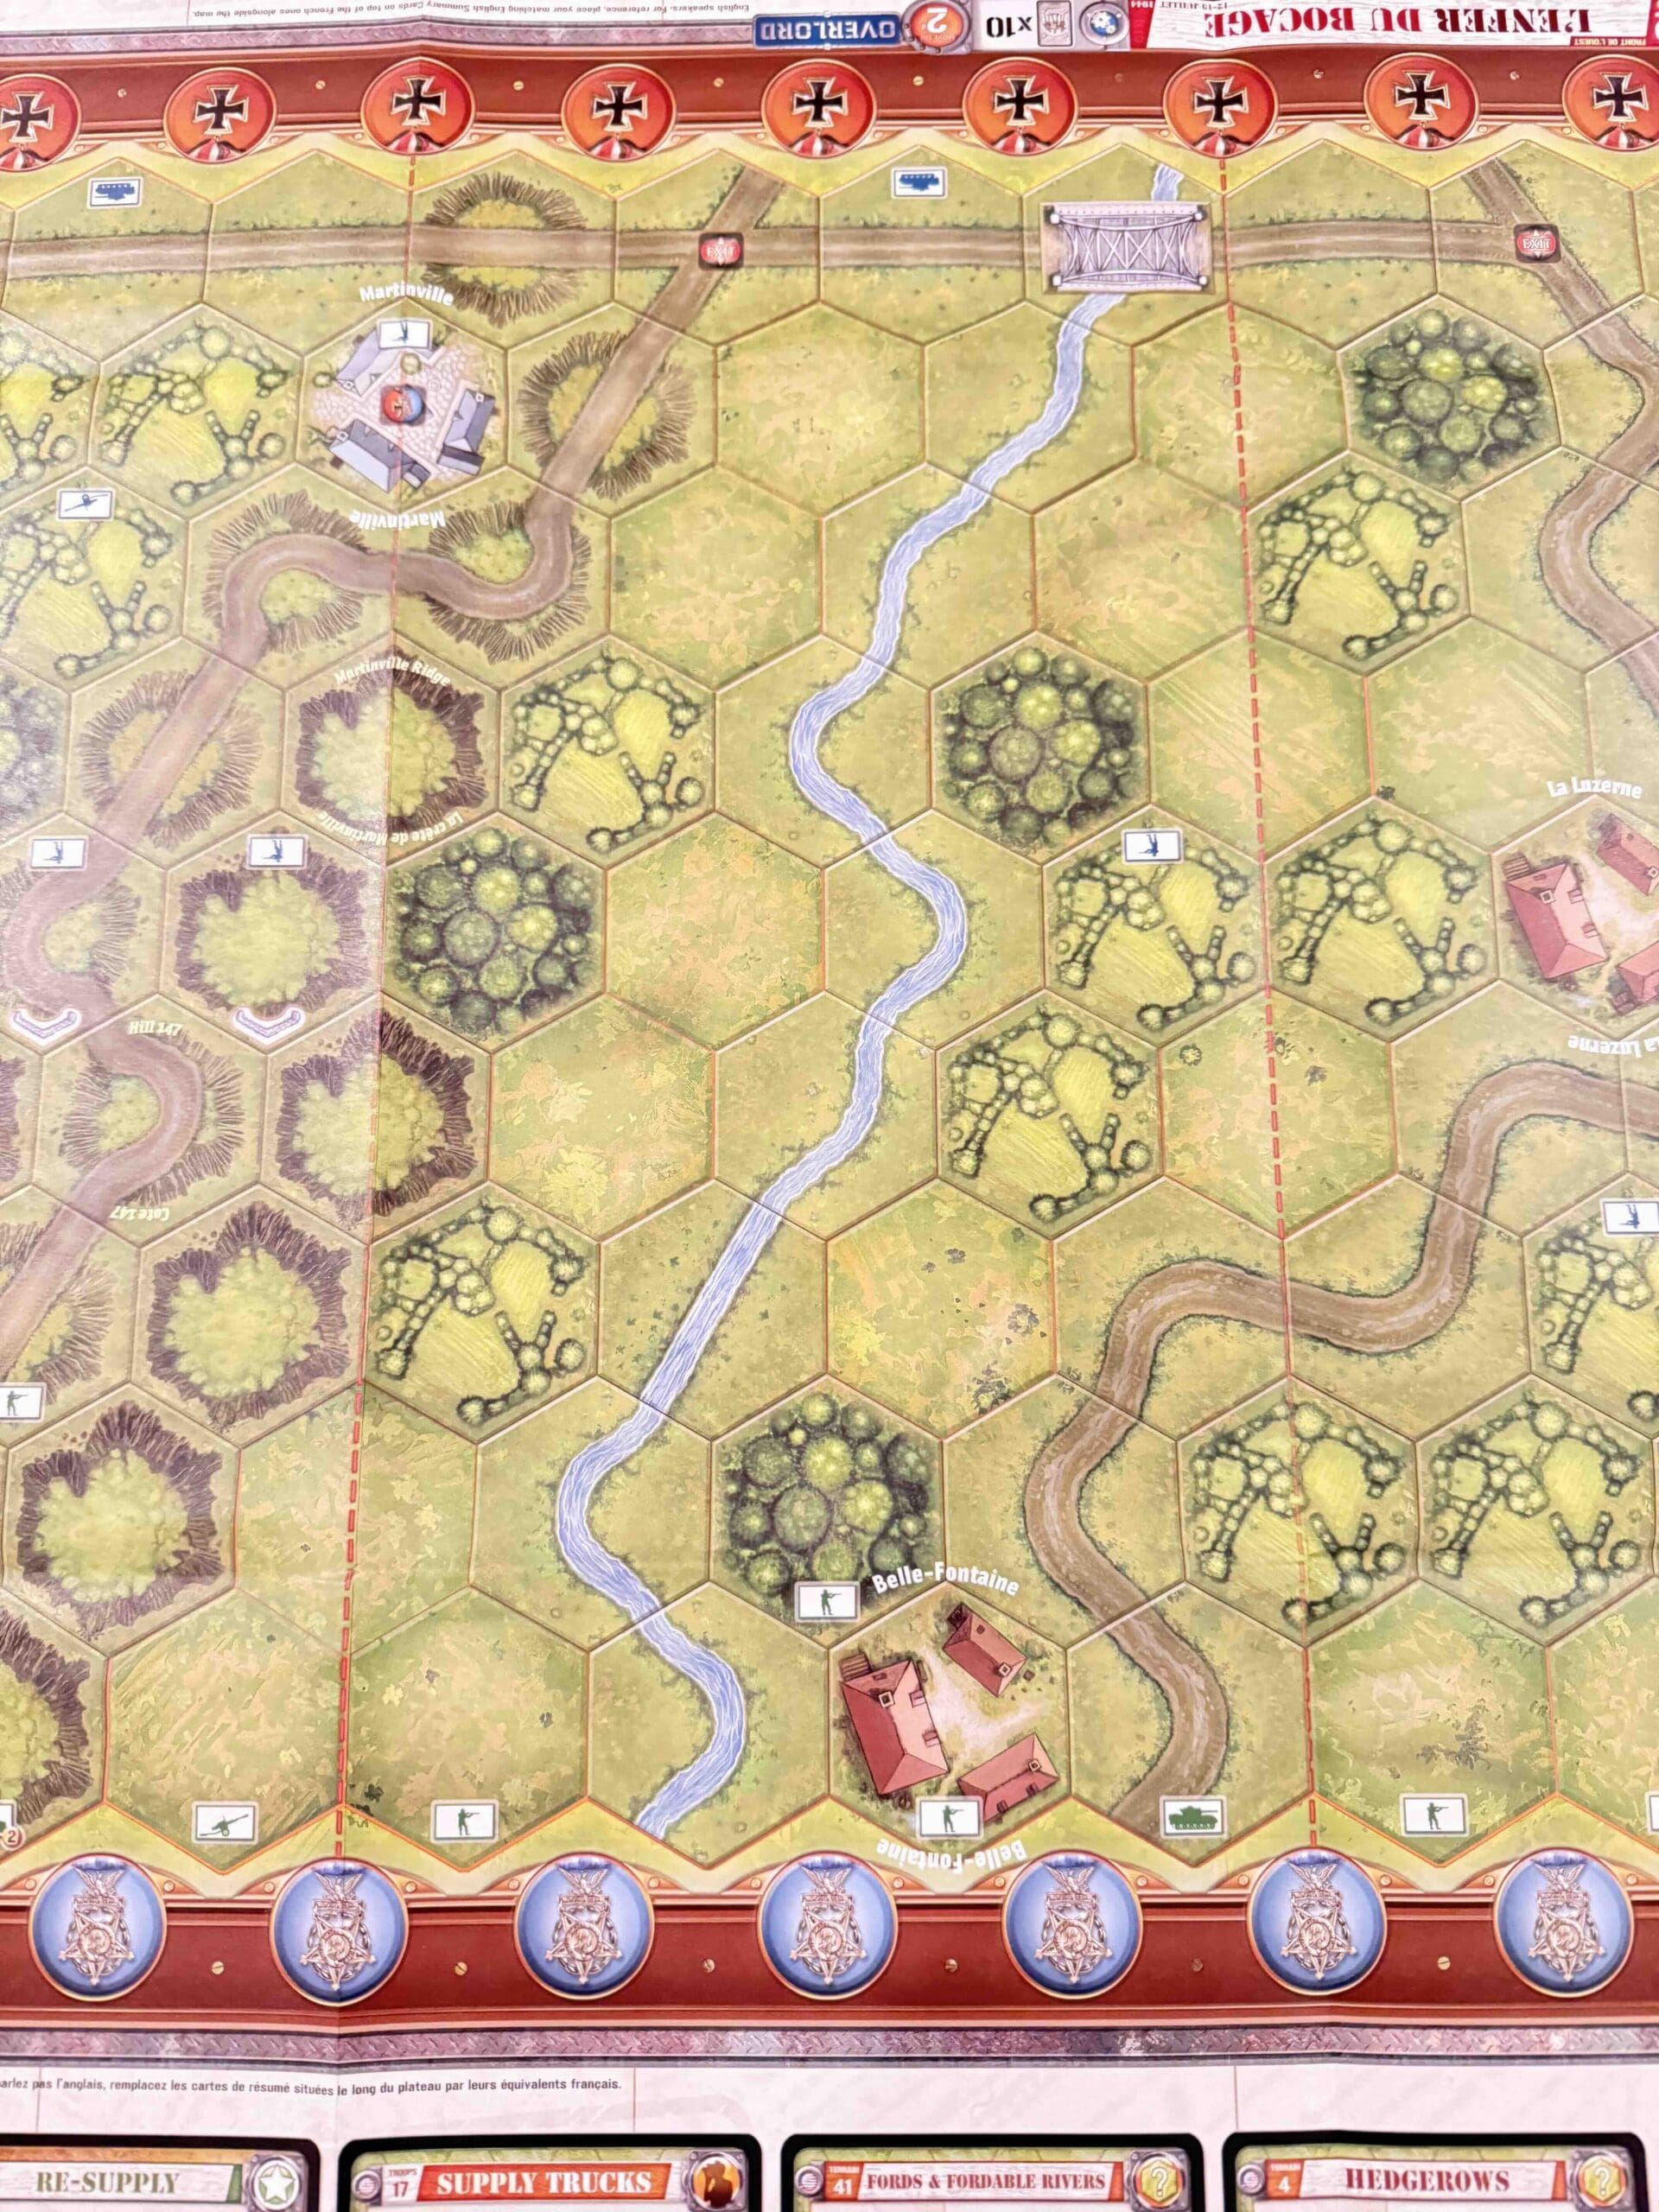
Objectives:
13 VP’s, plus Territorial Objective Medals for each side, and Exit hexes for the Allies.
Battlefield:
Countryside with rivers, roads, hills, and many hedgerows.
Troops:
Allies – 21 Infantry, 8 Armor and some Trucks, 3 Artillery
Axis – 14 Infantry, 5 Armor, 4 Artillery

Allied Strategy:
1.

Axis Strategy
1.
Battle Reports
Author:
Days of Wonder
Link: