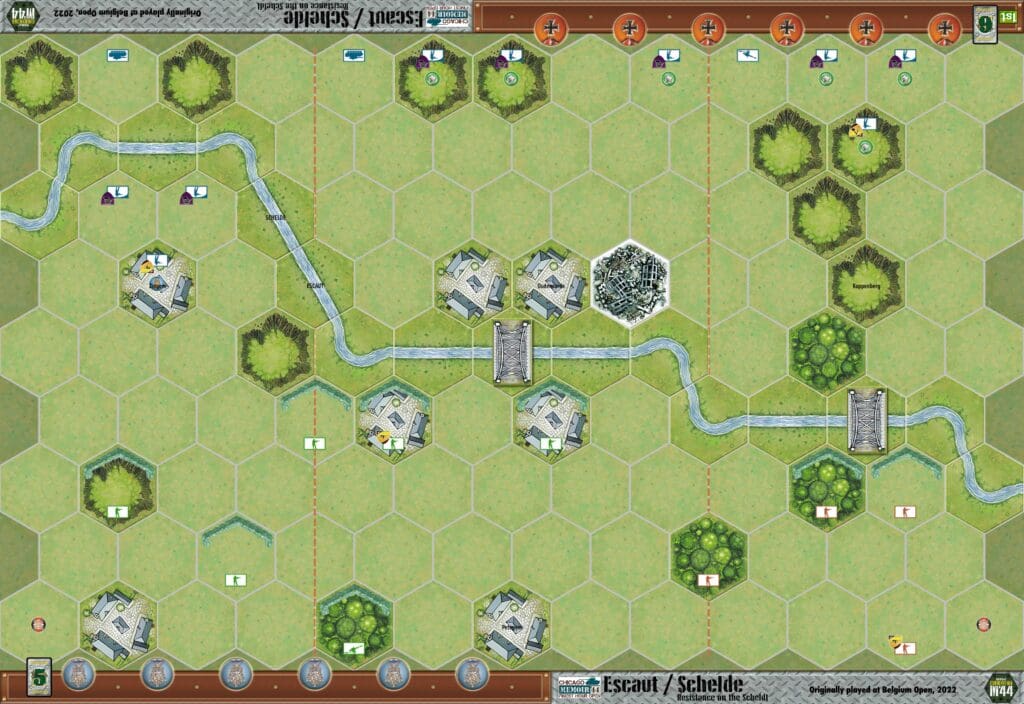
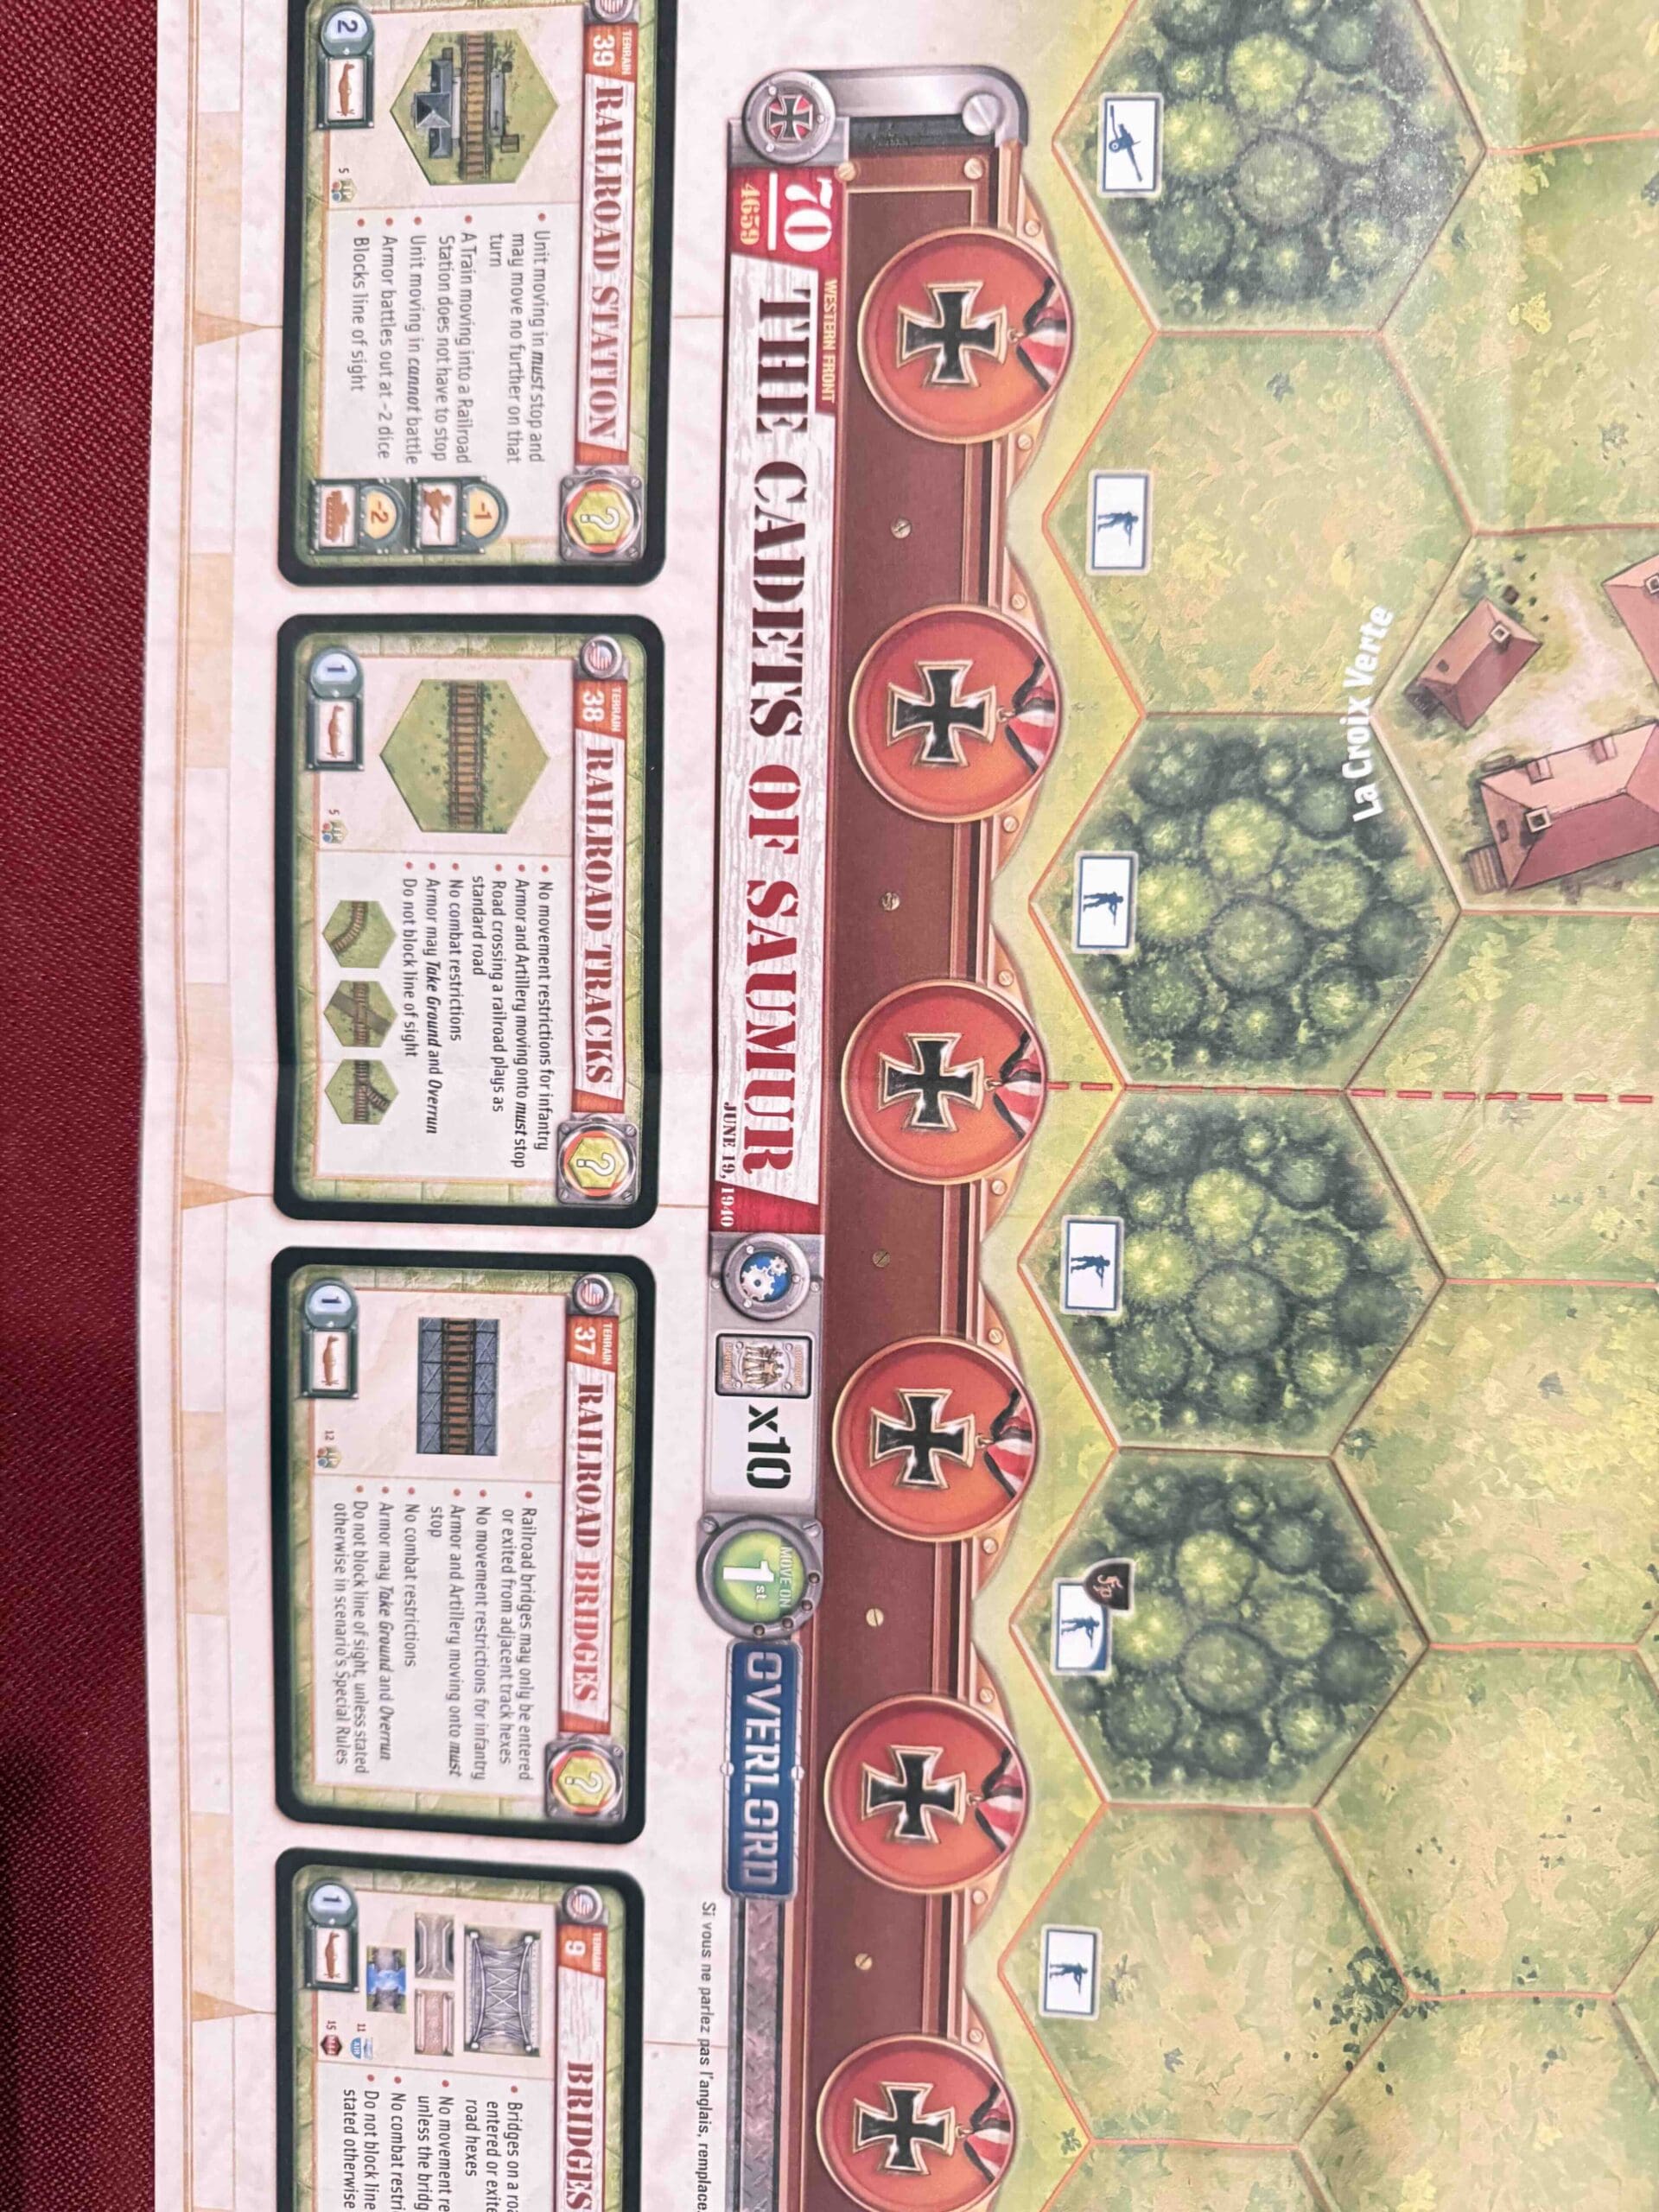
The Cadets of Saumur
The Cadets of Saumur (Overlord Map)
Cadets-Saumur_title
Cadets-Saumur_right2
Cadets-Saumur_right1
Cadets-Saumur_Left2
Cadets-Saumur_Left1
Cadets-Saumur_center2
Cadets-Saumur_center1
“Let me give it to you straight, boys—back in ‘39, before the big show kicked off in Europe, there was a damn fine brawl brewing out east along the Khalkhin-Gol River. The Soviets, under that iron bastard Zhukov, took on the Japanese who were itching for a scrap in the borderlands.
Those Russians didn’t just trade blows—they went for the kill. They wrapped the Japanese 23rd Division up tight in a steel trap—tanks on the flanks, artillery in the rear, and air power pounding them into the dirt. No escape, no second chances—just one big, smoking ruin when the Red Army was done.
The result? The Japanese learned a lesson in modern warfare and didn’t forget it, and Zhukov walked out of there with a reputation as the man who could gut an enemy army whole. That’s how you fight a battle, boys—encircle, crush, and leave nothing but wreckage behind!”
~~ General Howitzer

Timeline of the Battle:
-
June 17, 1940 –
German forces approach the Loire River as French defenses collapse elsewhere. Cadets at Saumur are ordered to hold the bridges. -
June 18, 1940 –
The cadets and their instructors begin preparing defenses, mining bridges, and setting up strongpoints. -
June 19, 1940 –
German troops launch assaults to seize the Saumur bridges. The cadets, though heavily outnumbered, fiercely resist throughout the day and destroy bridges to slow the advance. -
June 20, 1940 –
After holding for two days and inflicting delays on the Germans, the cadets receive orders to withdraw. German forces occupy Saumur later that day.
12 VP’s
Card Balance:
Allies (France) – 8
Axis – 10
Complexity:
4
Conditions:
Countryside

Context:
Historical
Location:
France
Year:
1940
Theater:
Western
Campaign:
Codename:
Summary:
Objectives:
12 VP’s with two Permanent Medal Objectives for the Axis.
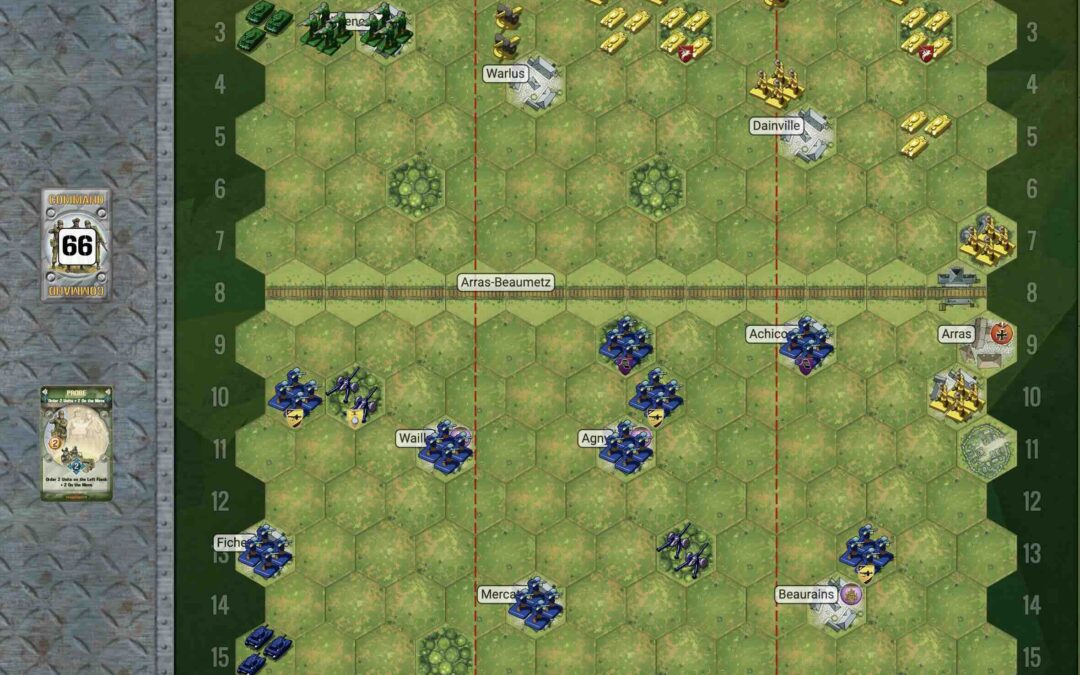
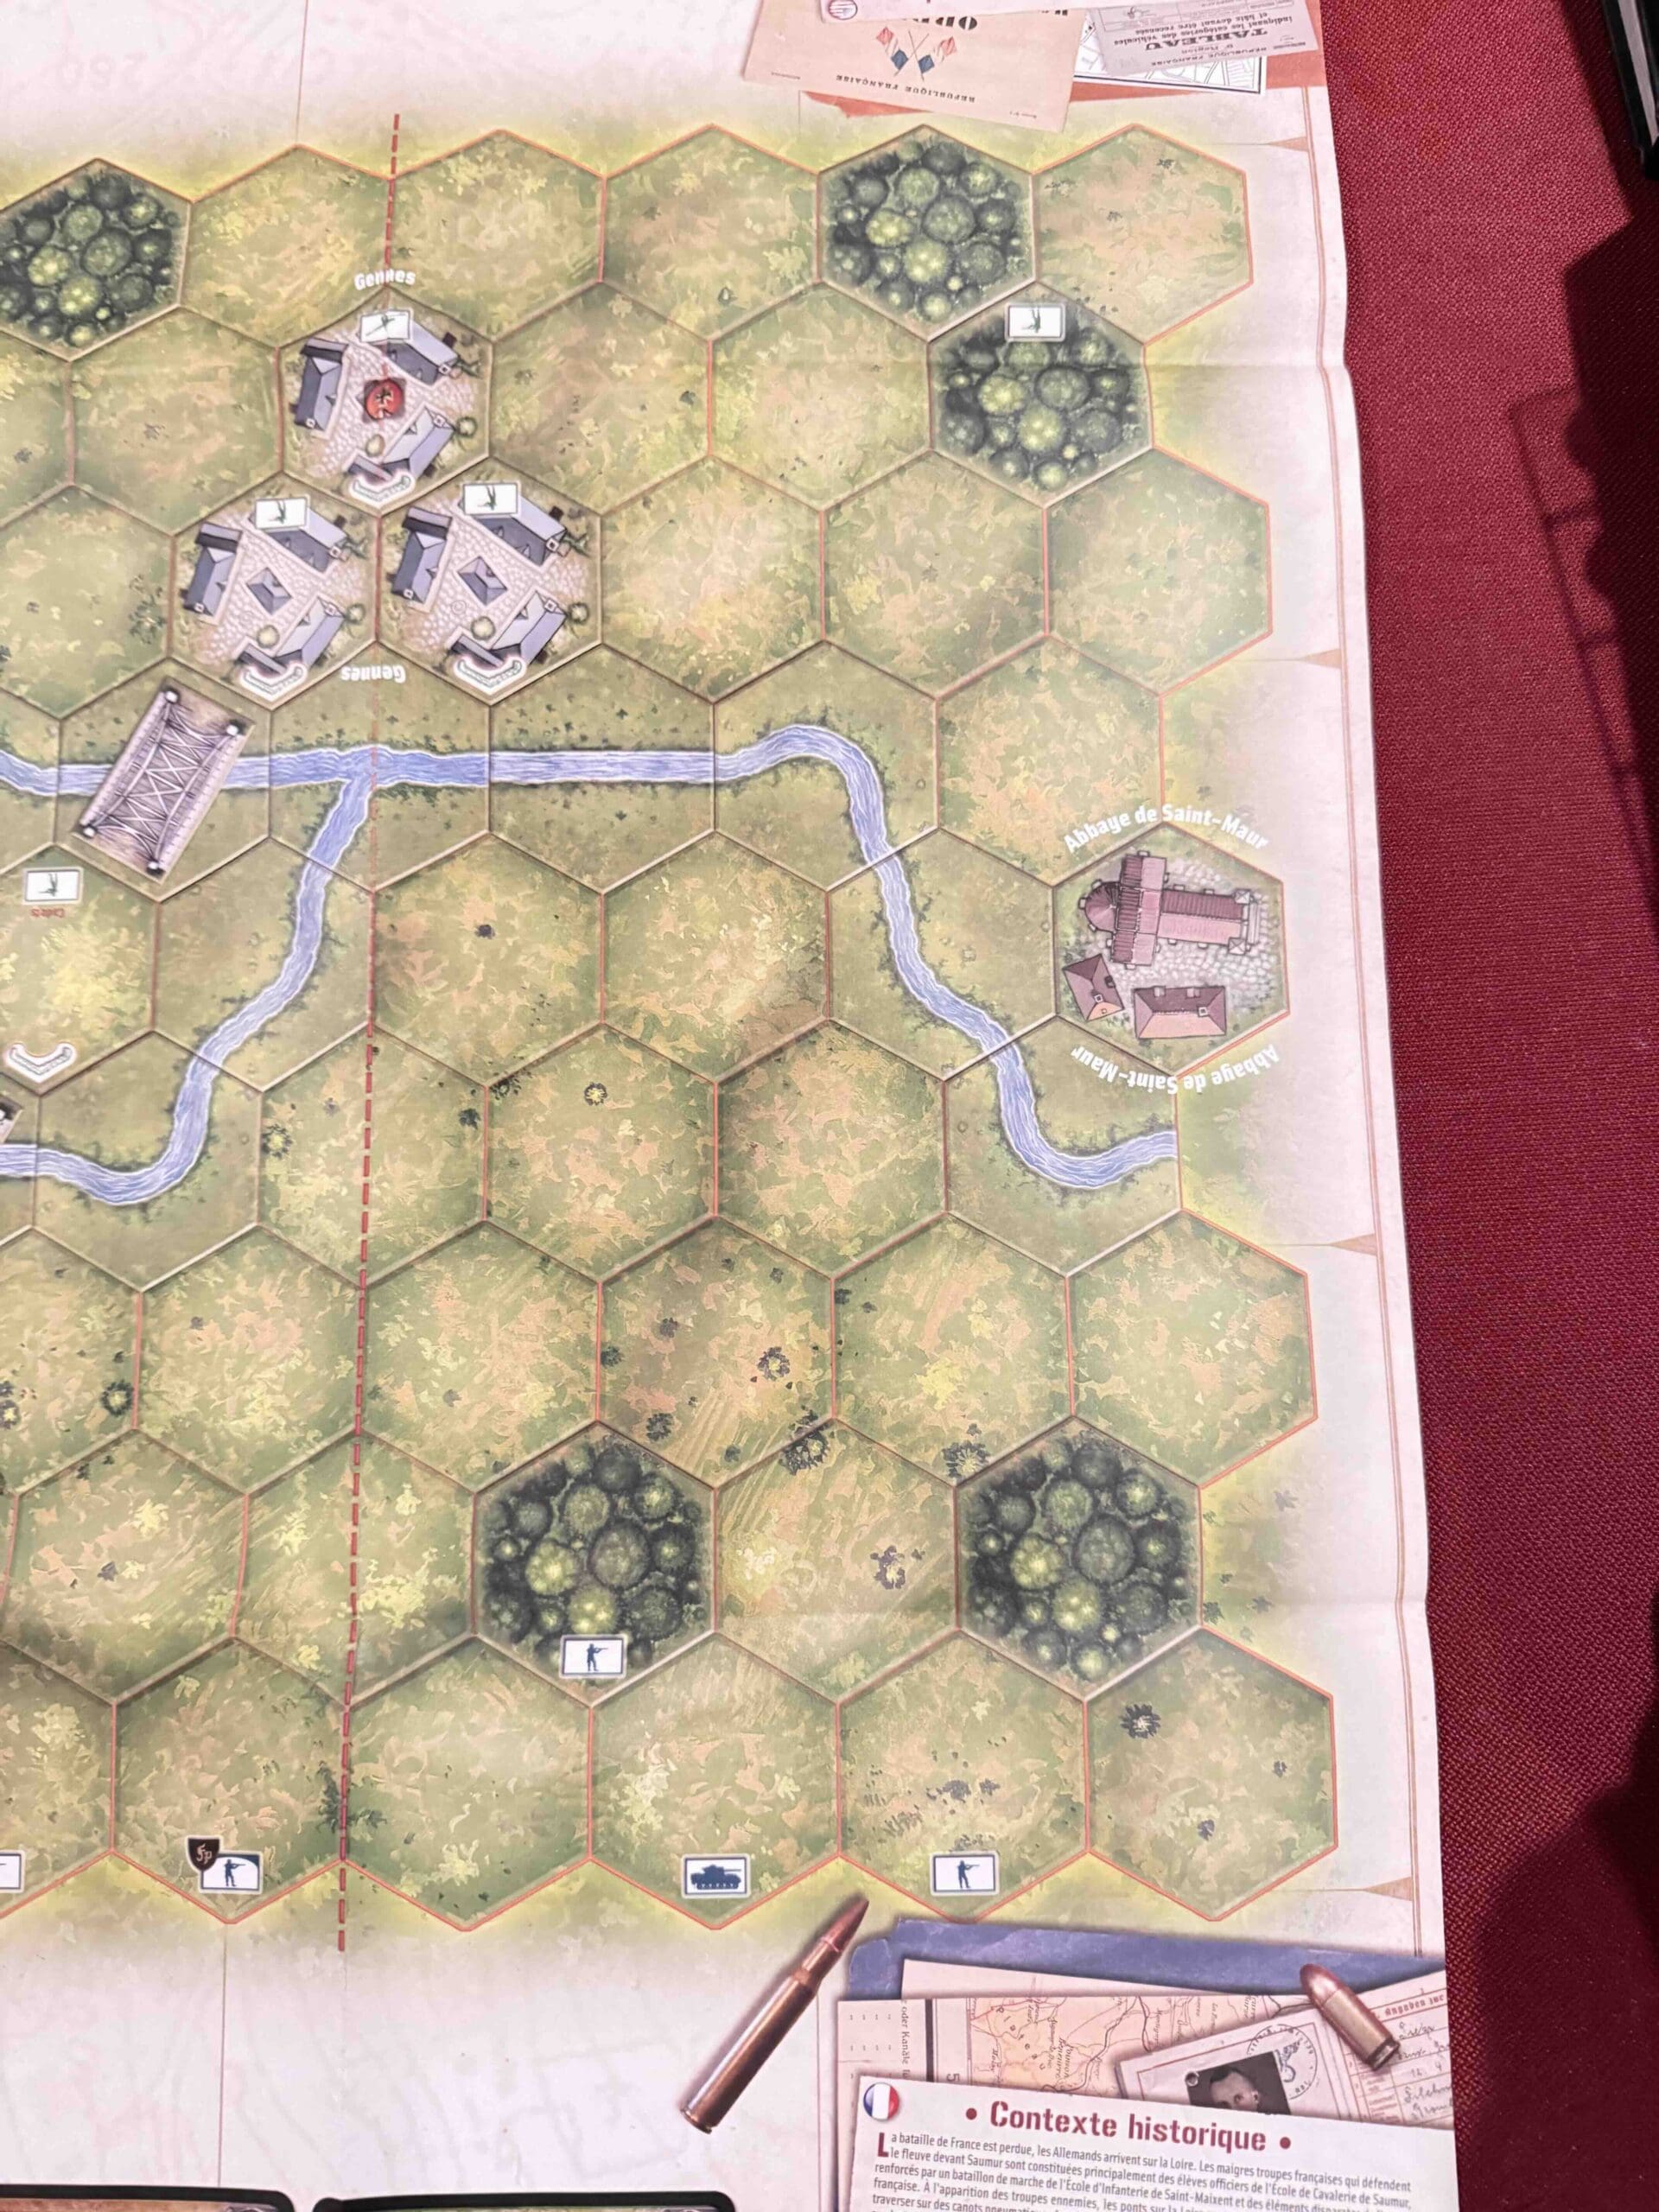
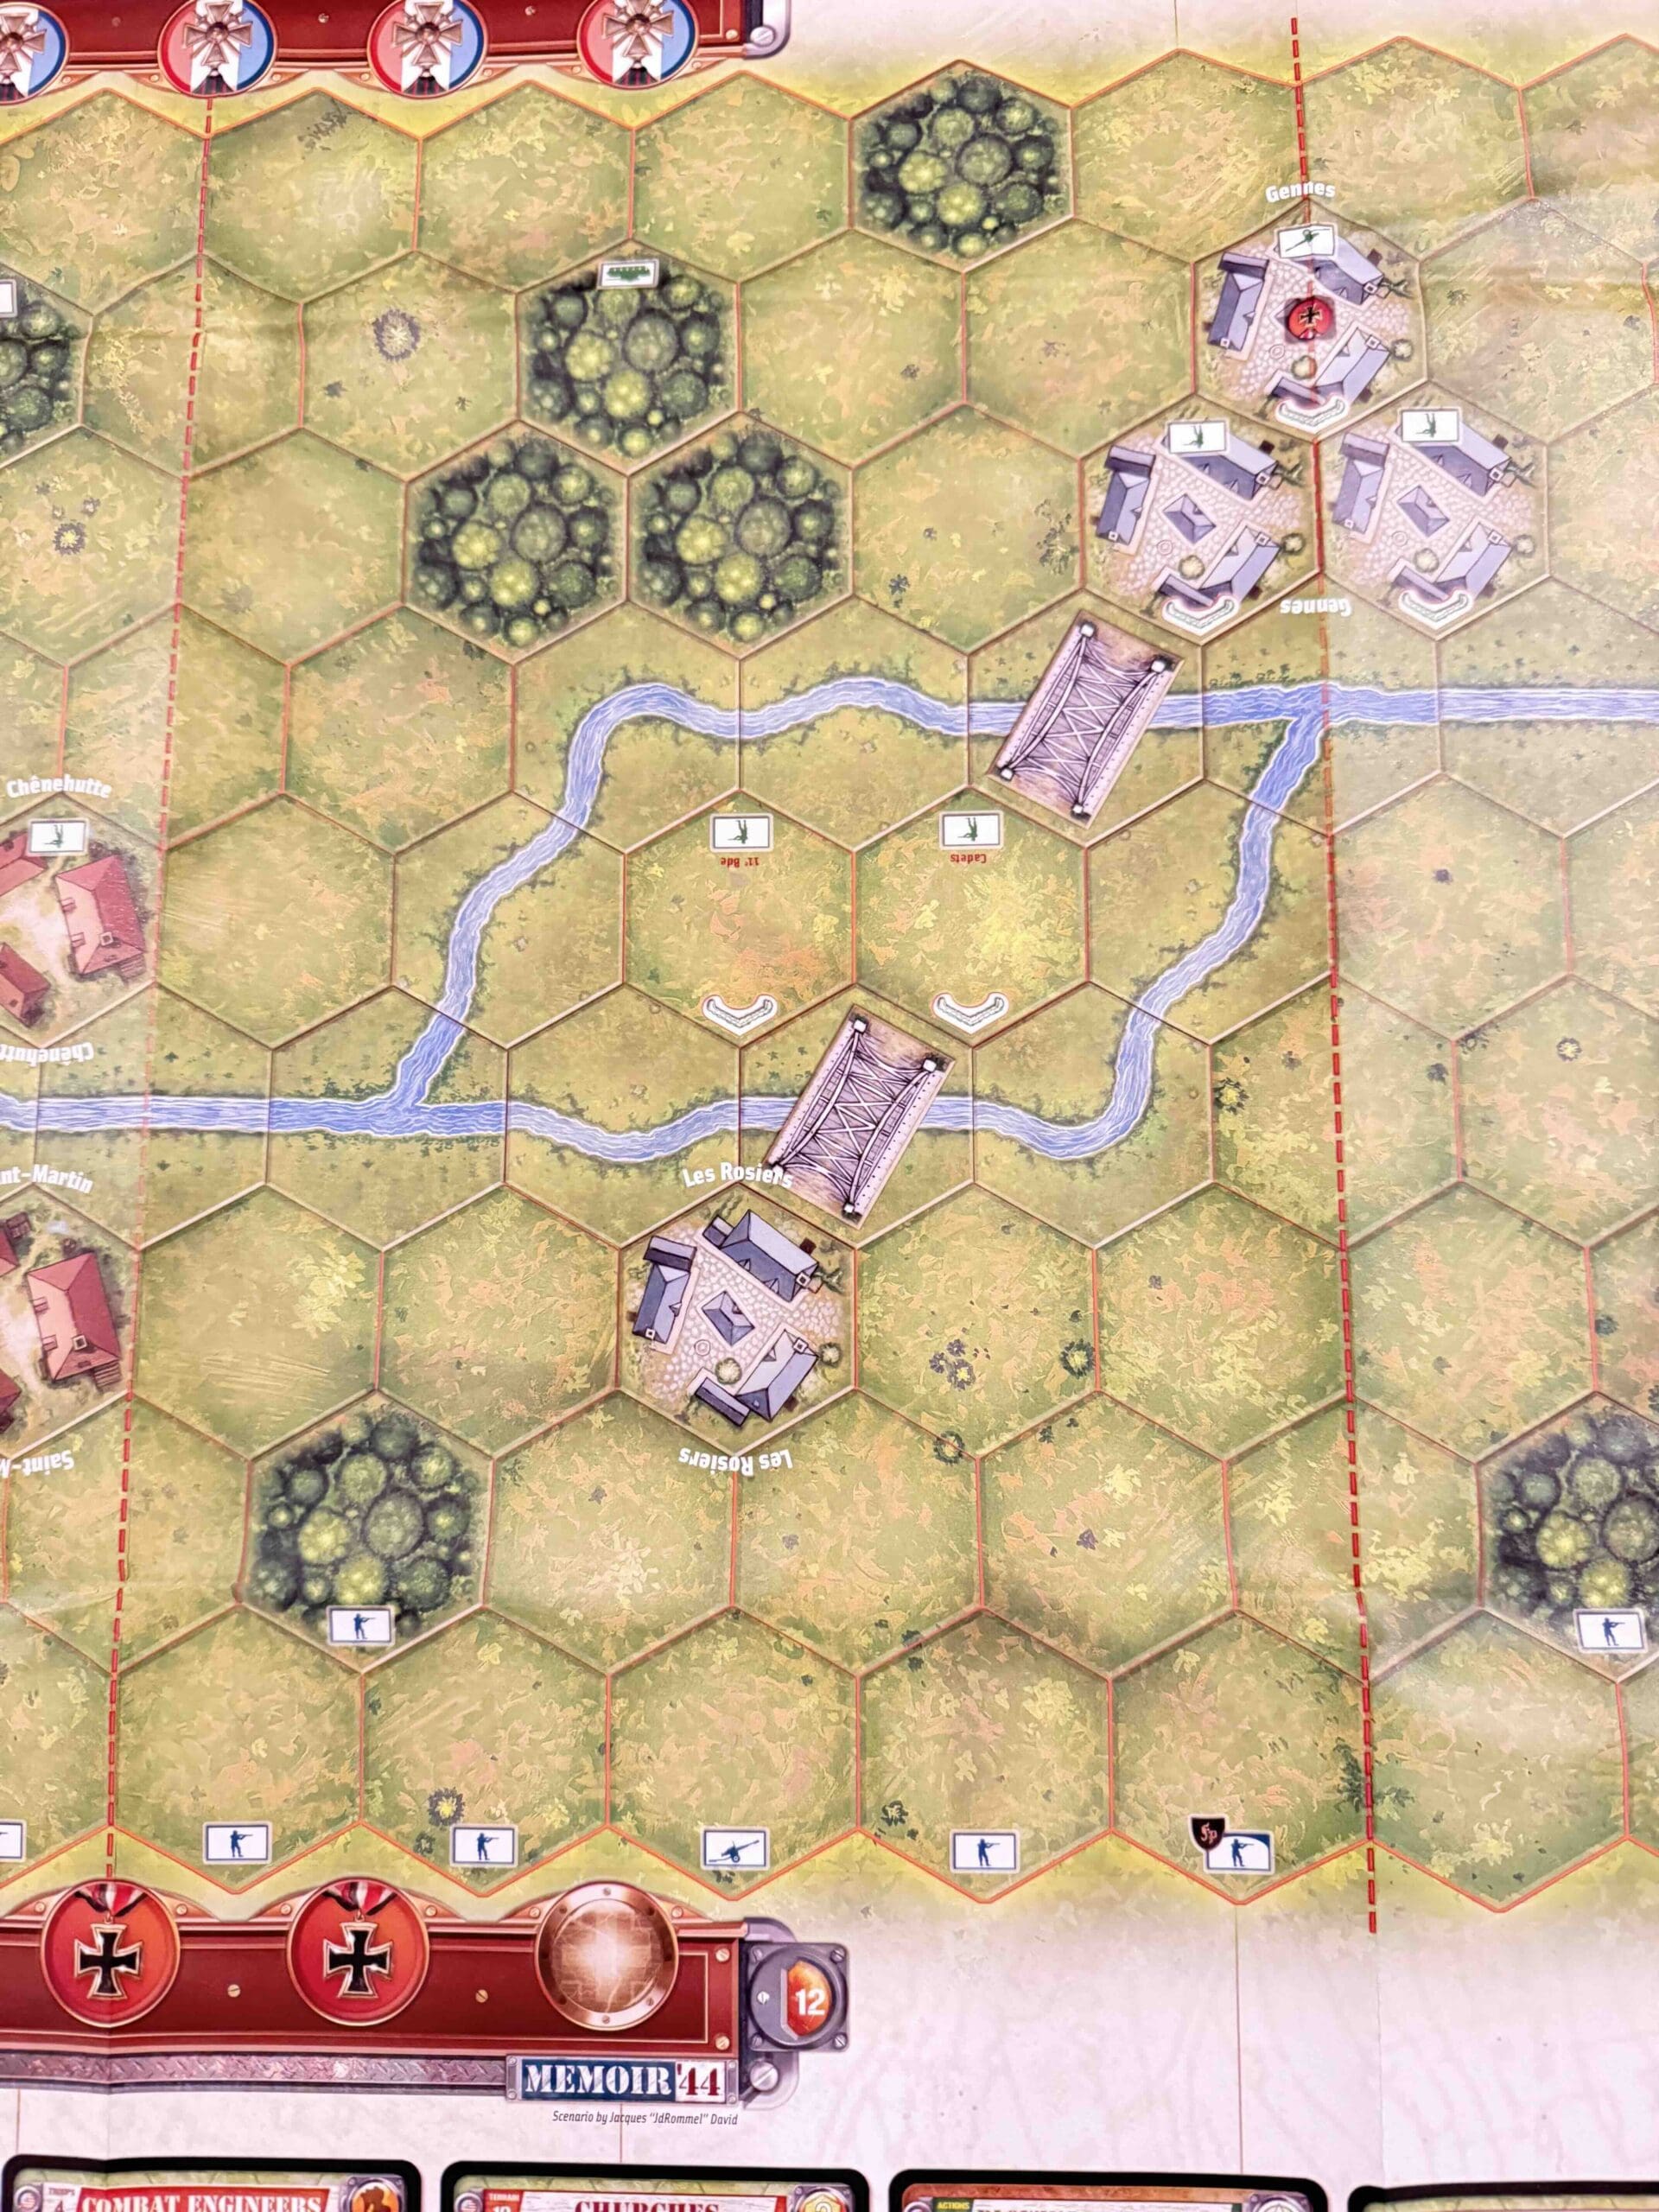
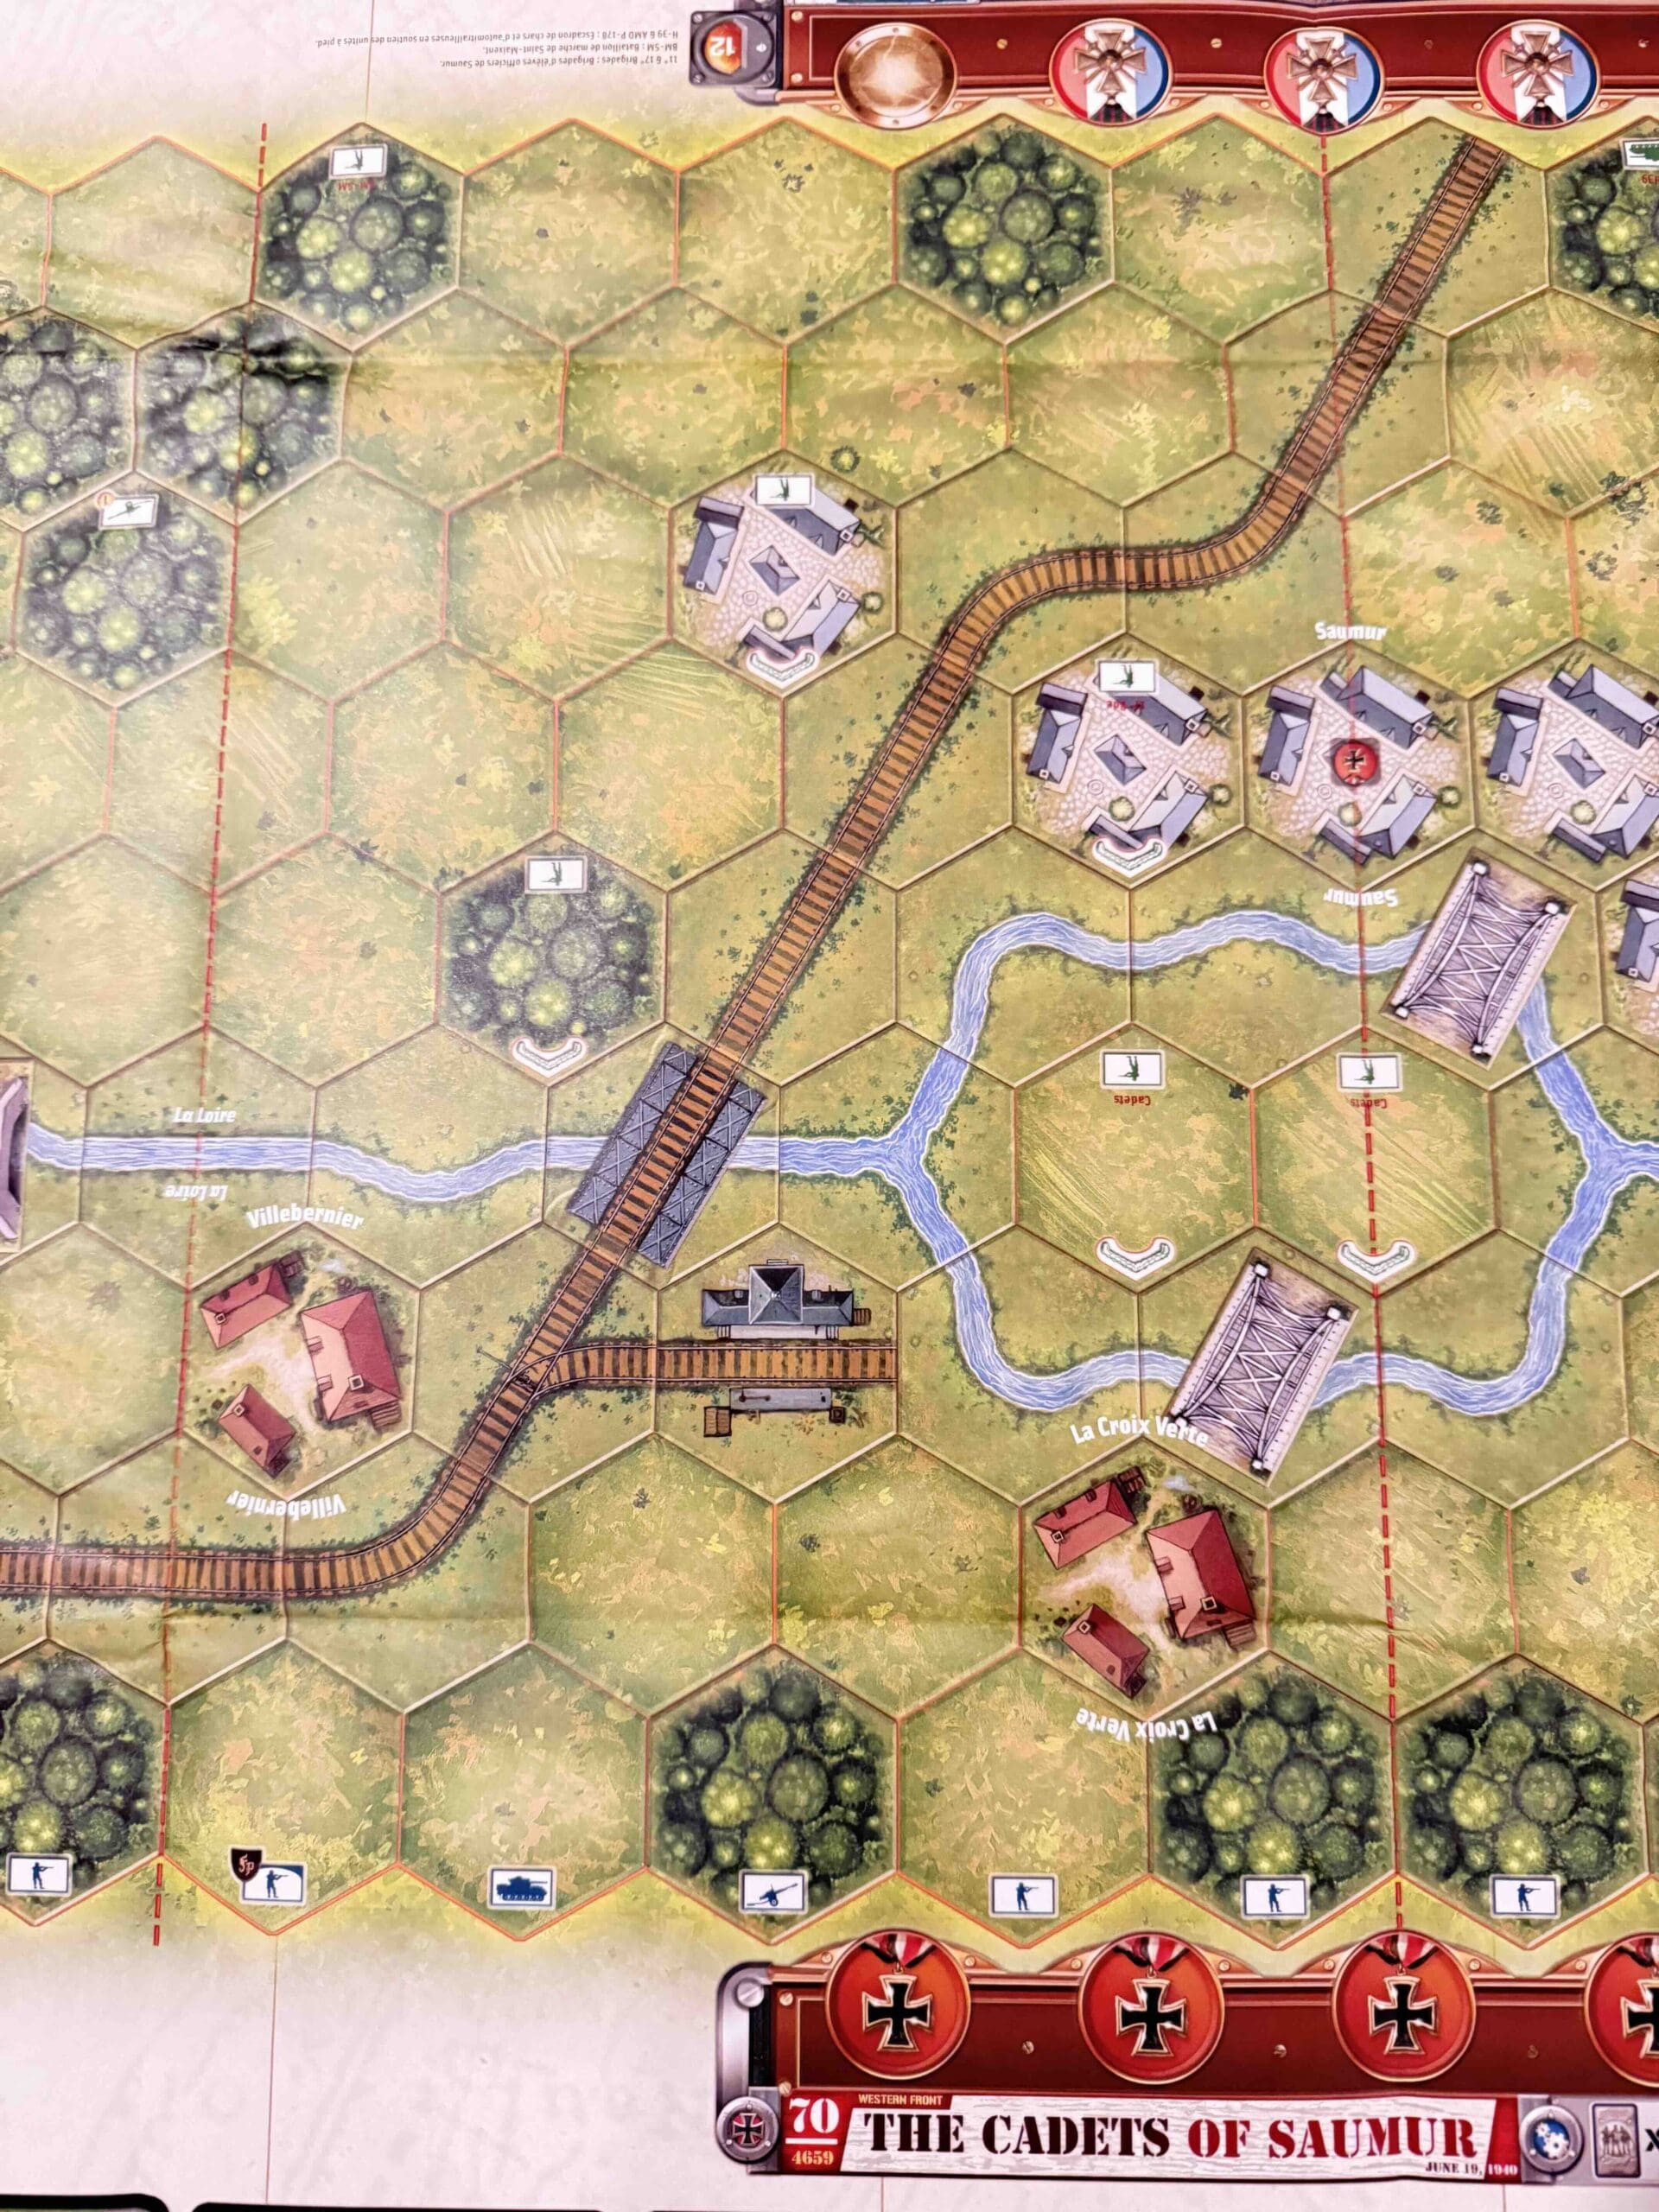
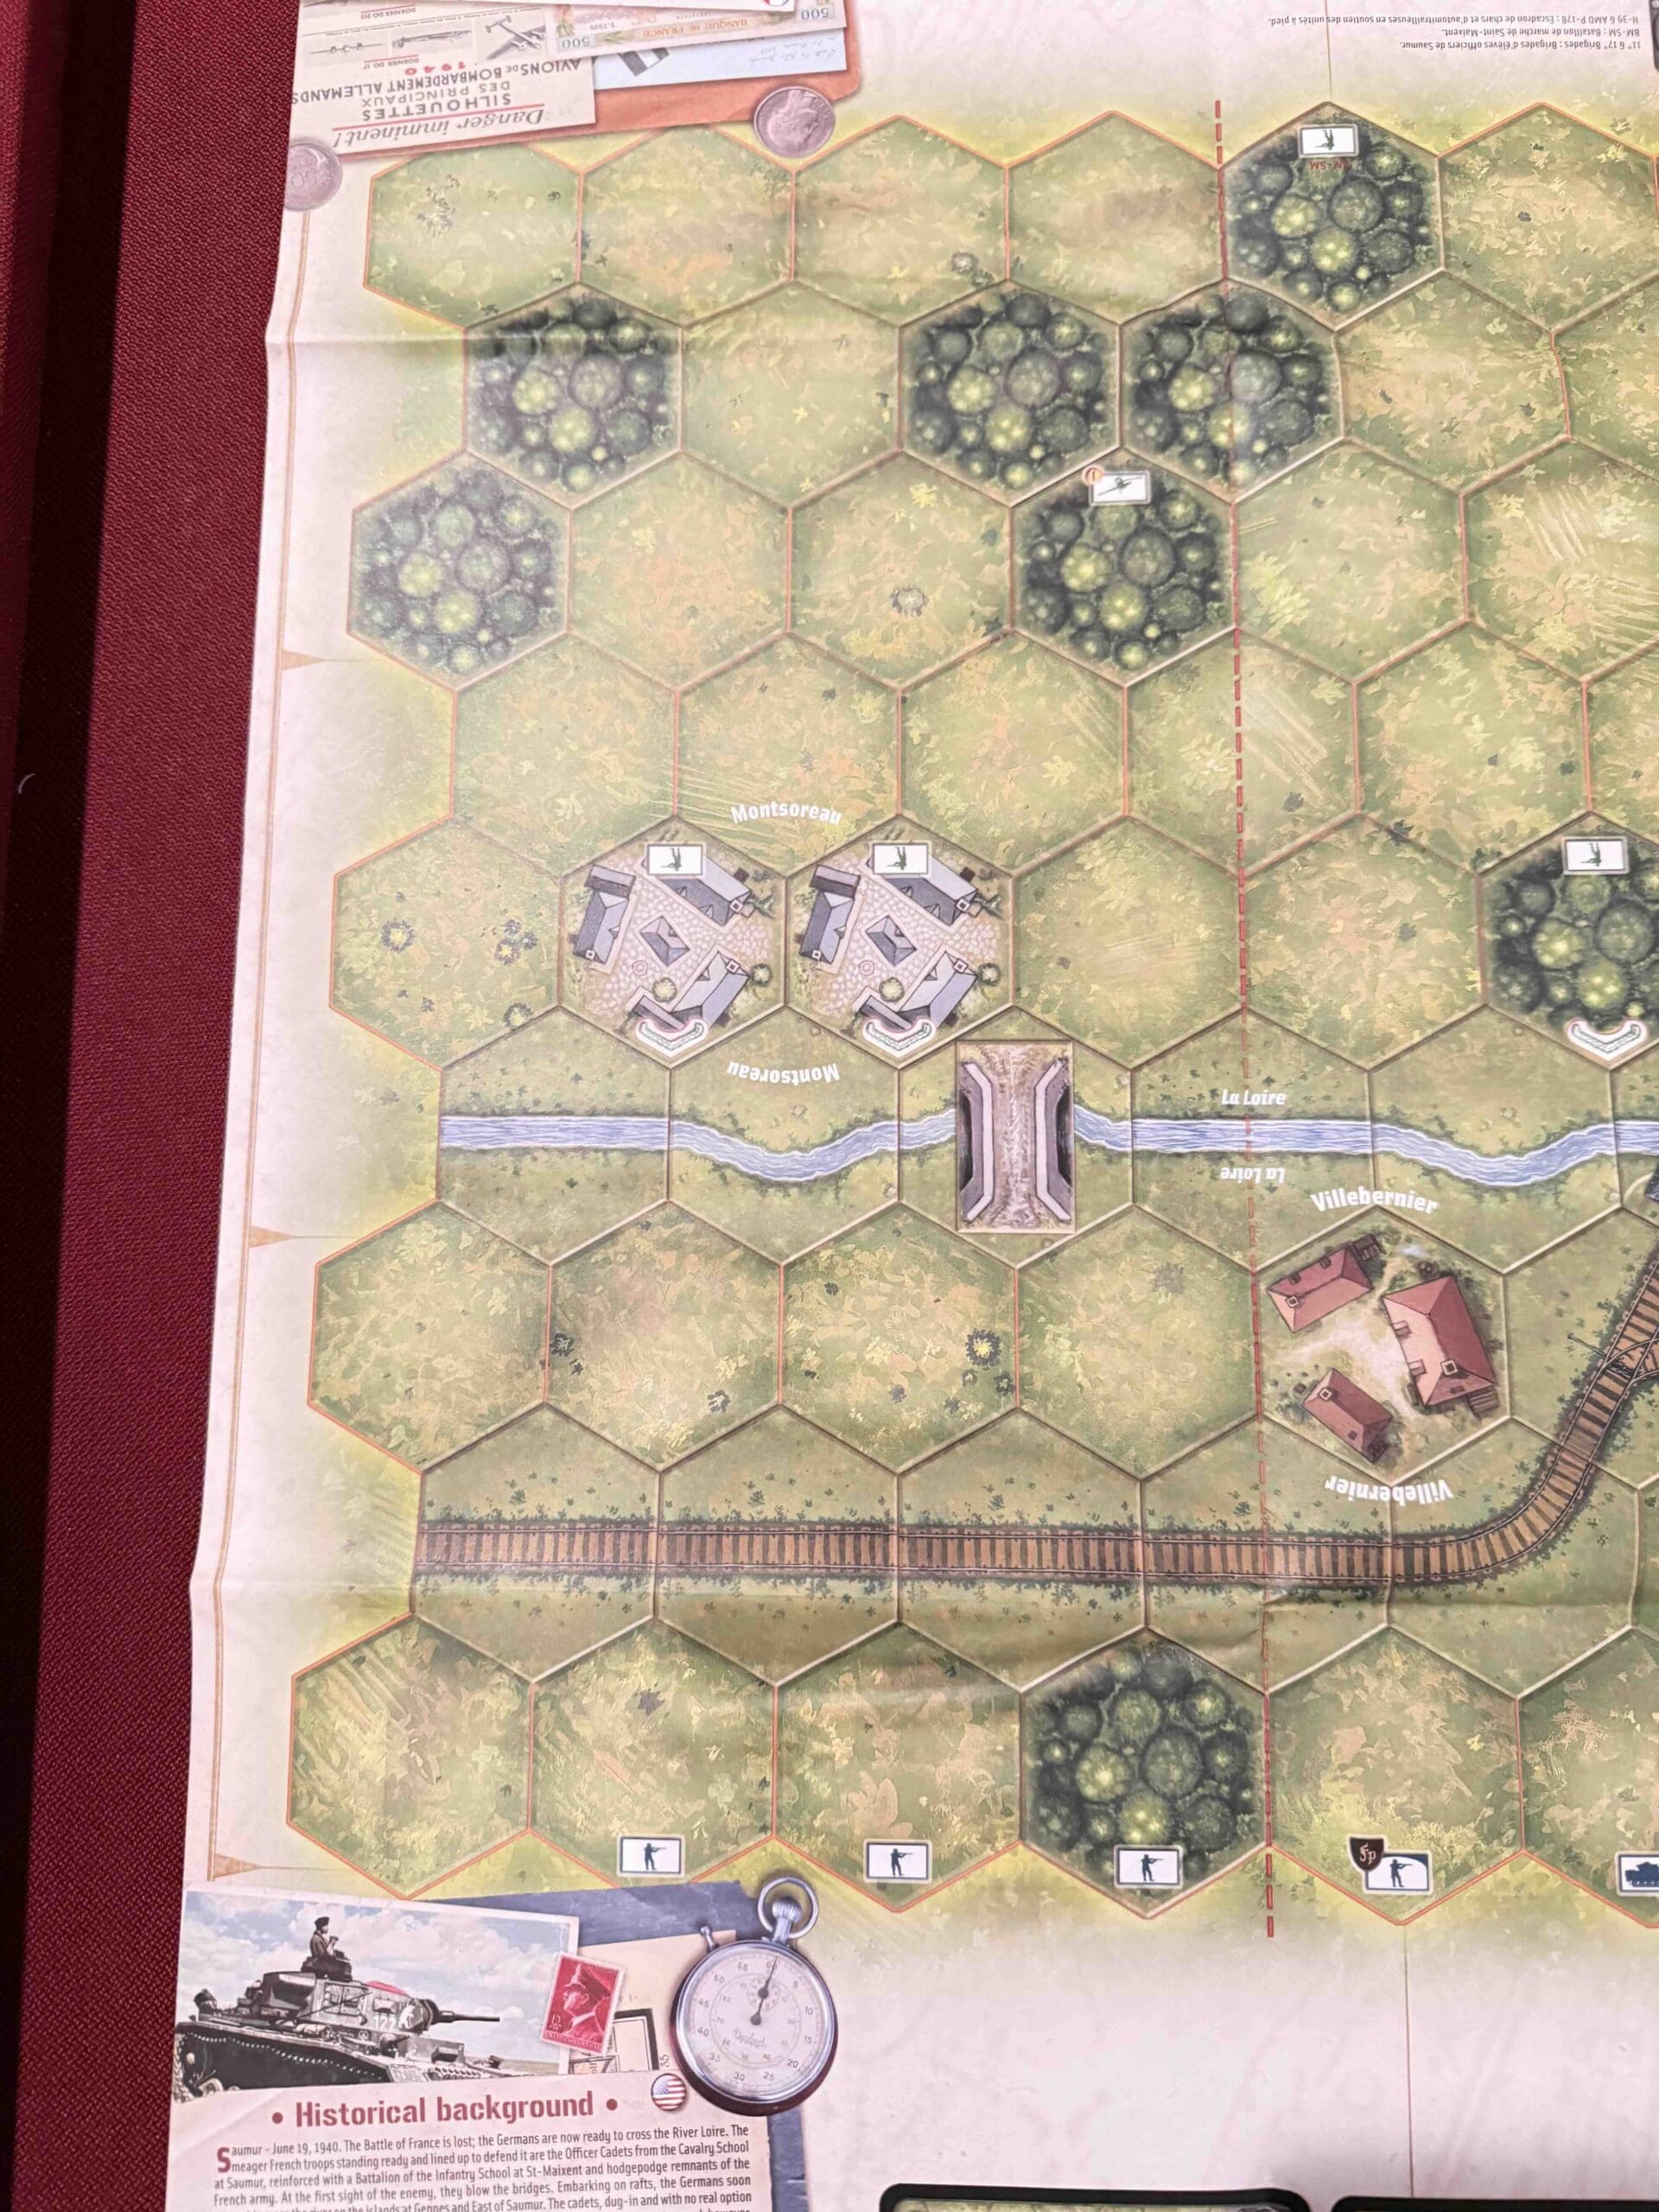
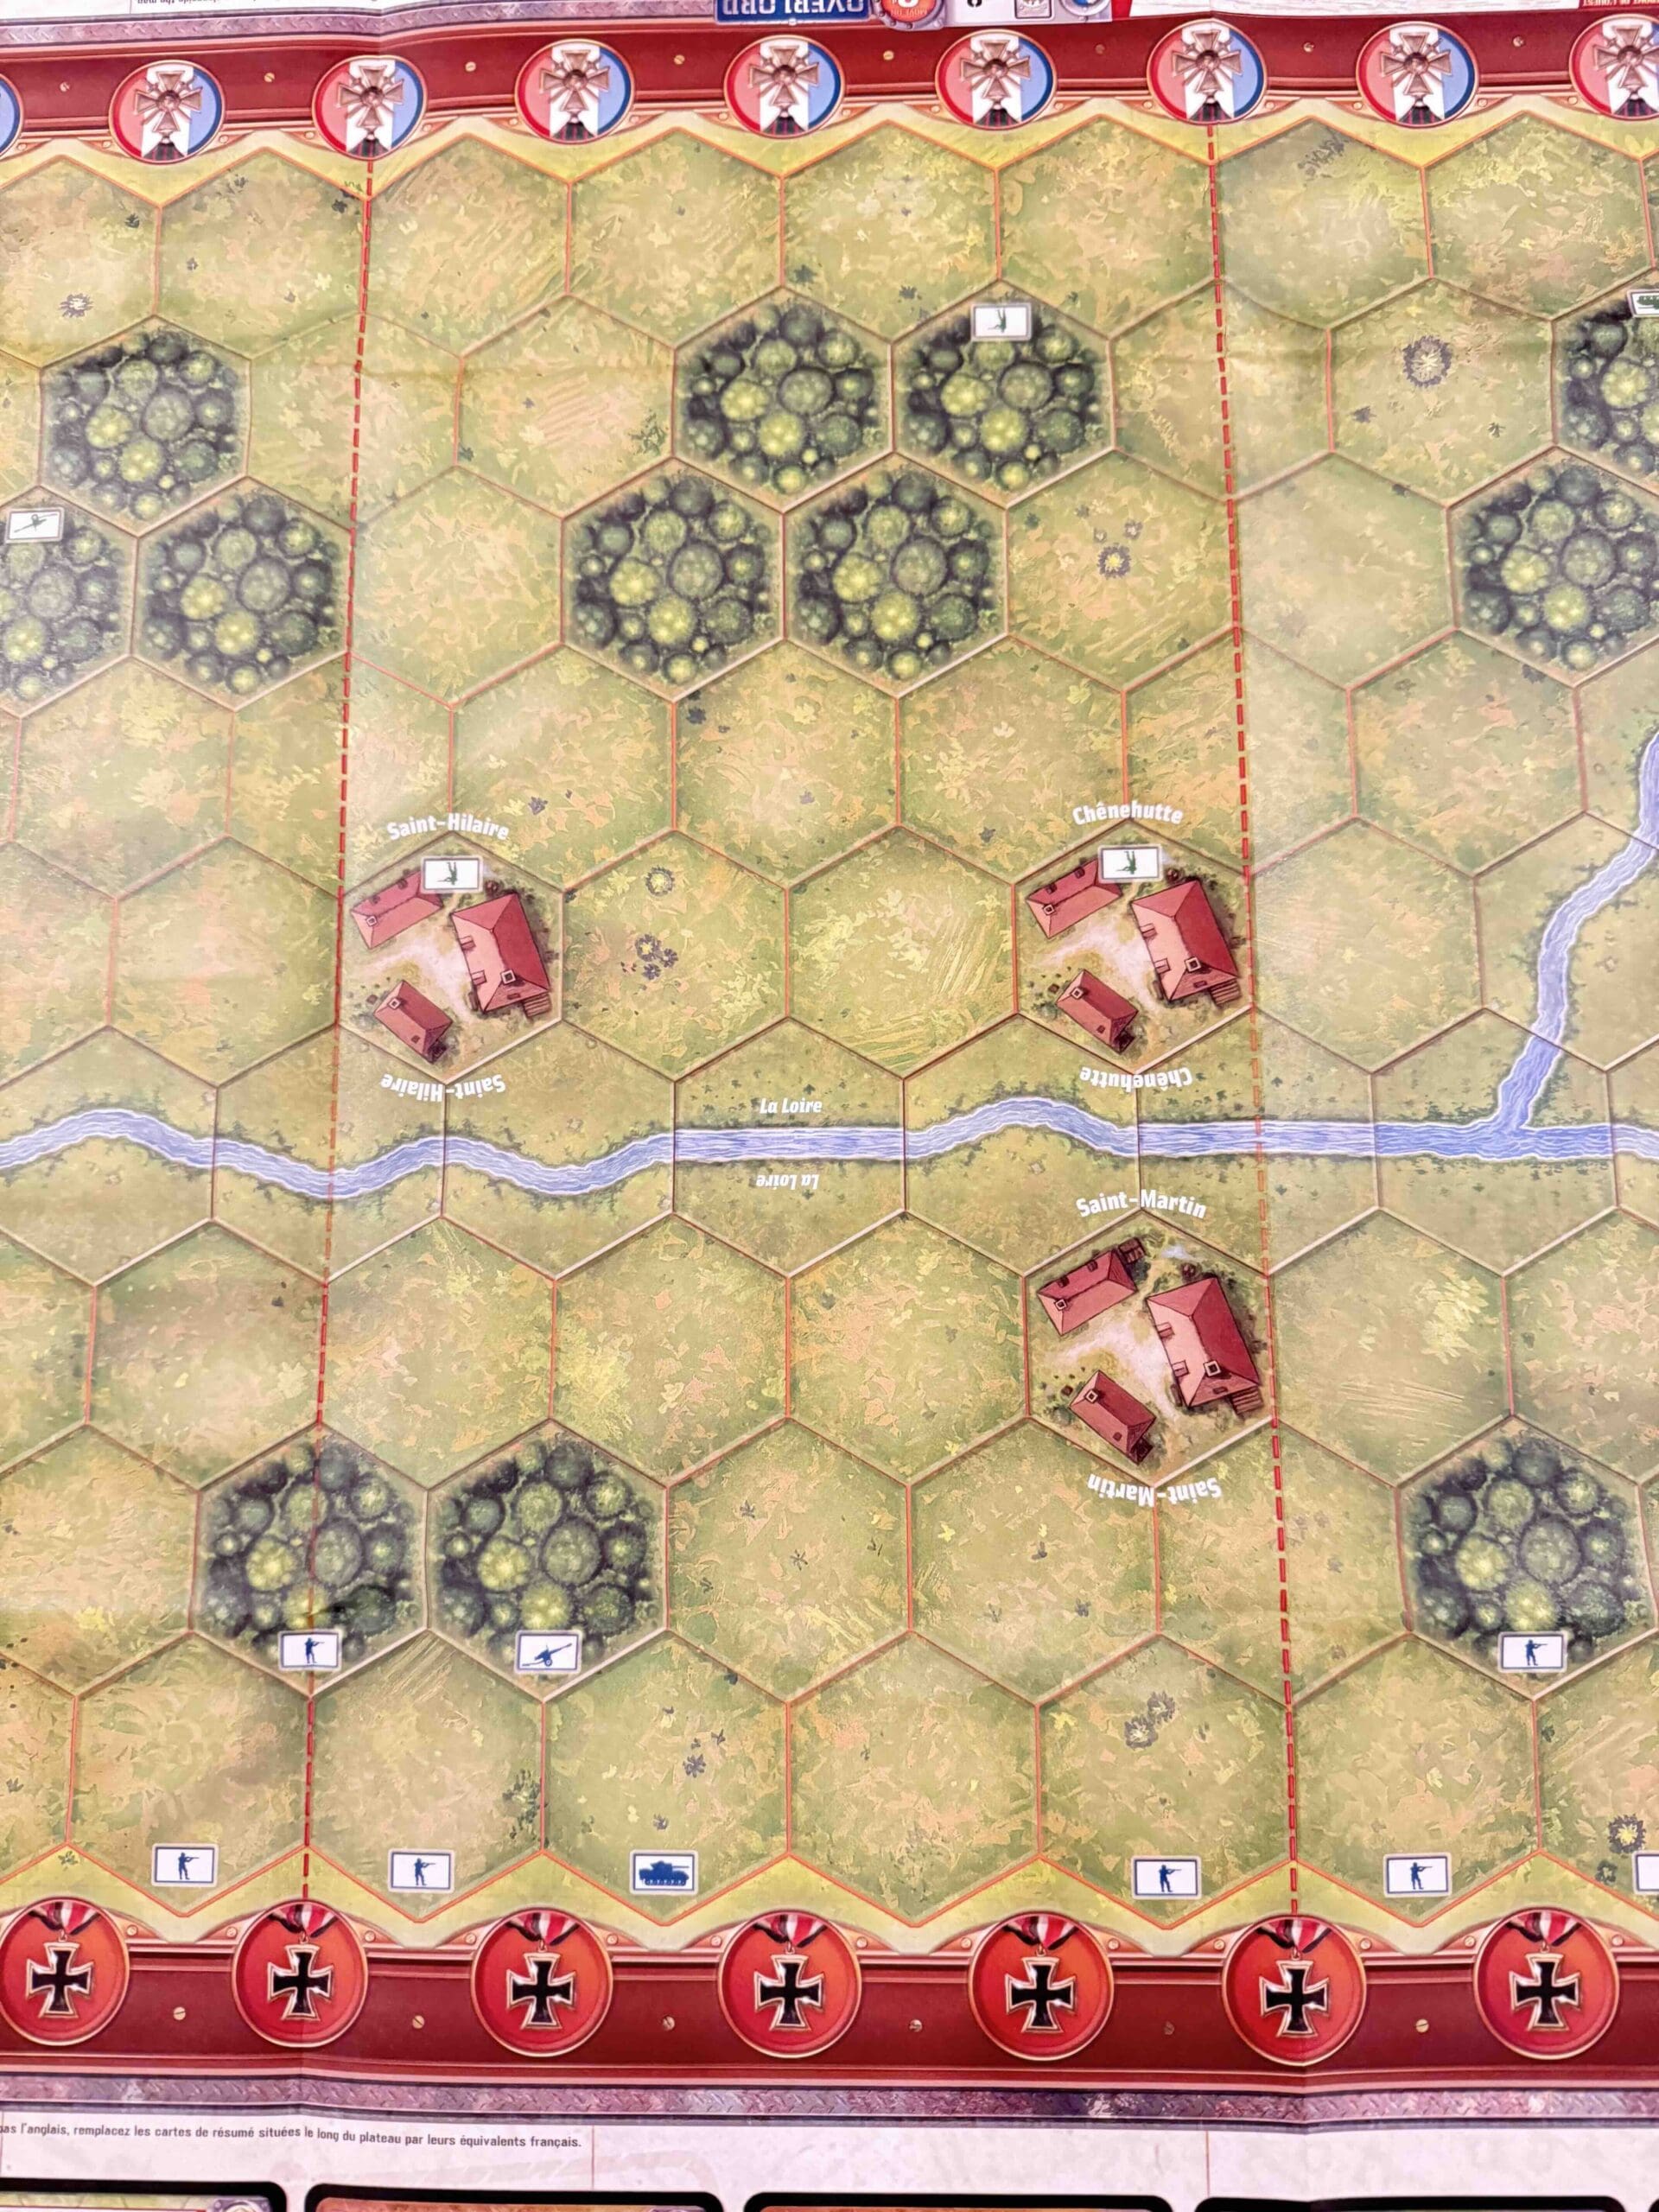
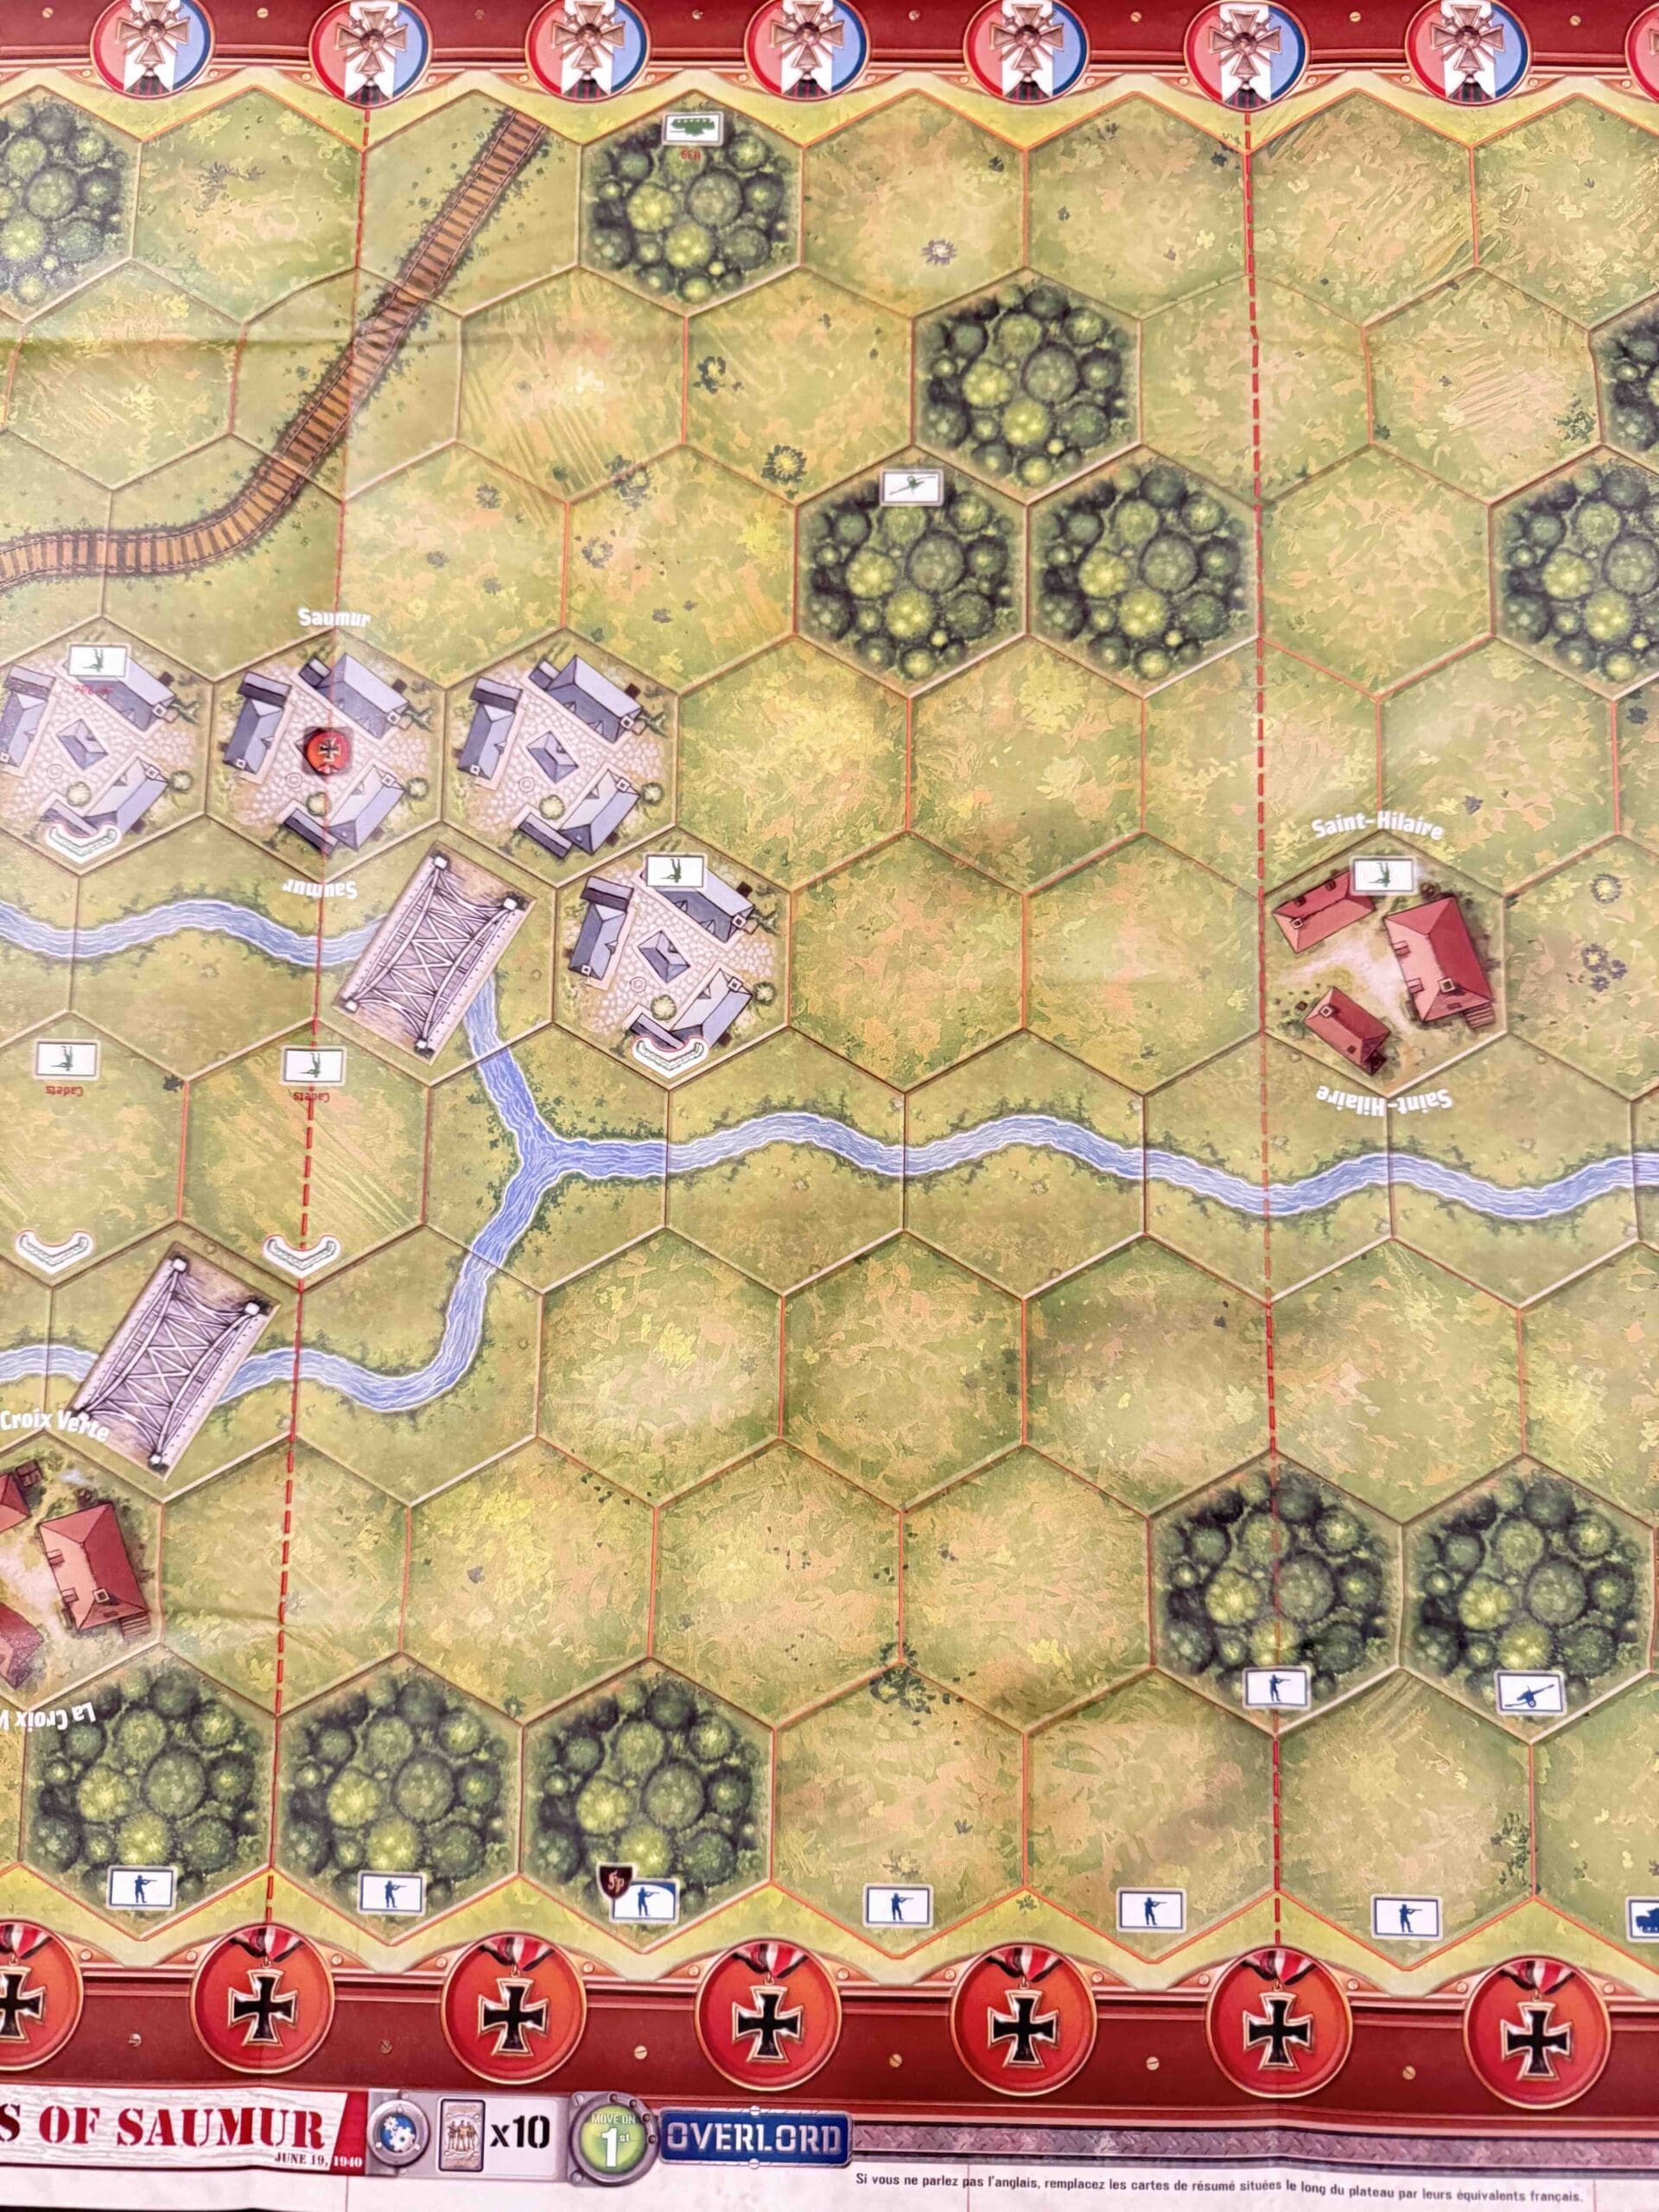
Battlefield:
Countryside with many rivers, railroad, and towns
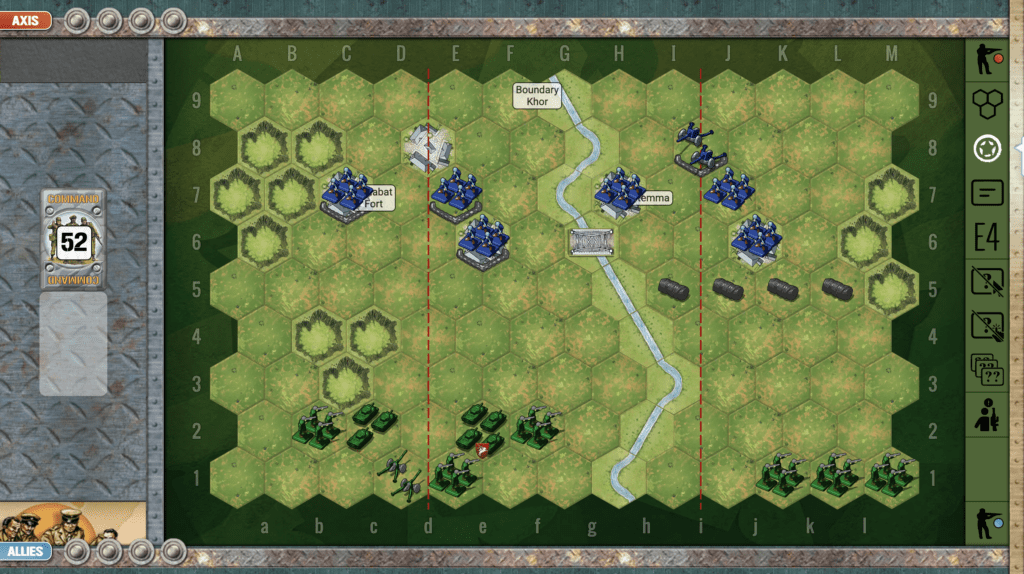
Troops:
Allies – 17 Infantry, 2 Armor, 3 Artillery
Axis – 20 Infanty, 3 Armor, 3 Artillery
Allied Strategy:
1.
Axis Strategy
1.
Battle Reports
Author:
Days of Wonder
Link: