|
|
|
|
The Command Card
July 8th, 2026
|
|
|
Play Smarter. Strike Harder.
|
|
|
|
|
|
|
|
Memoir '44 News
The General Howitzer site has a special set of pages in a section entitled the Strategy Section.
|
The General Strategy section distills the core battlefield principles that underpin success in Memoir ’44, regardless of scenario or faction. Rather than focusing on specific maps or units, it lays out universal doctrines—force concentration, timing, positioning, and card management—that govern effective decision-making under uncertainty. These principles serve as a foundation layer, helping players move beyond reactive play toward deliberate, coordinated operations that maximize both tactical efficiency and strategic advantage.
|
The Strategy Section includes:
|
- Attack & Defense
- Battlefield Philosophy
- Battlefield Movement
- Card Counts
- Card-Specific Tactics
- Dice Percentages
- Game Stages
- Hand Management
- Troops
- Victory Points
Study these principles and they will result in at least one or two medals per game, if you put these into practice.
|
|
--------------------------------------------------------------------------
|
|
|
|
|
Special New Scenario Feature
|
|
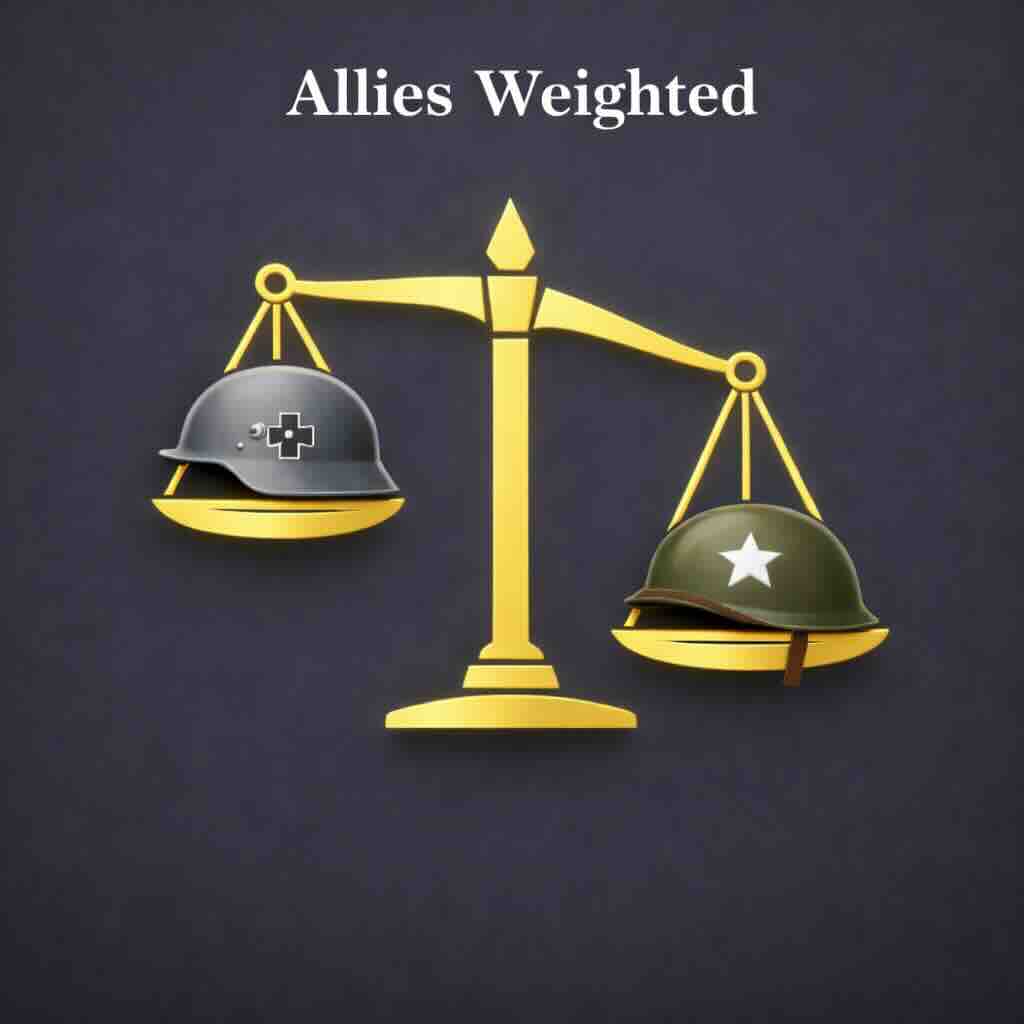
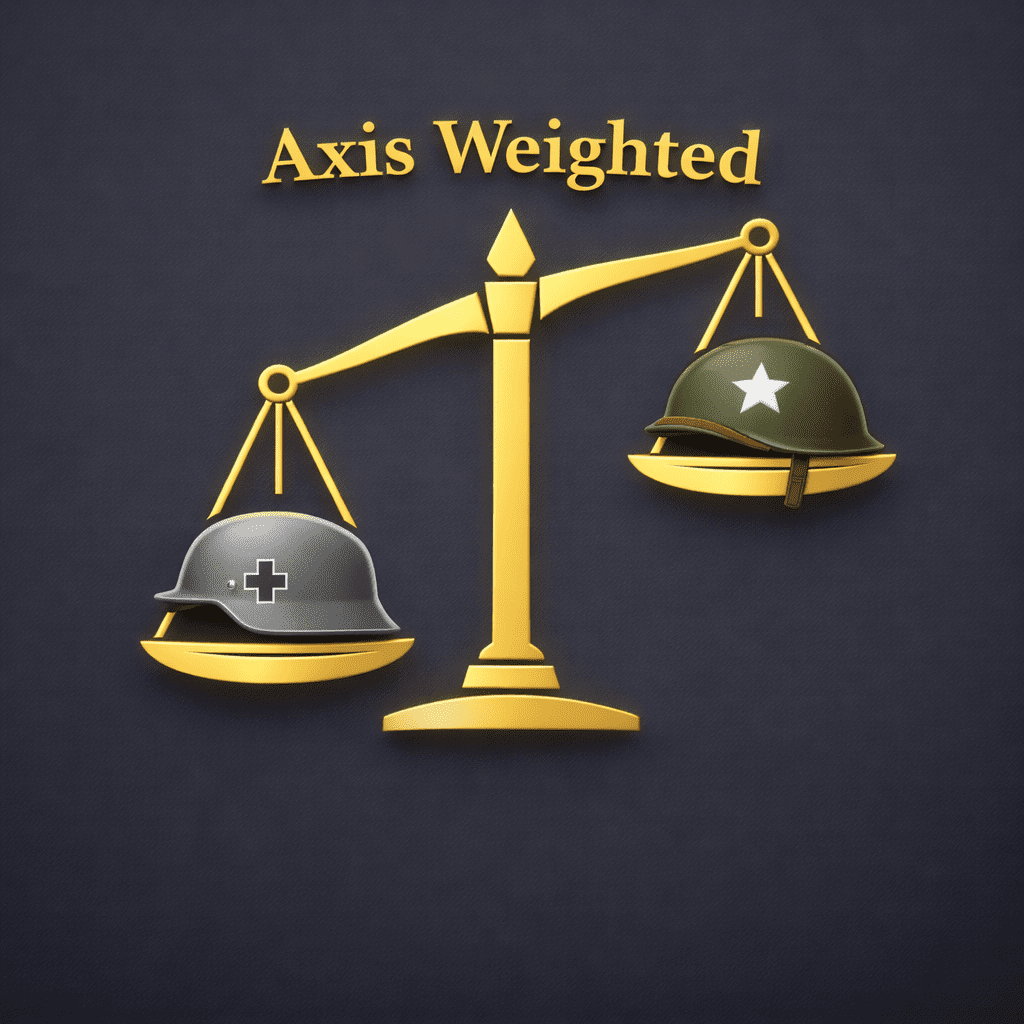
Because the Memoir 44 scenarios are based on actual historical battles, they try to reflect the actual realities on the battlefield. And that means the battles are not always 'even'; sometimes the Axis are more likely to win, and sometimes the Allies are more likely. This is intentional. But it is good to know in advance if one side is more favored to win than another.
|
|
So we have added the 'scales' so that you can tell in advance which side is more 'weighted' to win, and adjust your play accordingly.
|
|
|
Location: the National Museum of the Marine Corps
|
|
August 22-23, 2026, Washington, DC
|
|
|
|
|
|

|
STRATEGY & TACTICS
|
How to Win at Breakthrough Scenarios
|
The Breakthrough Scenarios are tremendously fun, because they provide longer games with more opportunities for strategy and movement to achieve victory.
|
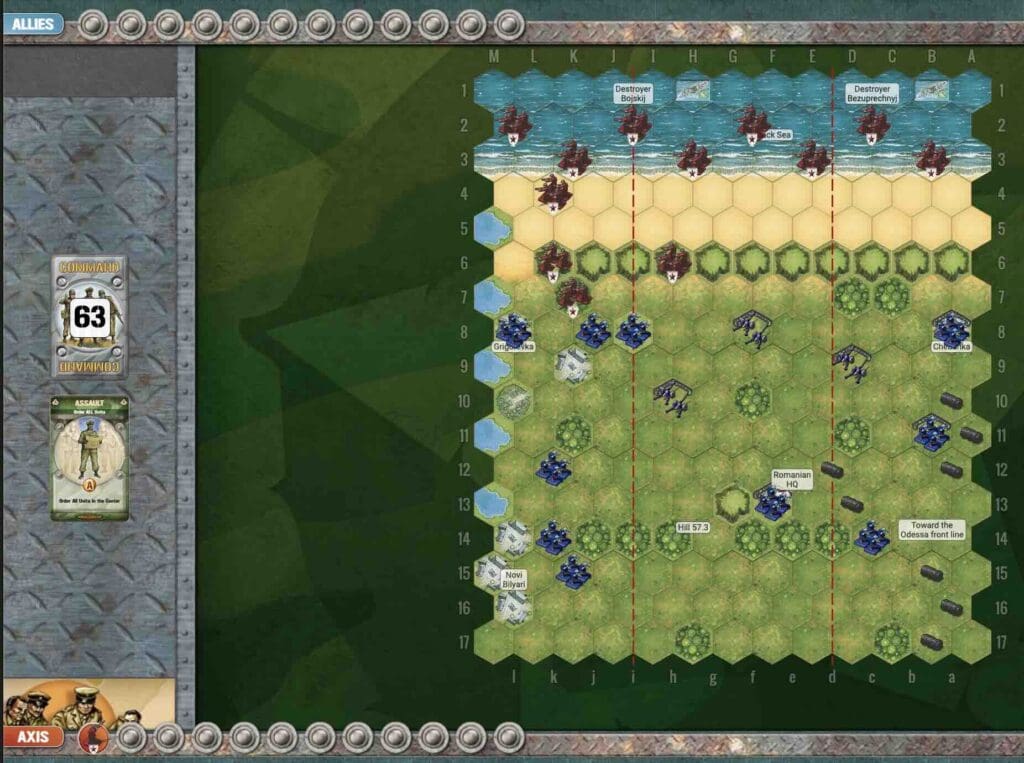
The scenario known as "Soviet Raid on Grigorevka" will provide a great backdrop to not only show how to win this one particular scenario, but Breakthrough scenarios in general.
|
|
1. This is a Breakthrough game.
|
The field of battle is very deep. It is more than likely your troops are not going to be placed where they need to be. Therefore, all the section cards which allow you to attack in one section and then move units anywhere, are your friend. In the beginning of the game it is actually as important to make use of cards that might have limited attack power (like 1 or 2), but allow you to move two units around. This will allow you to get them into play.
|
|
2. Nightime attack rules.
|
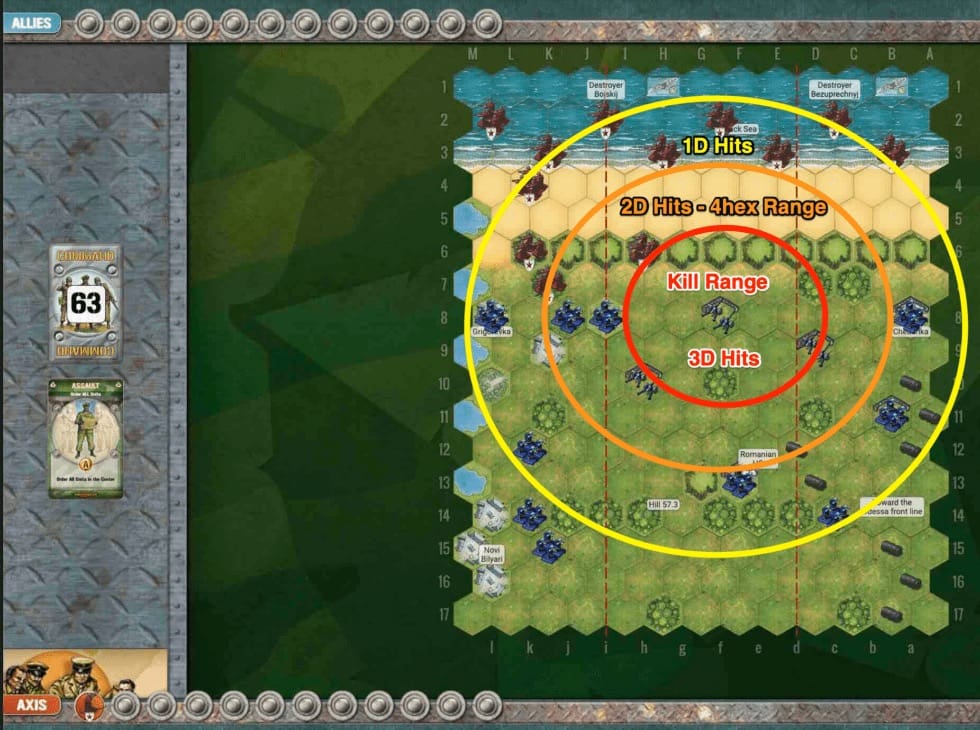
The game starts in complete darkness, where you can only attack units that are next to you. We know that daylight is definitely an advantage for the Allies, because once you reach full daylight, the power of the Destroyers begins to be felt, as they can reach out to row 10, and pummel you from above. But what about Nightime settings from 2-5? These are actually better for the Axis, as it allows them to use their Artillery and attack at a distance any of the Allied Infantry coming for them. Because the Allied Infantry can move two hexes and still battle, they can very quickly get to the Artillery an overwhelm them. So allowing some range attacks up to 3 hexes away is good for the Axis Artillery forces. (See pic2 below)
|
|
|
|
|
1. Soviets, as Allies, do a six unit paradrop. Drop them where you have the best set of cards to assist your attack.
|
Also, note that the paratroopers will not battle the first turn they are dropped, so they have to endure one round of enemy fire before they can attack.
|
2. The Axis outnumber you on your right flank at the start of the game, and the three forward units are in strong defensive positions, which suggests attacking elsewhere.
|
3. As Allies, you have two Destroyers at the start of the game. Two factors affecting their performance are visibility and location.
|
Visibility: Because of the night visibility rules, the Axis units may have time to move out of range of the ship guns before daylight arrives.
|
Location: This concerns the ability to get the Destroyers onto the border line so they have more flexibility on which section cards can activate them.
|
Once daylight arrives the Destroyers have a range of eight hexes, so their maximum firing range is row ten. Of course, that is their maximum range, but their effective firing range (of 2D attacks), is actually row six.
|
4. There is a Temporary Medal Objective at the Romanian HQ on row 13. If you keep pushing in that direction to keep pressure on the enemy, it should afford you some success.
|
5. Each of the enemy Artillery is worth two! victory points, so target them when you can.
|
6. Because the enemy has three very powerfully placed artillery, and you have a lot of infantry, your plan will have to be to so overwhelm the artillery that you are able to take them out with your superior numbers before they take you out with with their superior firepower.
|
7. Possible Attack Vector: completely by-pass the territory controlled by the enemy Artillery when you do your para-drop. Aim for the back of the battlefield around the Romanian HQ, and the town of Novi Bilvari. There are plenty of Infantry units to take out, while you wait for daylight to arrive, so that your Destroyers can engage with the Artillery batteries.
|
1. Your first defensive objective is to respond to wherever the Allied paratroopers happen to land. Respond immediately with available Infantry and Artillery to address the threat.
|
2. Bring your reserve units into play as soon as you can by moving the rear units forward on the map.
|
3. Because each Artillery unit is worth two! Medals, you will need to protect them in some way. Either move them back from the Destroyers’ range, or protect them from Infantry attacks by bringing your own Infantry into play.
|
4. The enemy forces are elite, so they can move two hexes and still attack. So be aware of this so that a single Infantry unit doesn’t get surrounded and destroyed.
|
5. It is going to take an average of six turns before the daylight arrives and the Destroyers are fully activated to row 10. This will give you time, if you want to, to move your Artillery further back on the battlefield out of their range.
|
|
|
|
|
|
|
|
From General Howitzer:
What the historical Raid on Grigorevka can teach the Memoir 44 Commander - that's You!
|
September 1941—Odessa’s under siege, and the Soviets are getting hammered by Romanian artillery. So what do they do? They go on the offensive—hard.
|
During the siege of Odessa, Soviet forces faced relentless pressure from Romanian troops advancing along the coast. Rather than remain passive, Soviet commanders launched a bold amphibious raid at Grigorevka, landing forces behind the Axis lines. The sudden attack disrupted Romanian artillery positions and sowed confusion in their rear areas. Though limited in scale, the raid forced the Axis to divert forces and temporarily halt their momentum, demonstrating how a localized offensive could stabilize a broader defensive situation.
|
Captain Koren takes the lead at sea with the 3rd Naval Infantry Regiment, nearly 2,000 marines, while a small team of 23 paratroopers drops inland. The plan? Hit ’em from the front and the rear—paralyze their command, cut their lines, and blow those damned guns to hell.
|
Night of September 21st, the paratroopers jump near Hill 57.3—not clean, not pretty, but they get the job done. Took out a whole Romanian regimental HQ—with two dozen men. Meanwhile, Koren’s marines land at Grigorevka under a curtain of naval fire from the destroyers Bojkij and Bezuprechnyj, and they take those artillery batteries by storm.
|
By sunrise, they’re linking up with the 421st Rifle Division, and the Romanians? They’re pulling back—the 13th and 15th Divisions, thrown into reverse. That’s pressure off Odessa, and a big black eye for the Axis.
|
This wasn’t some massive Soviet steamroller. This was initiative, coordination, and guts. A rare joint strike—air, land, and sea—and it worked. Captain Koren didn’t wait to be hit—he hit first.
|
That’s how you win a war. Not by sitting in the trenches—but by getting out, striking hard, and making the enemy bleed where they thought they were safe.
|
Lessons learned for Memoir 44 and the scenario, "Soviet Raid on Griogorevka".
|
|
1. Take out the Artillery as rapidly as possible.
|
With three Artillery units, the Romanians completely control the battlefield. You will not be able to achieve victory in this long scenarios unless you deal with one to two, hopefully all three, of the Artillery units. They are each worth two! victory medals so the attack should be worth it. Of course, you will lose some Infantry men trying to do so, but as the general says, "Those are odds I can live with!"
|
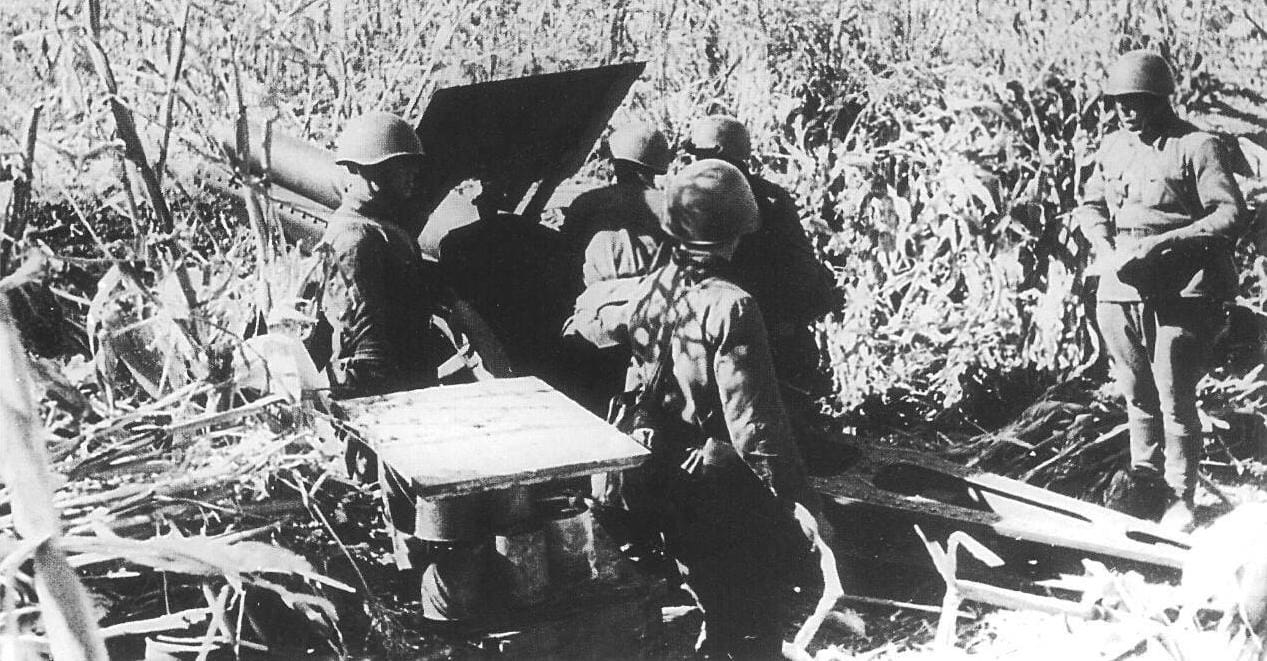
2. Historically, this raid was powerful because while they attack the front lines on the beach with the guns on their Destroyers, they also dropped paratroopers in the back to disrupt. You could practice that same strategy.
|
3. Daylight is both your friend and enemy. It will allow the Destroyers to hit hard, but it will also allow the three Artillery to pummel the Infantry on the battlefield just as hard. Use it to your advantage while you can, knowing that it will take an average of six turns for the Destroyers to be at full range and placement to really make their lobs count.
|
|
|
|
|
|
|
|
There are many campaigns on the GeneralHowitzer.com site.
|
|
You can play battles in historical order if you like, and follow the Campaign Guidelines which are also available.
|
|
https://generalhowitzer.com/campaigns/
|
|
|
|
|
|
|
Recent Updates to the General Howitzer Community
|
|
|
Scenario of the Week: Pegasus Bridge
|
|
Friday, October 16, 2026: Pegasus Bridge. Lead British infantry against German defenders in the base-game battle for two Normandy bridges.
|
|
|
|
|
|
|
|
Scenario of the Week: Arracourt
|
|
Scenario of the WeekArracourtWestern Front · LorraineComplexity: 46 medals to winSeptember 1944: German Panzer forces counterattacked the U.S. 4th Armored Division near Arracourt, France. Hilly ground and limited visibility turned the battle into a test of maneuver, timing and concentrated armored firepower.Strategy tipsAllies: Use the hills and strong command-card advantage to concentrate fire and isolate exposed German armor.Axis: Coordinate your …
|
|
|
|
|
|
|
|
Scenario of the Week: Sainte-Mère-Église
|
|
Scenario of the WeekSainte-Mère-ÉgliseWestern Front · NormandyDifficulty: 2 · Moderate4 medals to winIn the first hours of D-Day, paratroopers of the U.S. 82nd Airborne dropped around Sainte-Mère-Église to seize the town and block German reinforcements from reaching Utah Beach. The scattered landing turned the fight into a fast, unpredictable struggle.Strategy tipsAllies: Check your command cards before the opening paradrop, then …
|
|
|
|
|
|
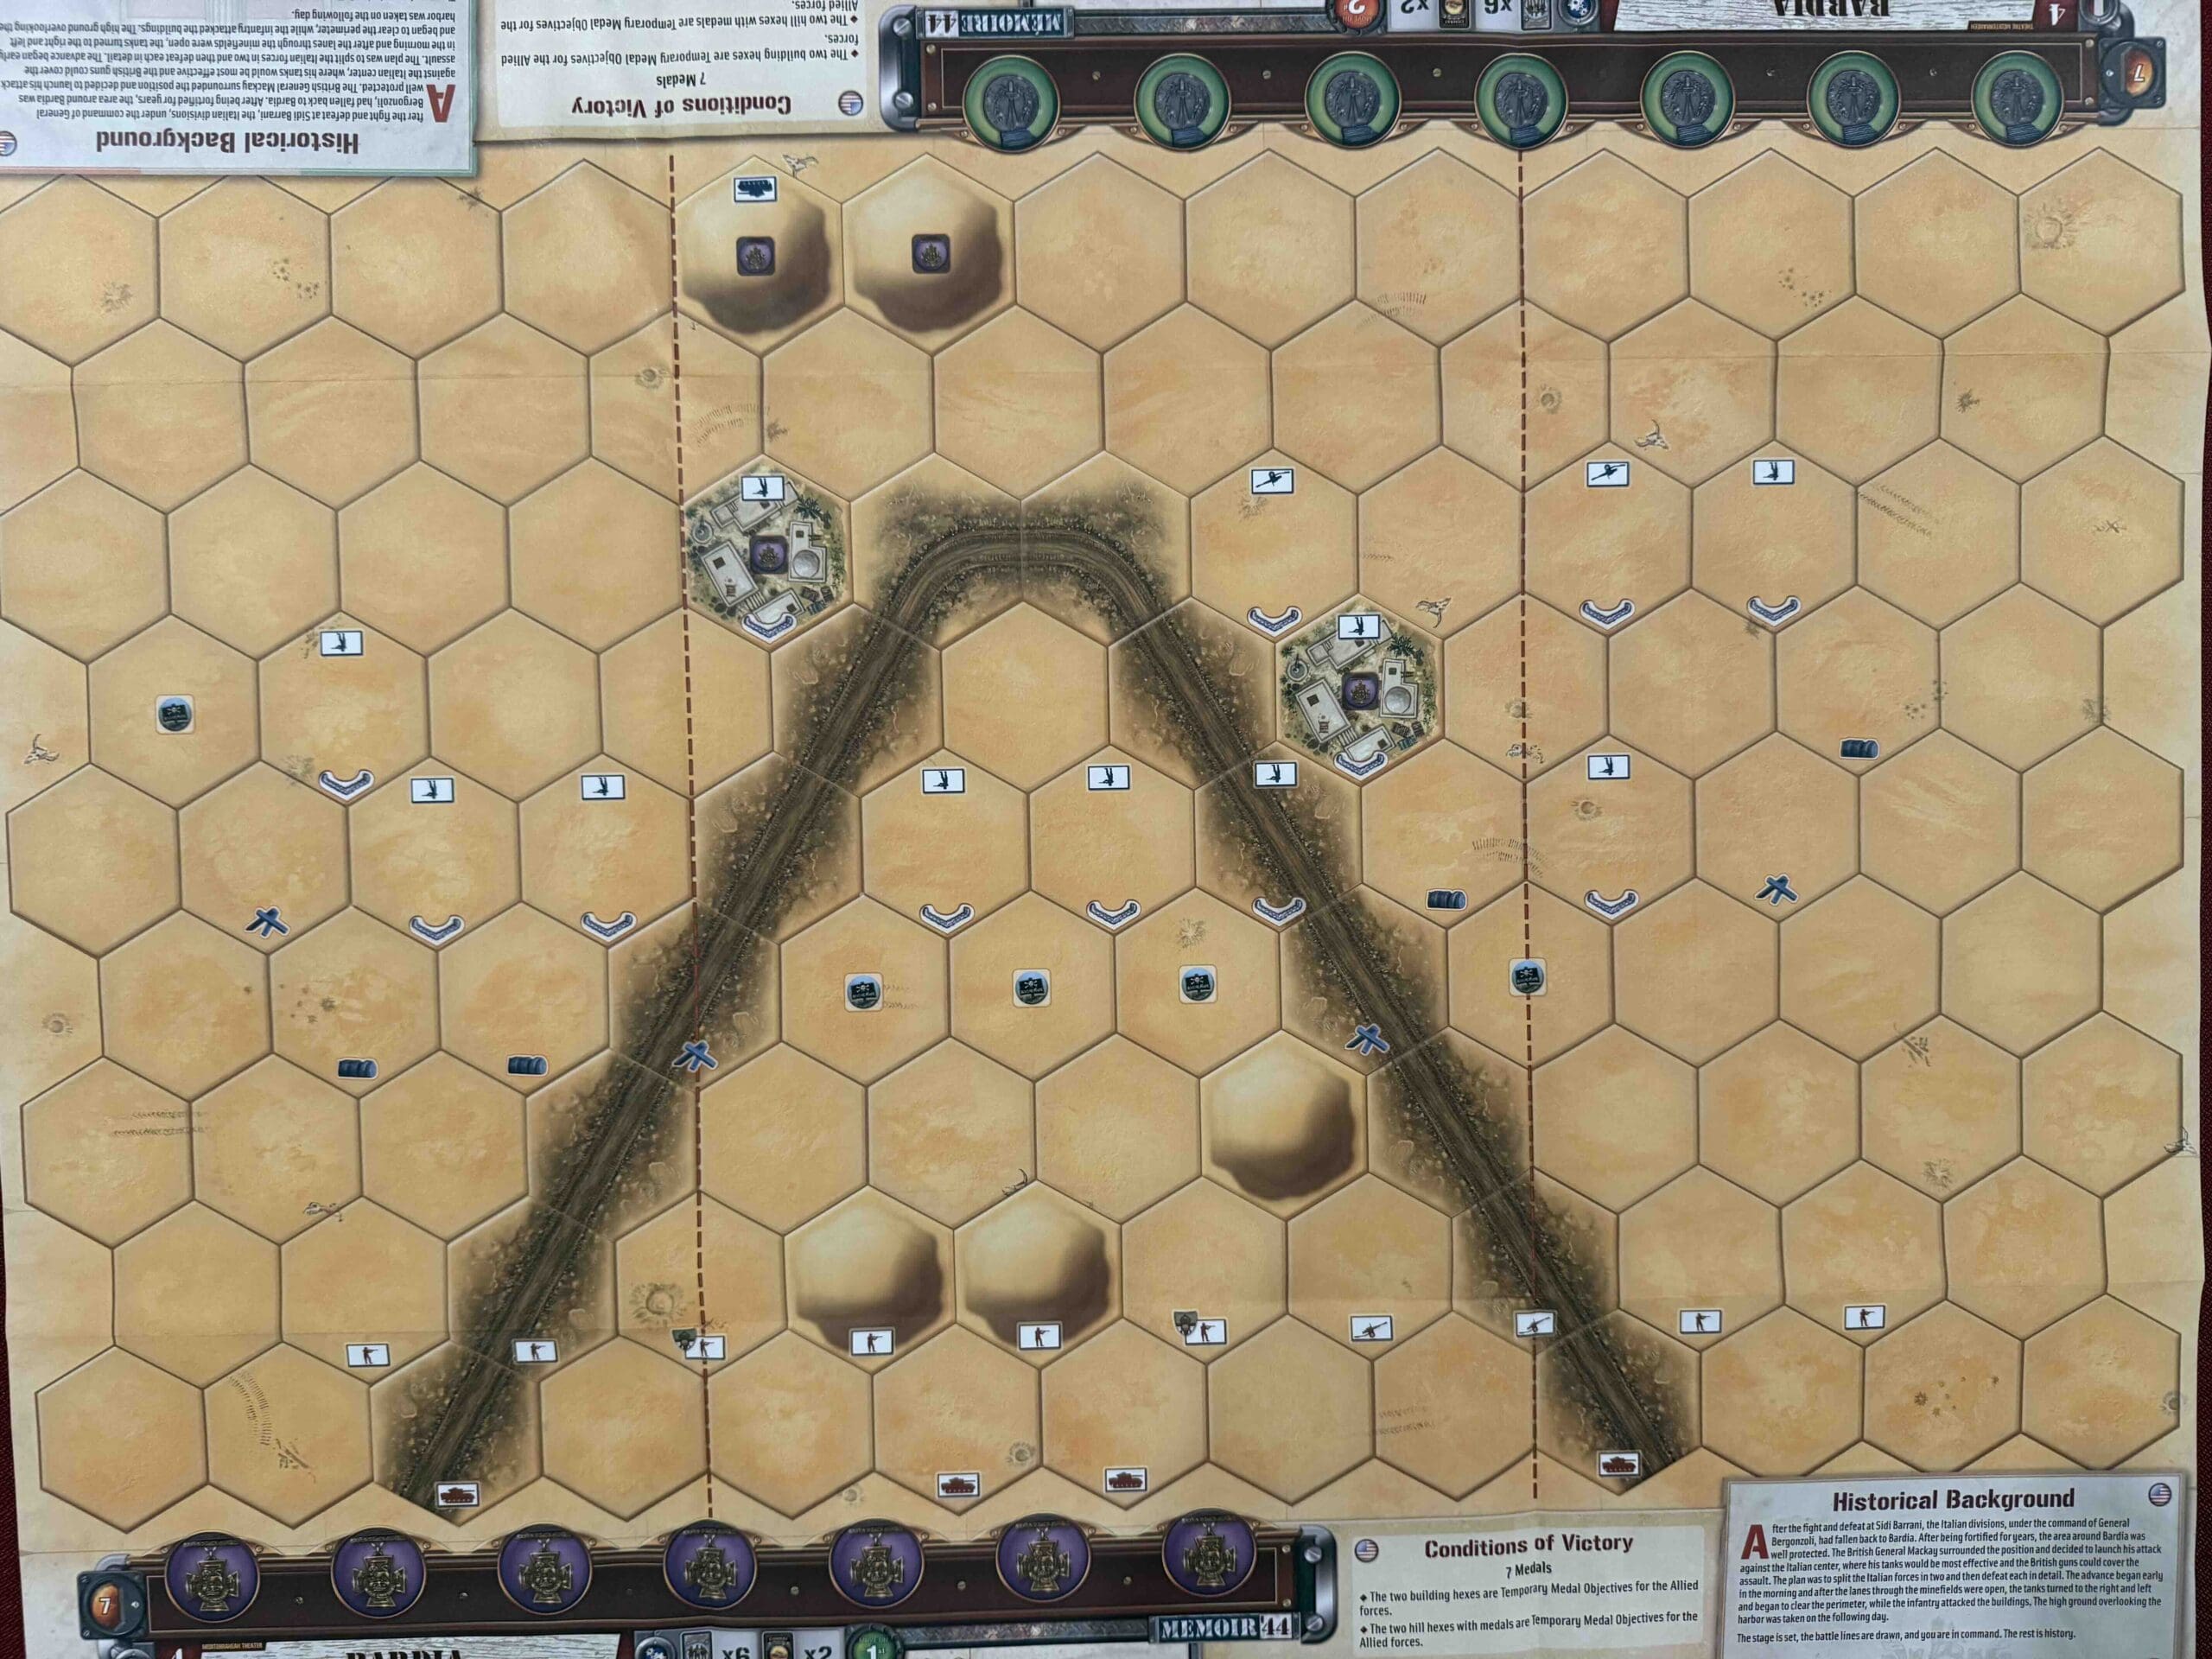
Memoir ’44 Battlefield Map: Bardia / Taukyan Roadblock
|
|
|
Days of Wonder Memoir ’44 double-sided battlefield map featuring Bardia / Taukyan Roadblock.
|
Map only — no pieces or figures included.
|
Includes a nice 12 × 12-inch plastic envelope to protect the map and help keep it in excellent condition.
|
Condition: Lightly Used, Excellent Condition
|
$20.00
|
|
|
|
|
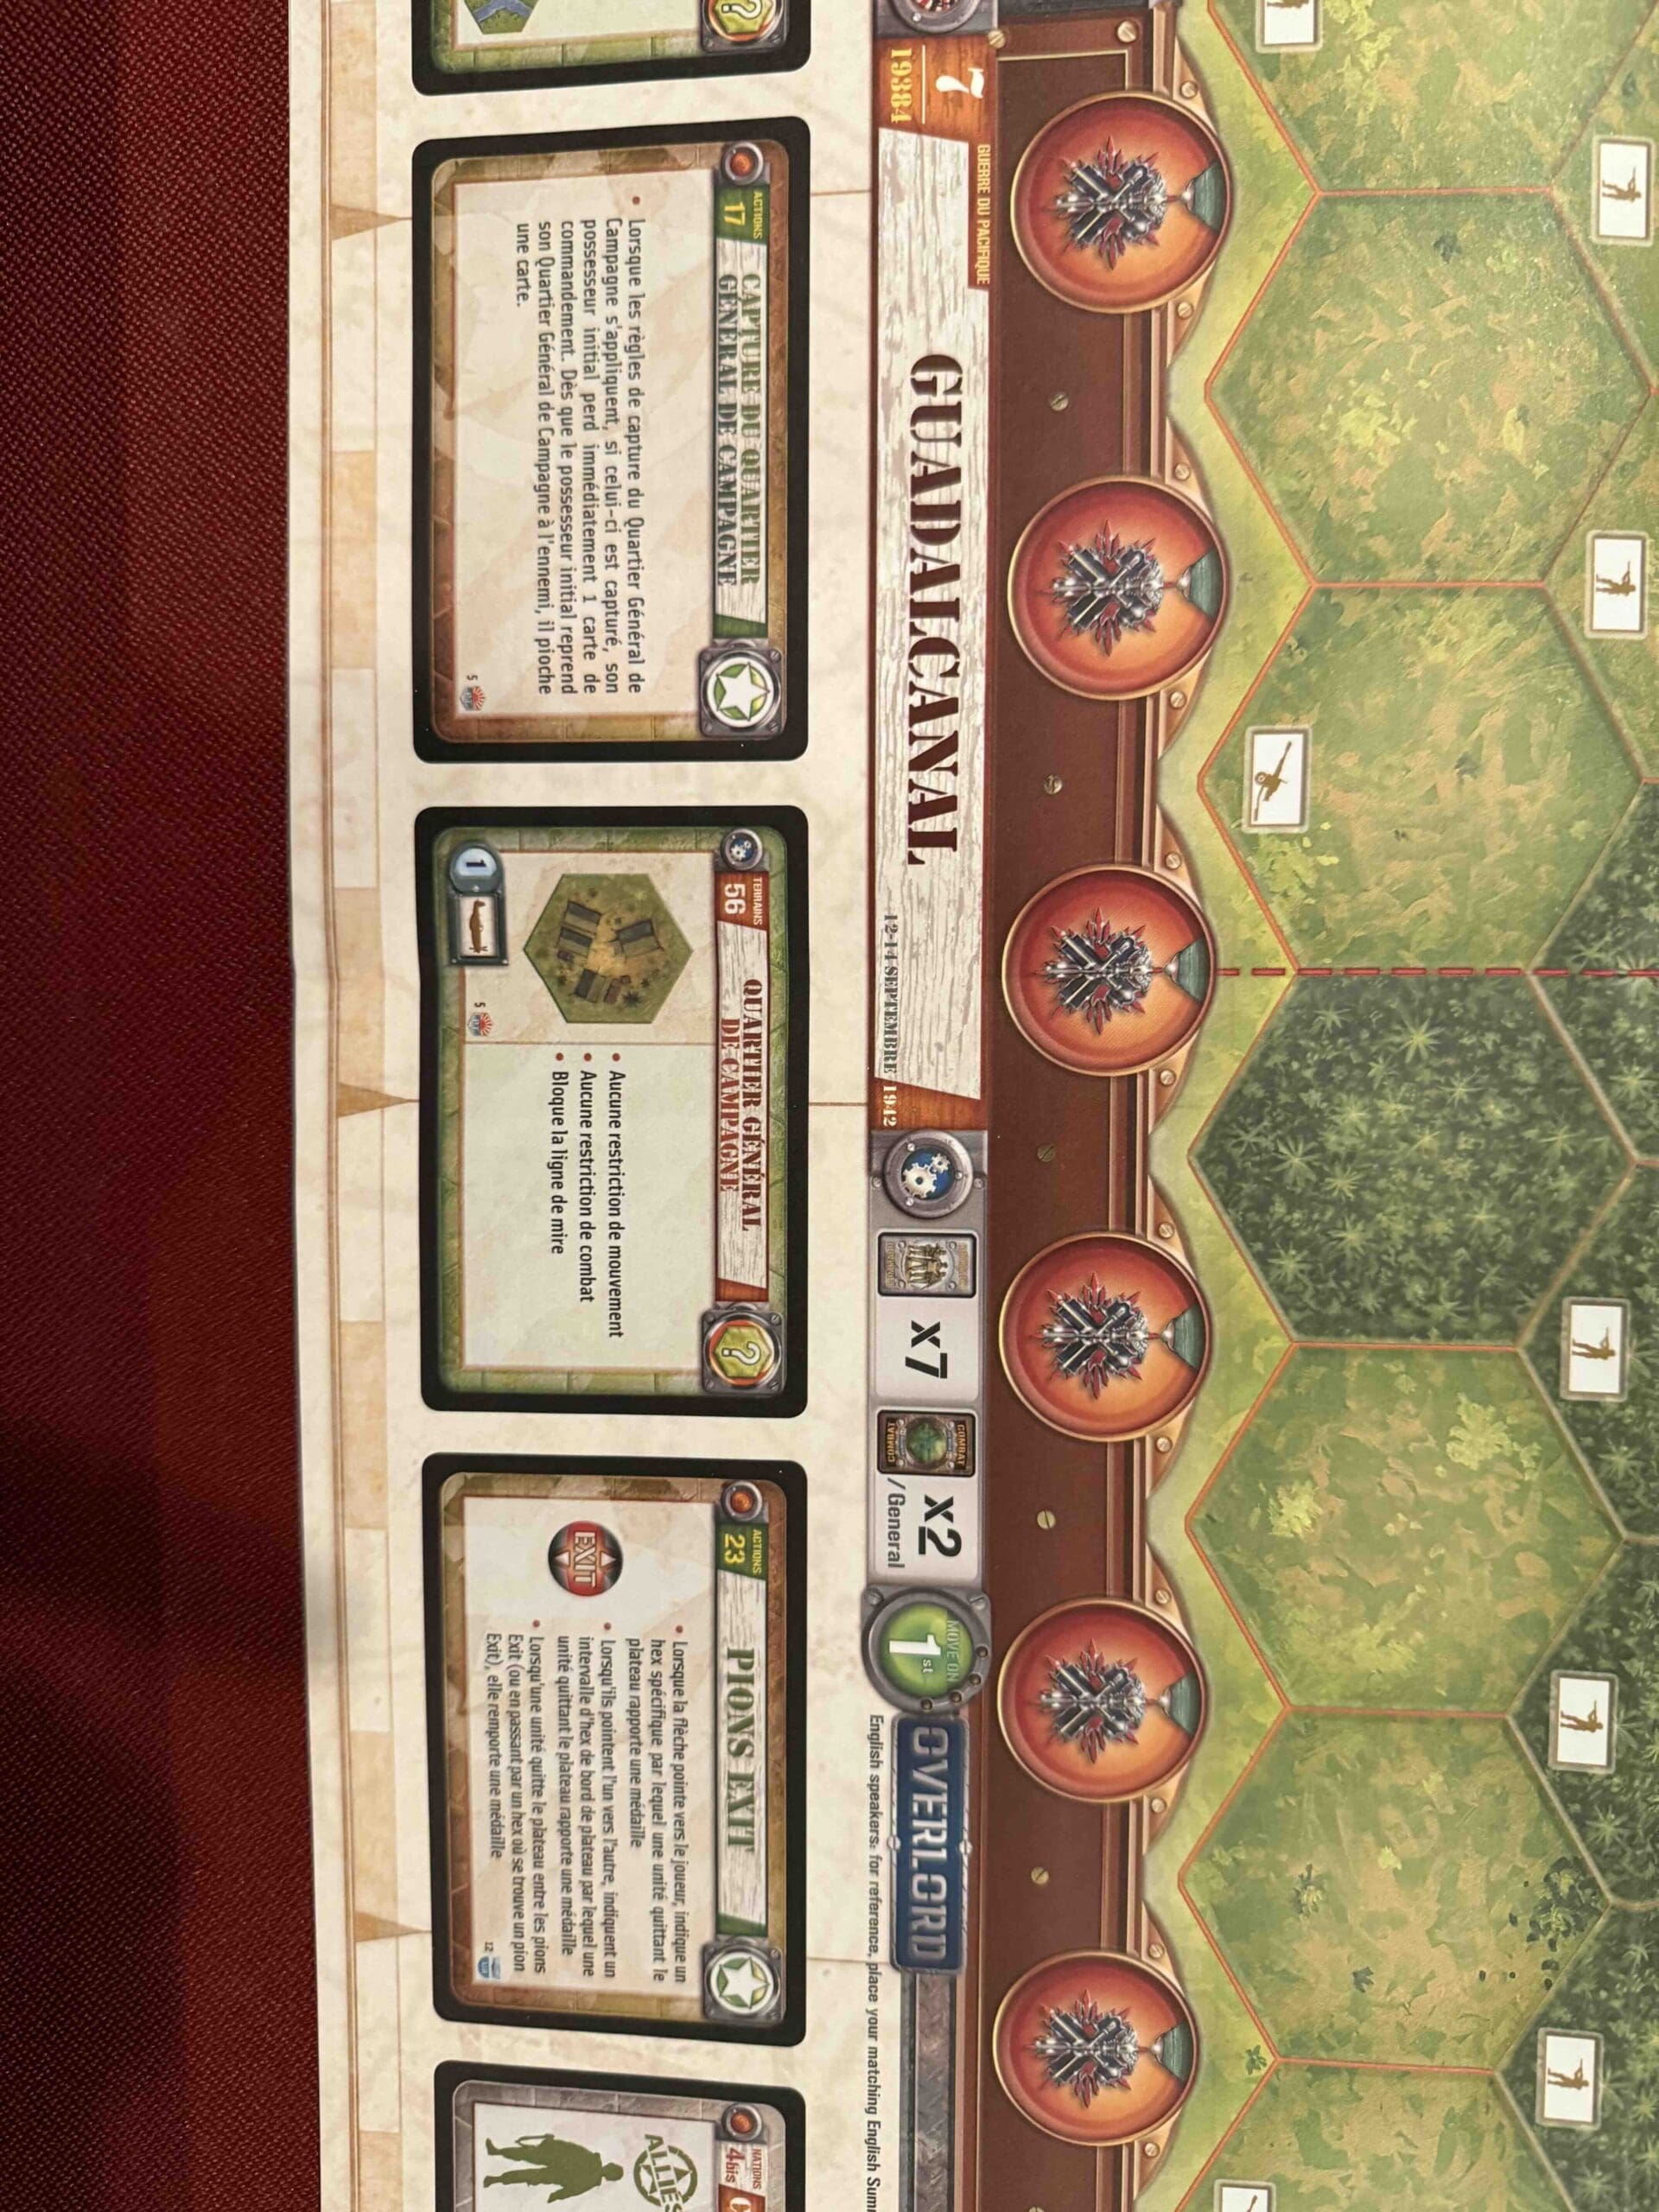
Memoir ’44 Battlefield Map: Guadalcanal / Operation Lightfoot
|
|
|
Days of Wonder Memoir ’44 double-sided battlefield map featuring Guadalcanal / Operation Lightfoot.
|
Map only — no pieces or figures included.
|
Includes a nice 12 × 12-inch plastic envelope to protect the map and help keep it in excellent condition.
|
Condition: Lightly Used, Excellent Condition
|
$20.00
|
|
|
|
|
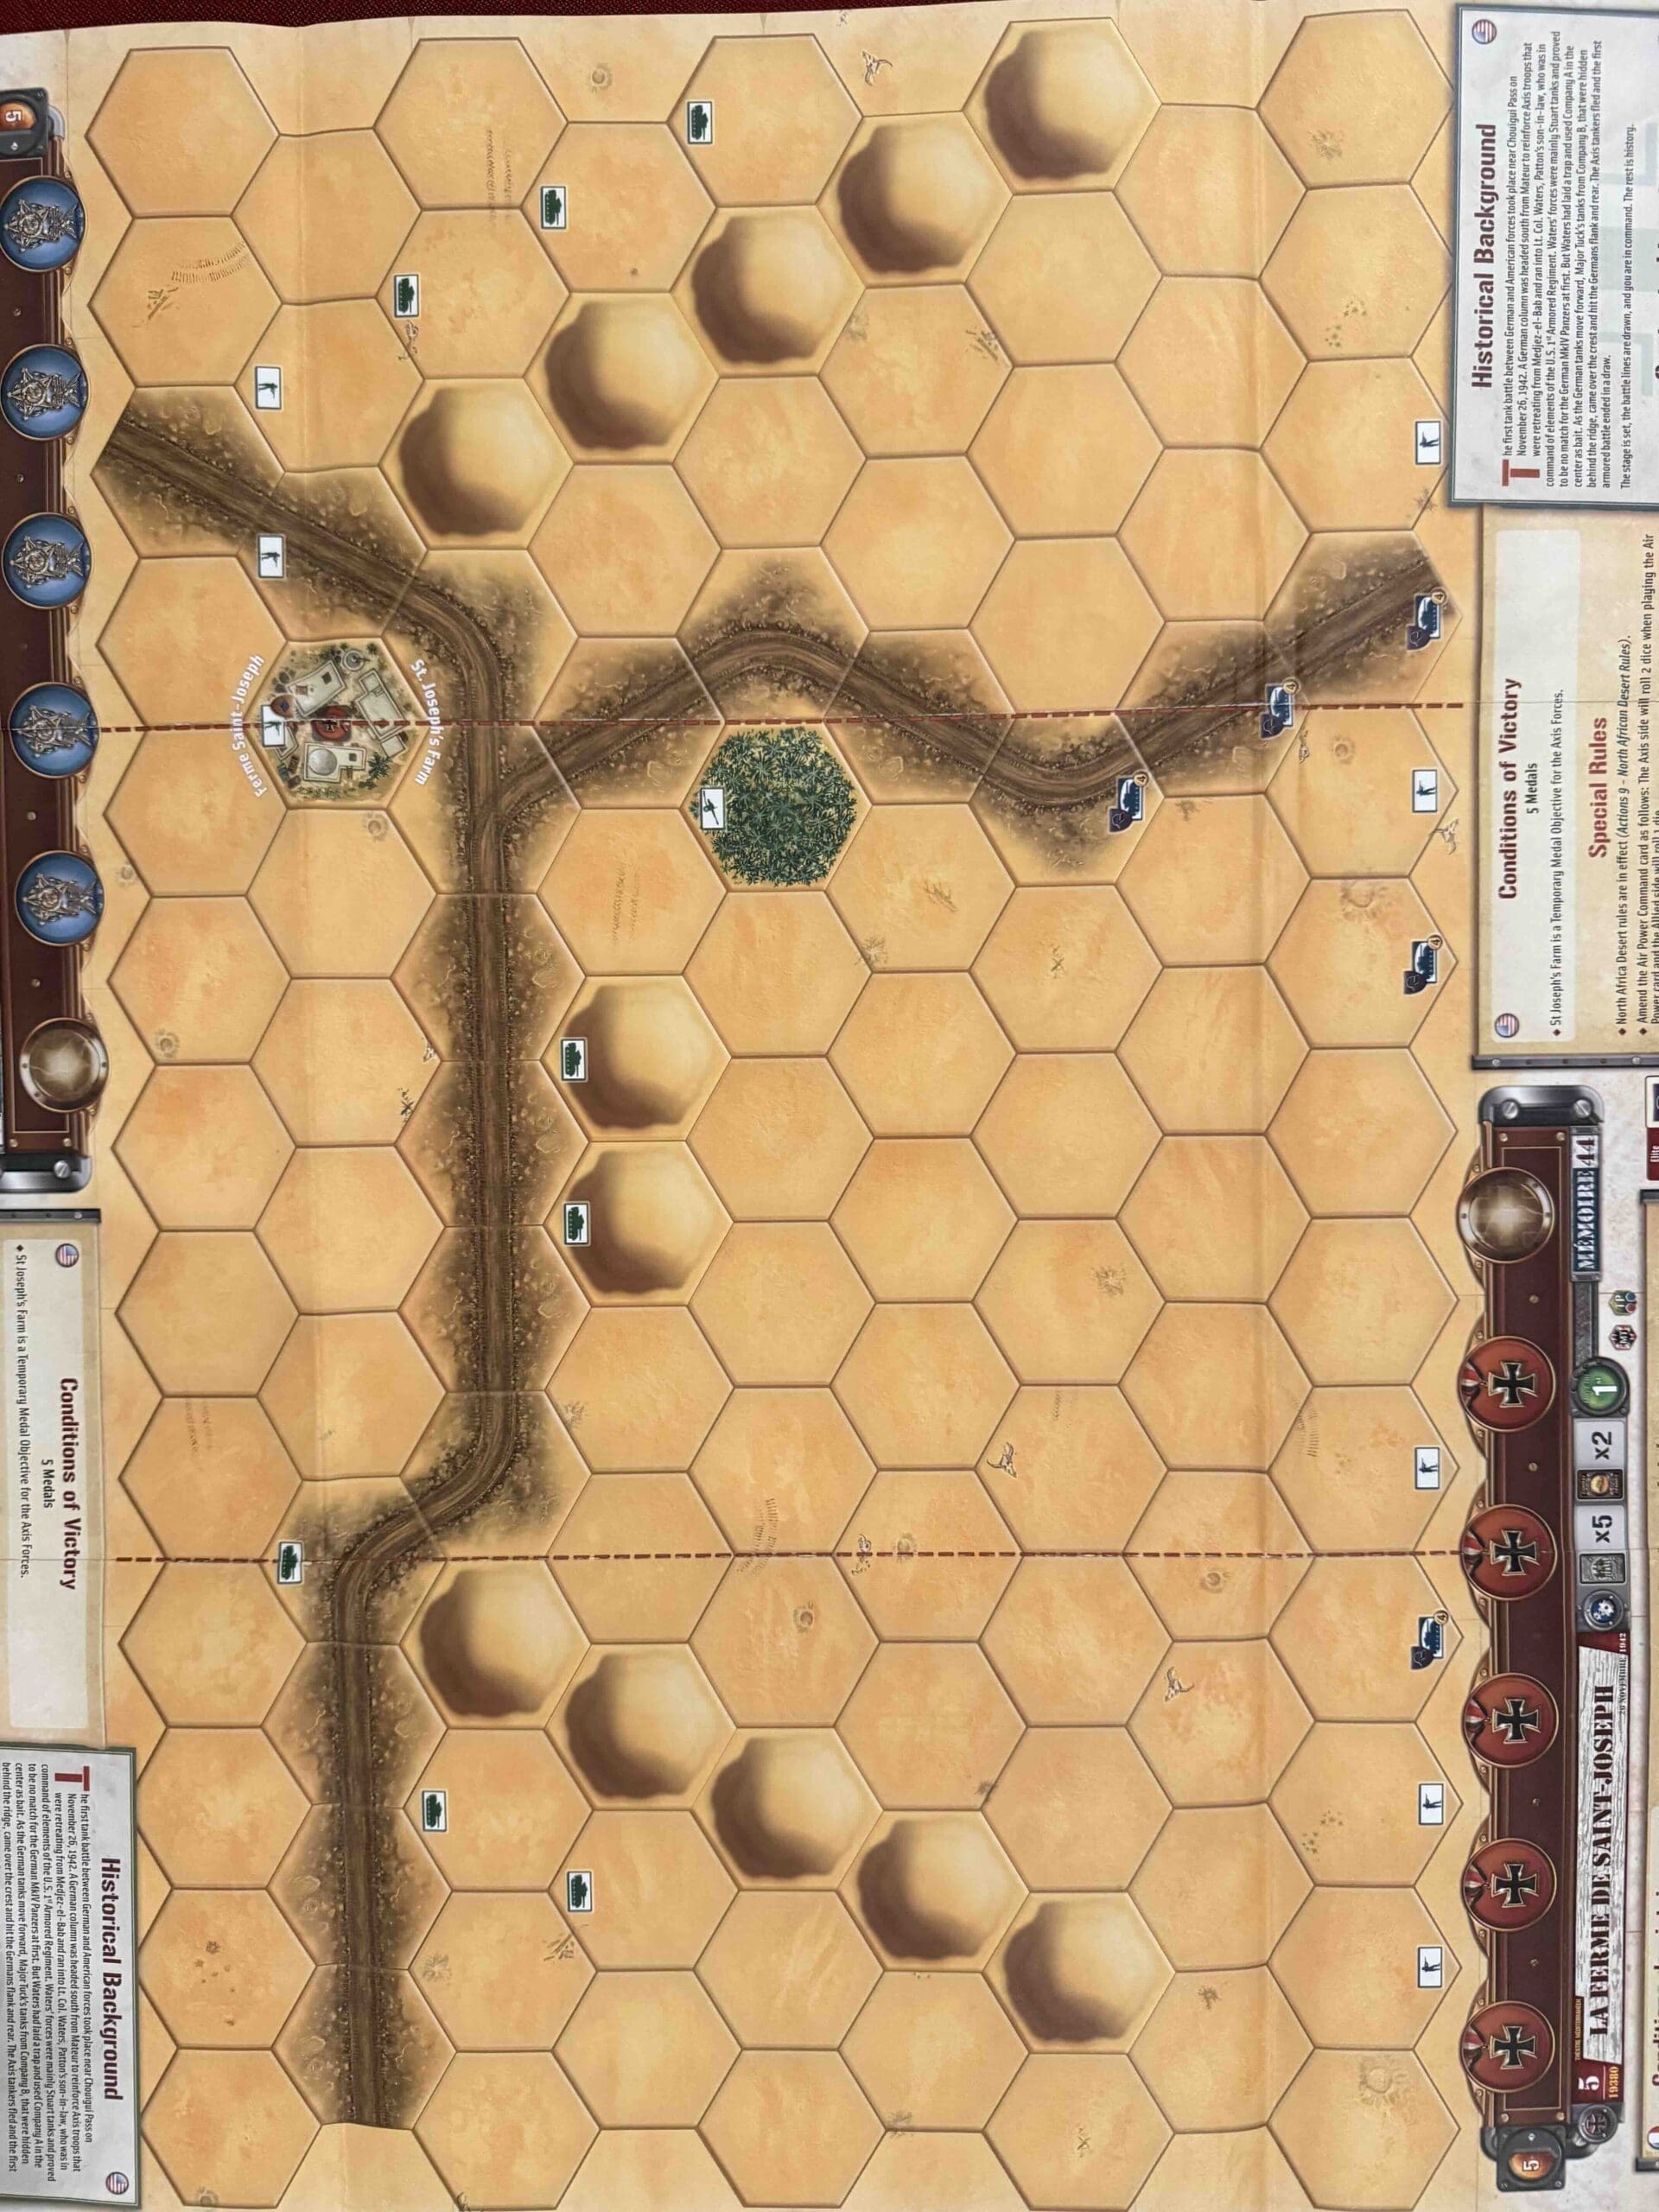
Memoir ’44 Battlefield Map: St. Joseph's Farm / Sbeitla Tunisia
|
|
|
Days of Wonder Memoir ’44 double-sided battlefield map featuring St. Joseph's Farm / Sbeitla Tunisia.
|
Map only — no pieces or figures included.
|
Includes a nice 12 × 12-inch plastic envelope to protect the map and help keep it in excellent condition.
|
Condition: Lightly Used, Excellent Condition
|
$20.00
|
|
|
|
|
Keep track of wins & losses for Axis vs. Allies in each scenario!
|
|
|
|
|
Battlefield & Strategy Tips
|
|
|
|
|
Events, Sitelinks, & Resources
|
|
|
|
|
|
|
|
|
|
|
|
|
|
|