|
|
|
|
The Command Card
August 19th, 2026
|
|
|
Play Smarter. Strike Harder.
|
|
|
|
|
|
|
|
Memoir '44 News
|
We have a new fun option on the General Howitzer site:
|
We have added Battle Points and gamification to earn your rank.
|
We announced this last month, but for any who missed it, you can now earn Combat Points by participating in the General Howitzer site. By visiting pages, and reading scenarios, your combat knowledge and ability will grow. We recognize this by giving you Combat Points, which you can trade in for higher rank.
|
|
You start as a Private, by can move all the way up to a Five-Star General!
|
|
--------------------------------------------------------------------------
|
|

|
|
Go here to learn more: https://generalhowitzer.com/your-combat-points-rank/
|
|
|
|
|
|
Location: the National Museum of the Marine Corps
|
|
August 22-23, 2026, Washington, DC
|
|
|
|
|
|

|
STRATEGY & TACTICS
|
How to Win at the Juno Beach scenario
|
|
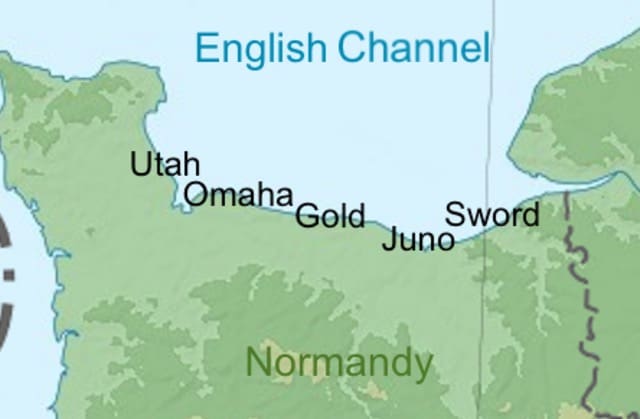
The invasion of Juno Beach was part of the Allied D-Day landings on June 6, 1944, during World War II. Juno Beach, one of the five beaches targeted in the Normandy invasion, was assigned to Canadian forces from the 3rd Canadian Infantry Division and the 2nd Canadian Armoured Brigade. Their mission was to secure a beachhead, push inland, and capture key objectives such as the town of Caen.
|
|
|
Juno Beach was no picnic—it was hell from the start. The Canadians hit the shore under rough seas, late and scattered, with German guns pouring lead and shells across the sand. Machine guns, artillery, mines—everything the enemy could throw at them was waiting.
|
But those Canadians didn’t back off. They regrouped fast, pushed inland with infantry and armor working shoulder to shoulder, and smashed through the fortifications. By nightfall, they hadn’t just taken Juno—they’d driven farther inland than any other Allied unit on D-Day.
|
They paid dearly in blood, but their victory cracked open Hitler’s wall, anchored the Allied foothold in France, and lit the road that led to the liberation of Europe. Juno Beach proved it plain: Canadian steel and courage could punch just as hard as any force in the world.
|
🔥 Winning as Allies
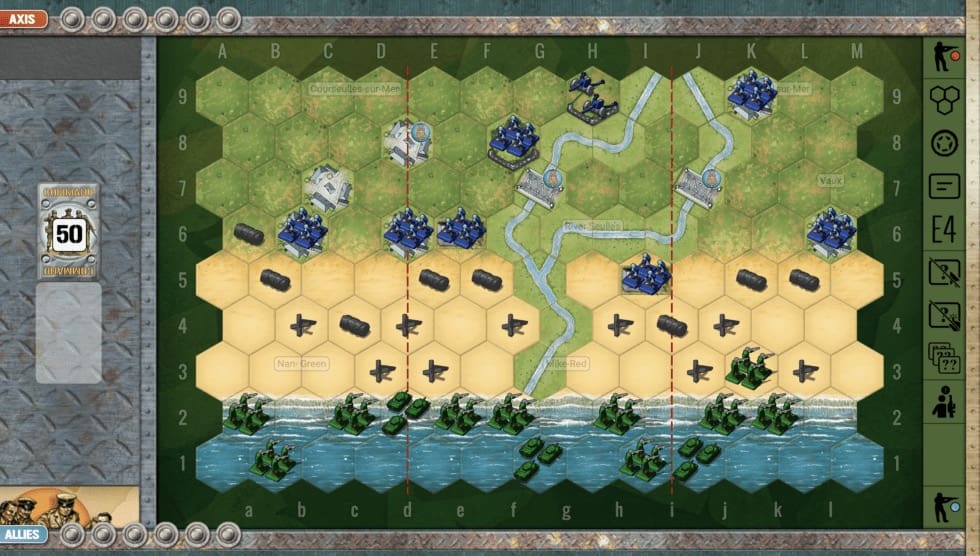
1. The Allies need to be aware of the VP goal of six points, and then count up the number of medals and forces on the right side of the map: three Objective Medals (two towns and one bridge) and three infantry. This means, that with the “right” set of cards, an Allied player could win the battle completely just by focusing on the right flank. Now it will rarely happen that such a single-minded focus can occur based on the luck of the cards. But keeping the enemy off-balance by occasional forays on the left flank is a good strategy also. But this scenario reminds us of an important principle, to always keep your overall objectives and plan in mind throughout the battle. And do not deviate unless cards, or circumstances dictate otherwise.
|
2. Of course, the left flank is a little more secure, as it is outside the range of the artillery.
|
3. With the River Seulles splitting your center section, you will need to make a determination of which direction your troops will head to. This will need to be determined by the cards in your hand.
|
4. As you move off the beach, the two Medal Objectives on the bridges look very tempting. But they are quite close to the enemy artillery, so you will not want to take those bridges until near the end of the game, when they can be chased away.
|
🔥 Winning as Axis
1. Your Infantry in the bunker at I5 is in a great location to make some early hits on the enemy while they are still in the water, or backed up against it.
|
2. Your Infantry unit in the town of Graye-su-Mere in your left flank, is pretty useless in the early stage of the battle. Rather than wait for the action to come to them, at which point it may be too late, you may want to move it forward.
|
|
|
|
|
|
|
|
From General Howitzer:
James Doohan "Scotty" was at Juno Beach
|
One of the most compelling personal stories from Juno Beach centers on James Doohan—best known later as “Scotty” from Star Trek—but on June 6, 1944, he was a young Canadian officer leading men into one of the most dangerous assaults of the war.
|
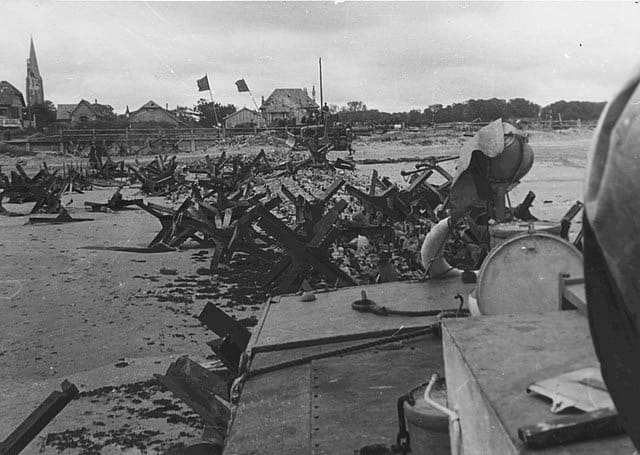
Doohan was a lieutenant in the Regina Rifle Regiment, part of the Canadian 3rd Infantry Division. As his landing craft approached Juno Beach, it was chaos—machine-gun fire raked the shoreline, artillery thundered, and obstacles littered the surf.
|
Unlike some Allied beaches, the Canadians at Juno faced intense, well-prepared defenses, yet they pushed inland farther than any other D-Day force.
|
🏃♂️ A Bold, Dangerous Mission
|
After surviving the landing, Doohan led a patrol through the town of Bernières-sur-Mer. In a remarkable act of initiative:
|
|
-- He personally took out two German sniper positions
|
|
-- Cleared a route for his men through enemy-held streets
|
-- Helped secure key ground just inland from the beach
|
This kind of small-unit leadership—fast, aggressive, decisive—was exactly what made the Juno assault succeed.
|
💥 The Wounds That Nearly Killed Him
|
That night, after the initial fighting:
|
Doohan was mistakenly shot by a nervous Canadian sentry. He took six bullets—four in the leg, one in the chest, and one through his hand. A cigarette case in his pocket stopped what would have been a fatal shot to the heart
|
He survived—but lost a finger and carried the scars for life.
|
🎖️ Why This Story Matters
|
James Doohan’s story captures something essential about Juno Beach:
|
|
-- The fighting didn’t end at the shoreline—it continued house-to-house
|
|
-- Success depended on junior officers making split-second decisions
|
-- Survival often came down to luck as much as courage
|
After the war, Doohan rarely spoke in detail about his experience—but those who served with him knew he had been in the thick of one of D-Day’s hardest fights.
|
Juno Beach was the responsibility of Canadian forces, and they:
|
|
-- Achieved their objectives despite heavy casualties
|
|
-- Linked up with British forces later in the day
|
-- Helped secure the foothold that would lead to the liberation of France
|
|
General Howitzer's not sure what the tactical applications of this history lesson are for players of Memoir 44, but it makes for an interesting story! I guess the lesson is that even after intense life-threatening experiences, anyone can make an amazing comeback and career!
|
|
|
|
|
|
There are many campaigns on the GeneralHowitzer.com site.
|
|
You can play battles in historical order if you like, and follow the Campaign Guidelines which are also available.
|
|
https://generalhowitzer.com/campaigns/
|
|
|
|
|
|
|
Recent Updates to the General Howitzer Community
|
|
|
Scenario of the Week: Pegasus Bridge
|
|
Friday, October 16, 2026: Pegasus Bridge. Lead British infantry against German defenders in the base-game battle for two Normandy bridges.
|
|
|
|
|
|
|
|
Scenario of the Week: Arracourt
|
|
Scenario of the WeekArracourtWestern Front · LorraineComplexity: 46 medals to winSeptember 1944: German Panzer forces counterattacked the U.S. 4th Armored Division near Arracourt, France. Hilly ground and limited visibility turned the battle into a test of maneuver, timing and concentrated armored firepower.Strategy tipsAllies: Use the hills and strong command-card advantage to concentrate fire and isolate exposed German armor.Axis: Coordinate your …
|
|
|
|
|
|
|
|
Scenario of the Week: Sainte-Mère-Église
|
|
Scenario of the WeekSainte-Mère-ÉgliseWestern Front · NormandyDifficulty: 2 · Moderate4 medals to winIn the first hours of D-Day, paratroopers of the U.S. 82nd Airborne dropped around Sainte-Mère-Église to seize the town and block German reinforcements from reaching Utah Beach. The scattered landing turned the fight into a fast, unpredictable struggle.Strategy tipsAllies: Check your command cards before the opening paradrop, then …
|
|
|
|
|
|
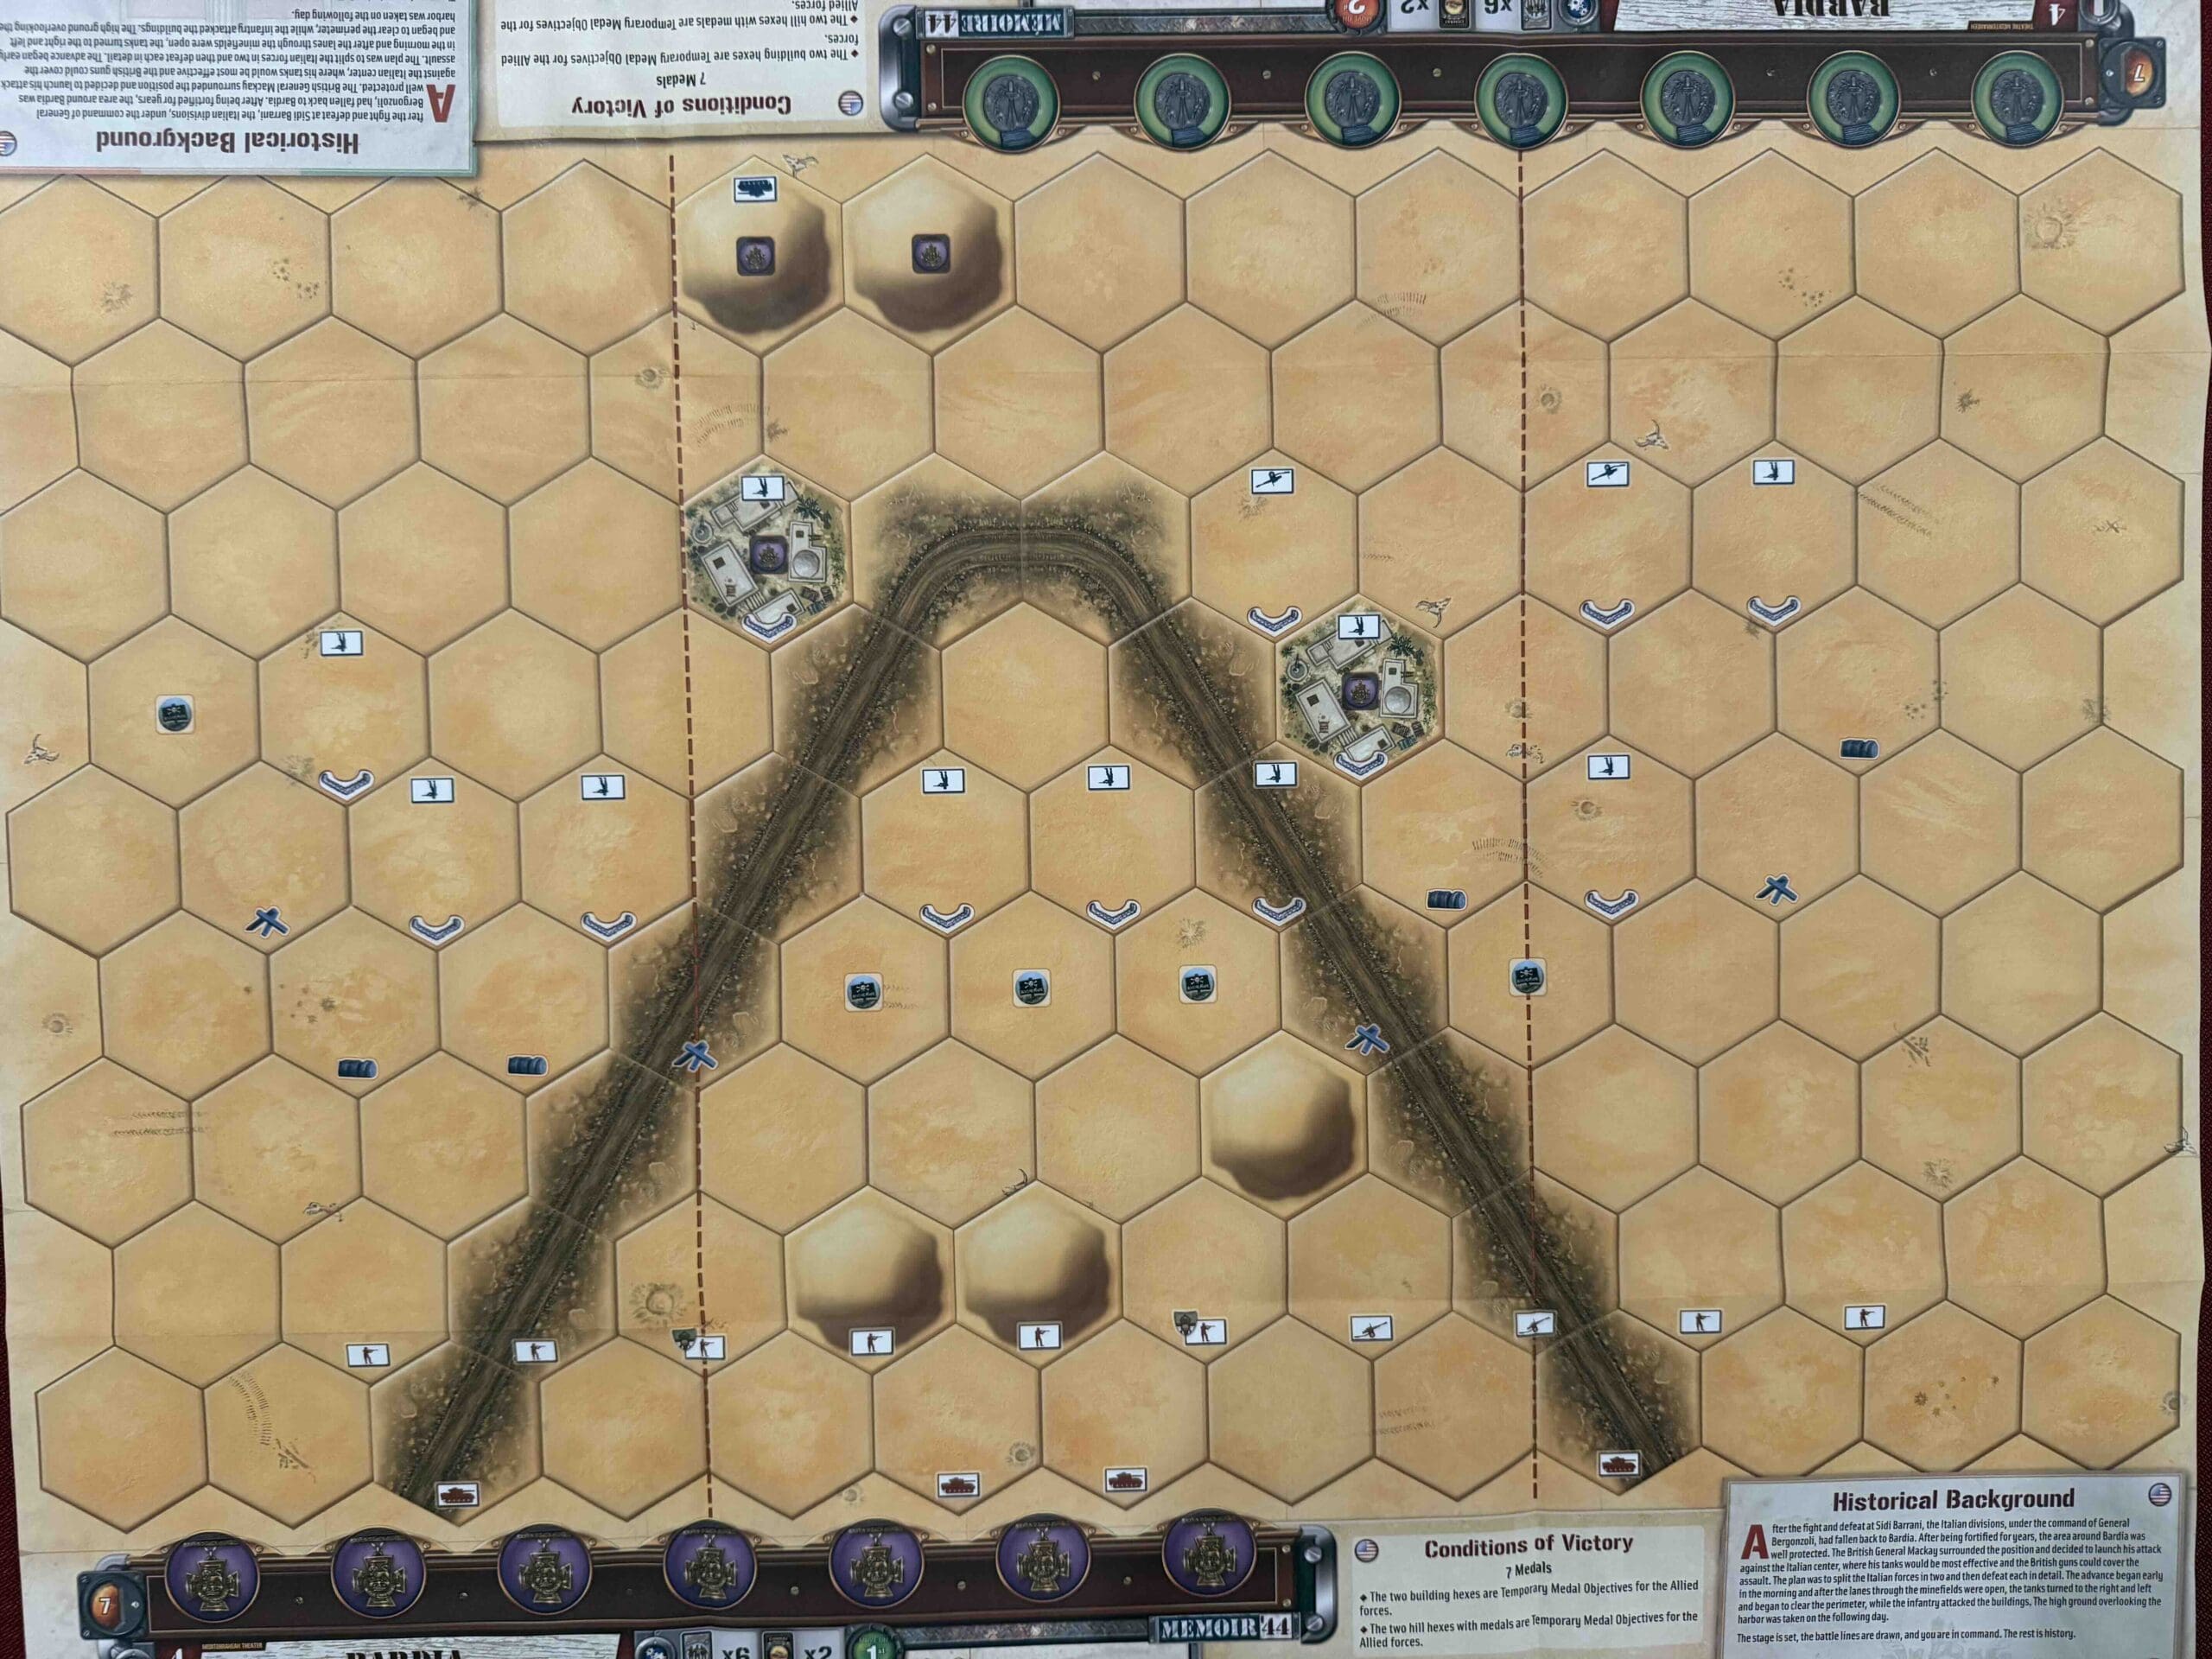
Memoir ’44 Battlefield Map: Bardia / Taukyan Roadblock
|
|
|
Days of Wonder Memoir ’44 double-sided battlefield map featuring Bardia / Taukyan Roadblock.
|
Map only — no pieces or figures included.
|
Includes a nice 12 × 12-inch plastic envelope to protect the map and help keep it in excellent condition.
|
Condition: Lightly Used, Excellent Condition
|
$20.00
|
|
|
|
|
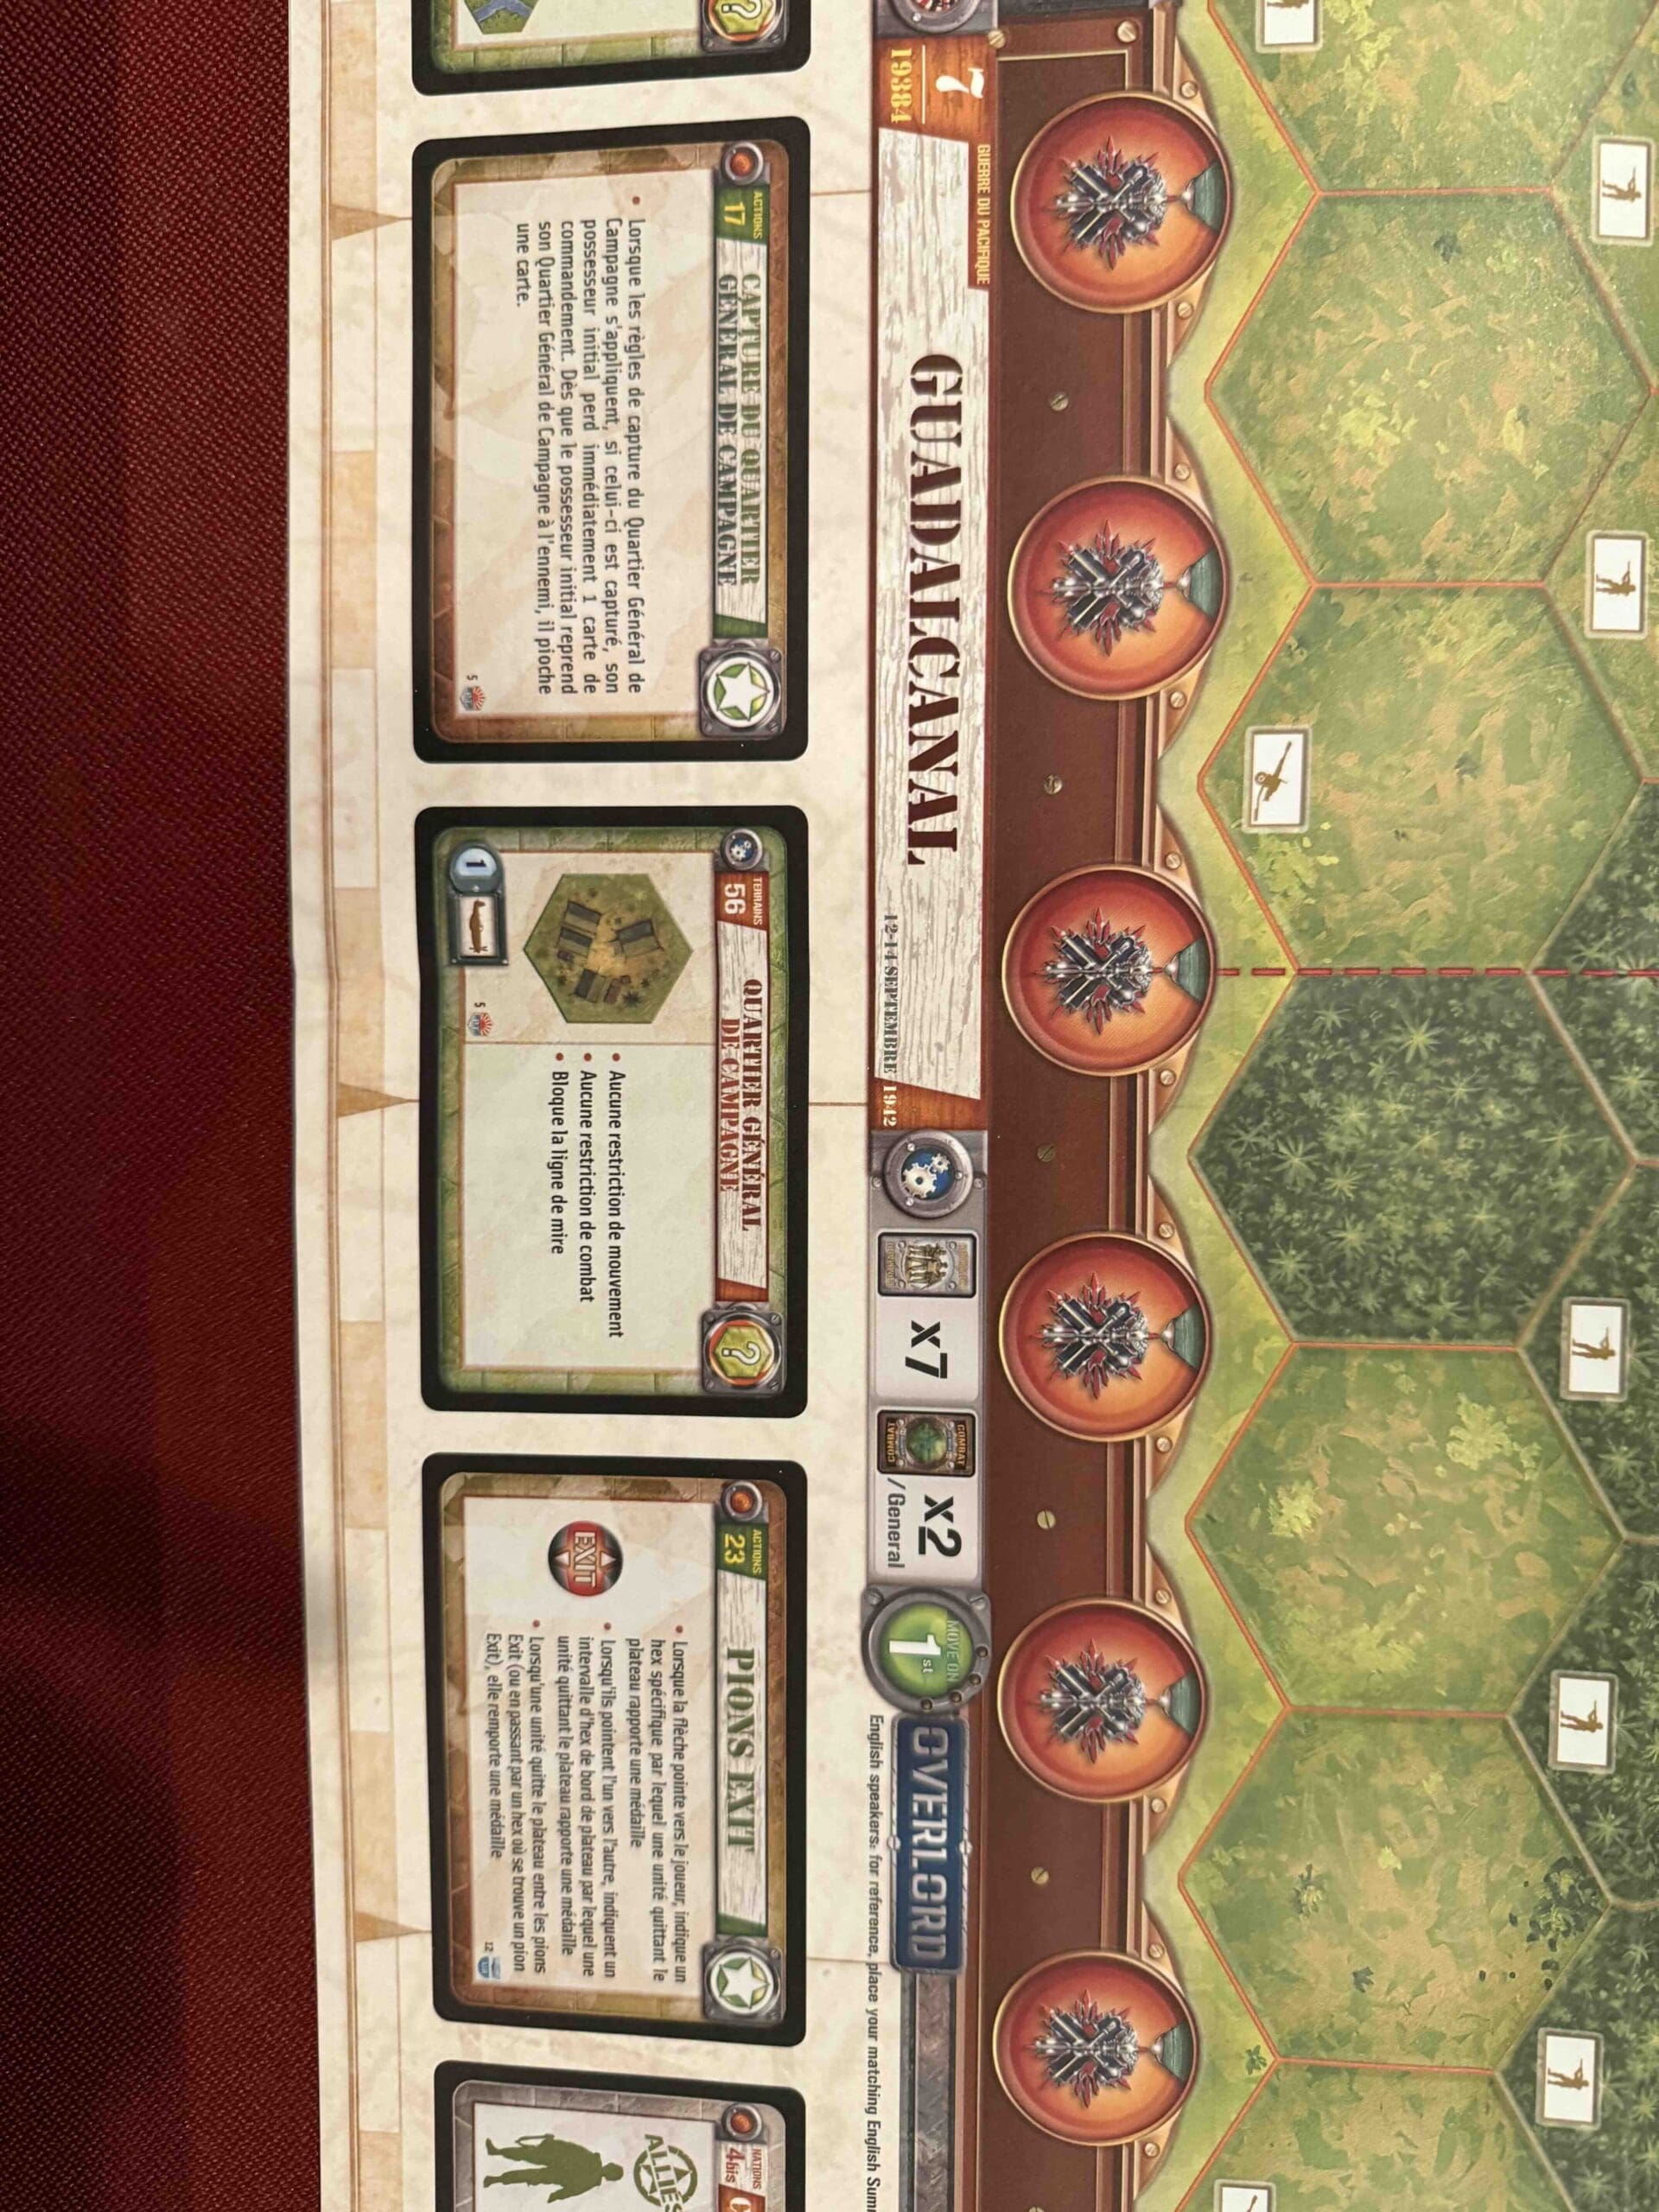
Memoir ’44 Battlefield Map: Guadalcanal / Operation Lightfoot
|
|
|
Days of Wonder Memoir ’44 double-sided battlefield map featuring Guadalcanal / Operation Lightfoot.
|
Map only — no pieces or figures included.
|
Includes a nice 12 × 12-inch plastic envelope to protect the map and help keep it in excellent condition.
|
Condition: Lightly Used, Excellent Condition
|
$20.00
|
|
|
|
|
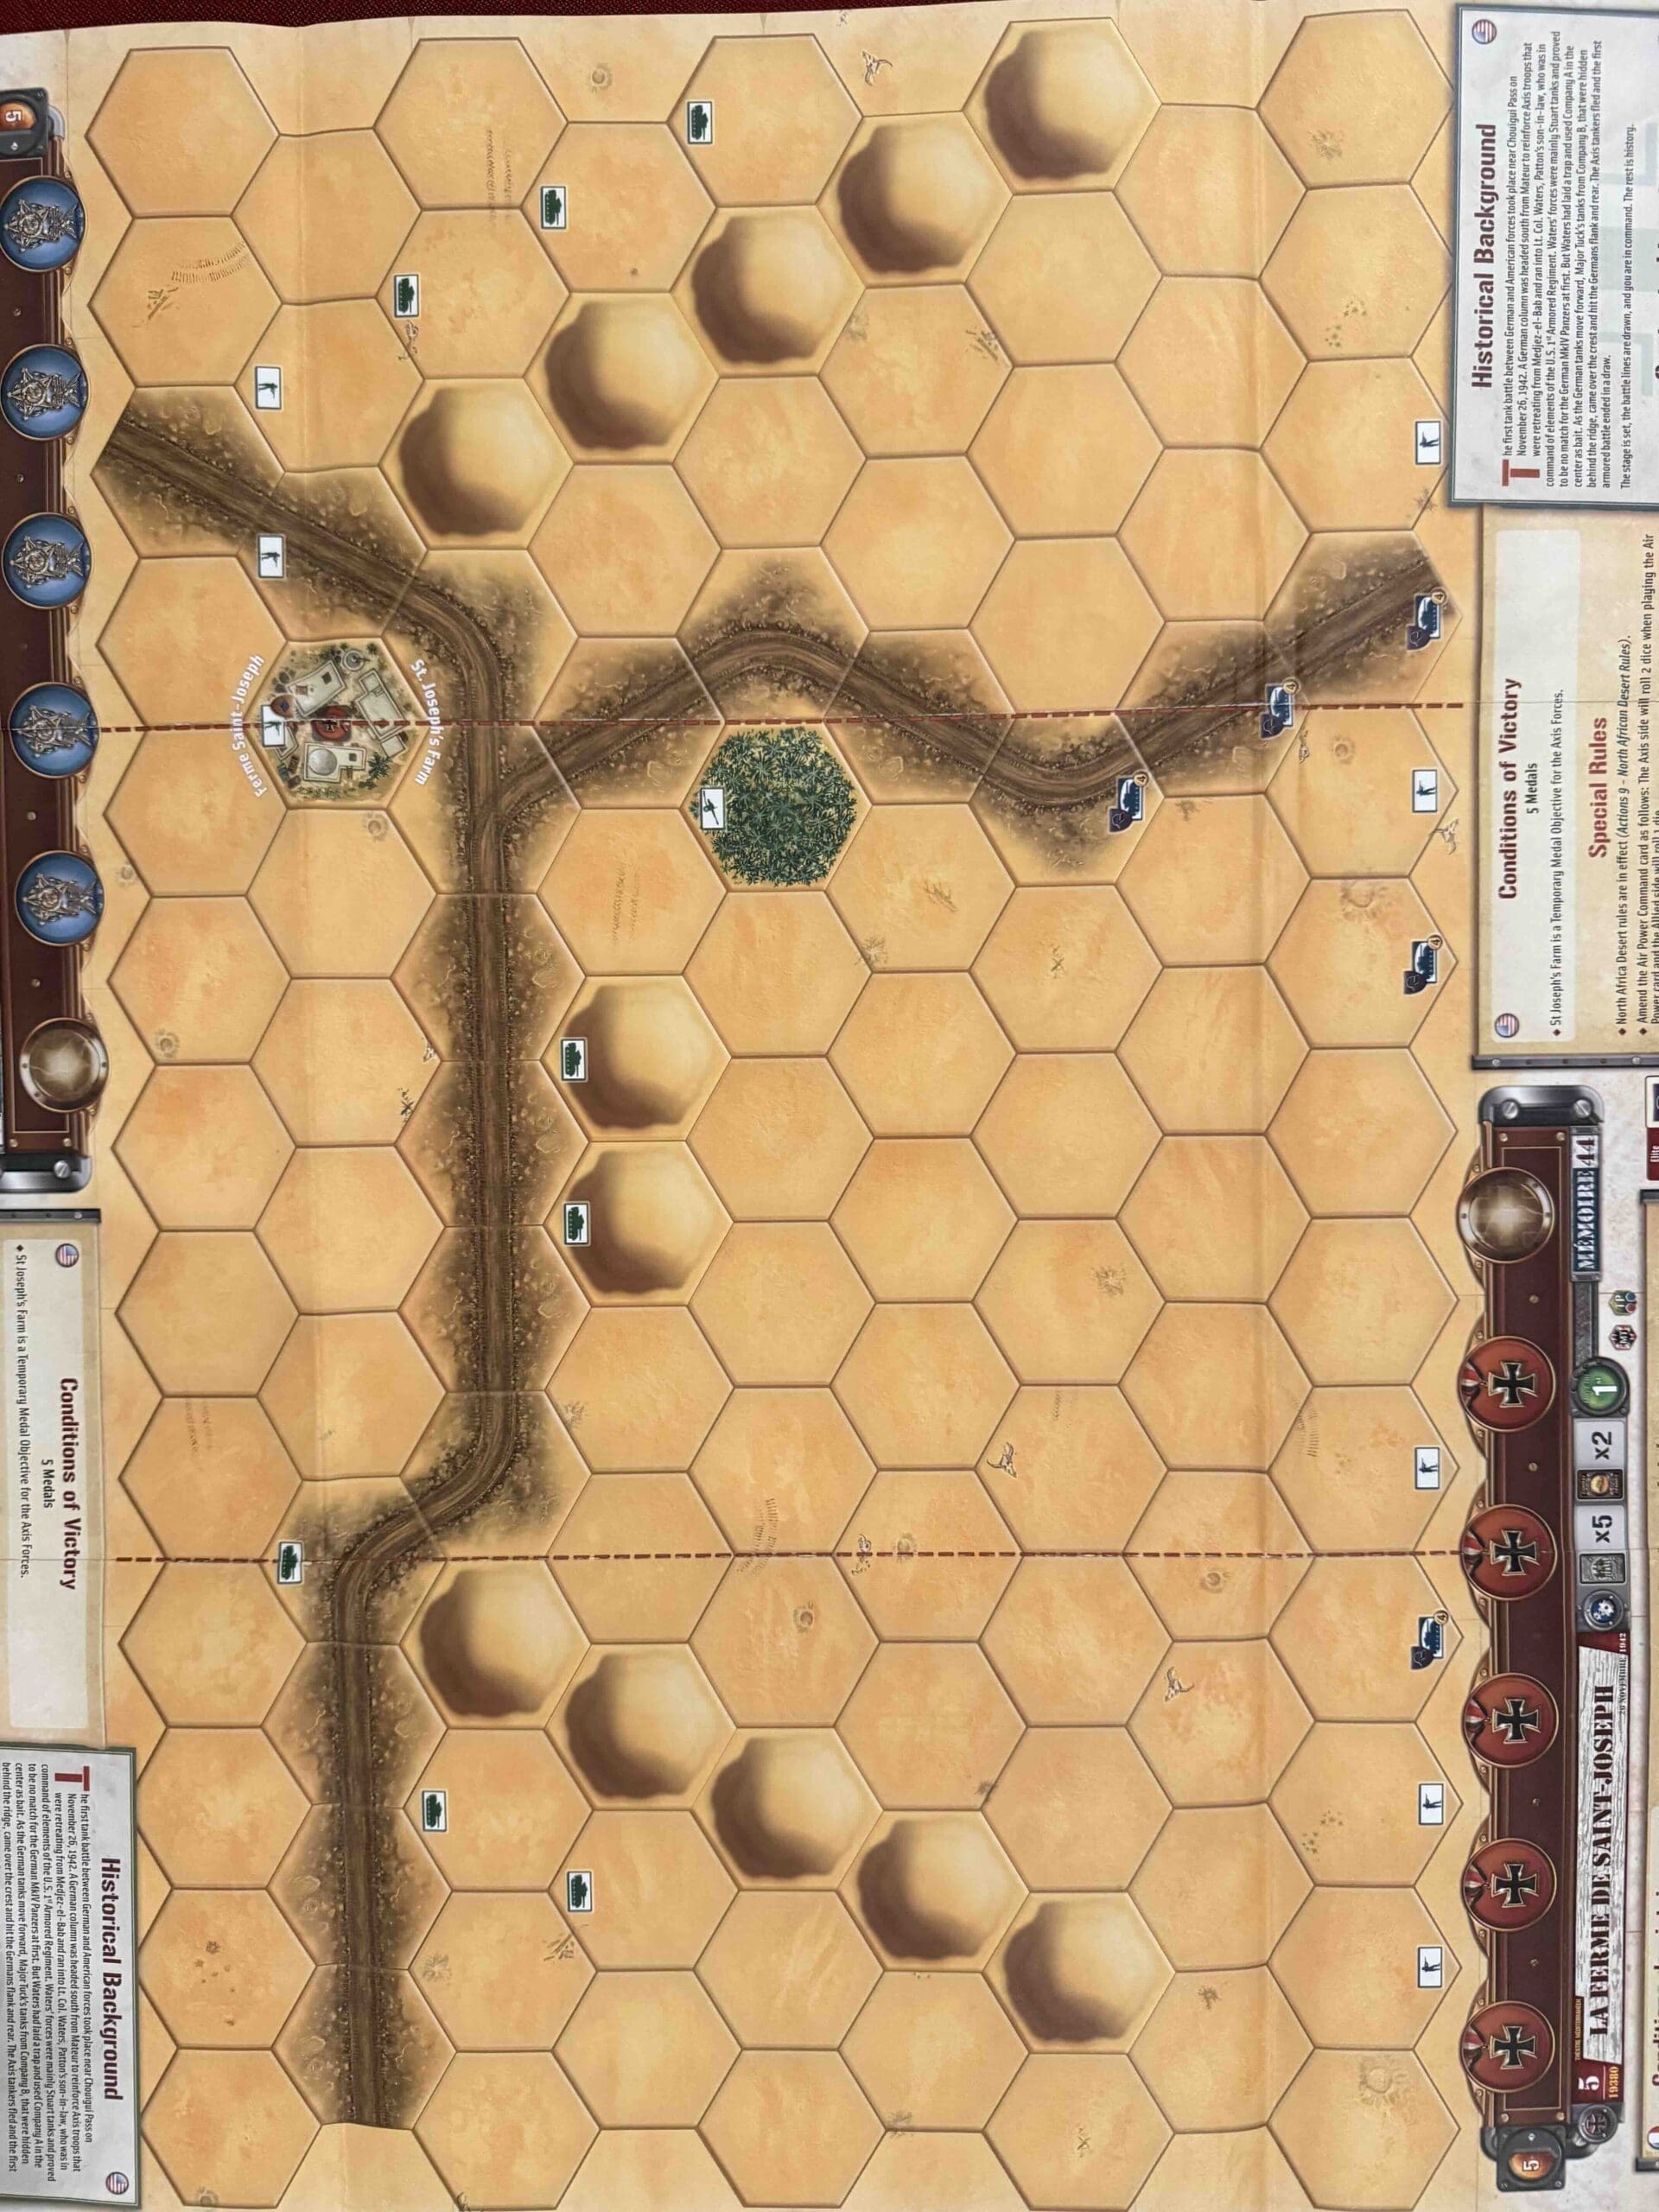
Memoir ’44 Battlefield Map: St. Joseph's Farm / Sbeitla Tunisia
|
|
|
Days of Wonder Memoir ’44 double-sided battlefield map featuring St. Joseph's Farm / Sbeitla Tunisia.
|
Map only — no pieces or figures included.
|
Includes a nice 12 × 12-inch plastic envelope to protect the map and help keep it in excellent condition.
|
Condition: Lightly Used, Excellent Condition
|
$20.00
|
|
|
|
|
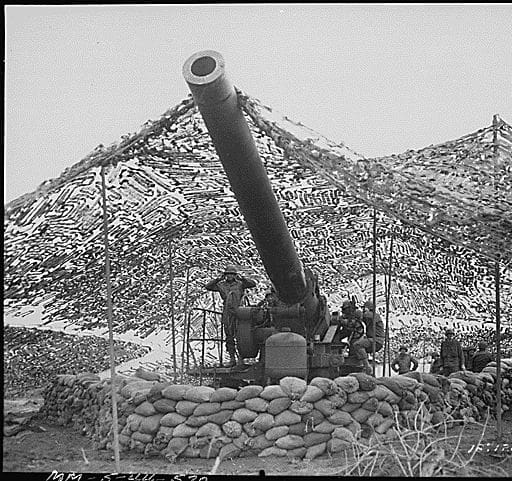
Keep track of wins & losses for Axis vs. Allies in each scenario!
|
|
|
|
|
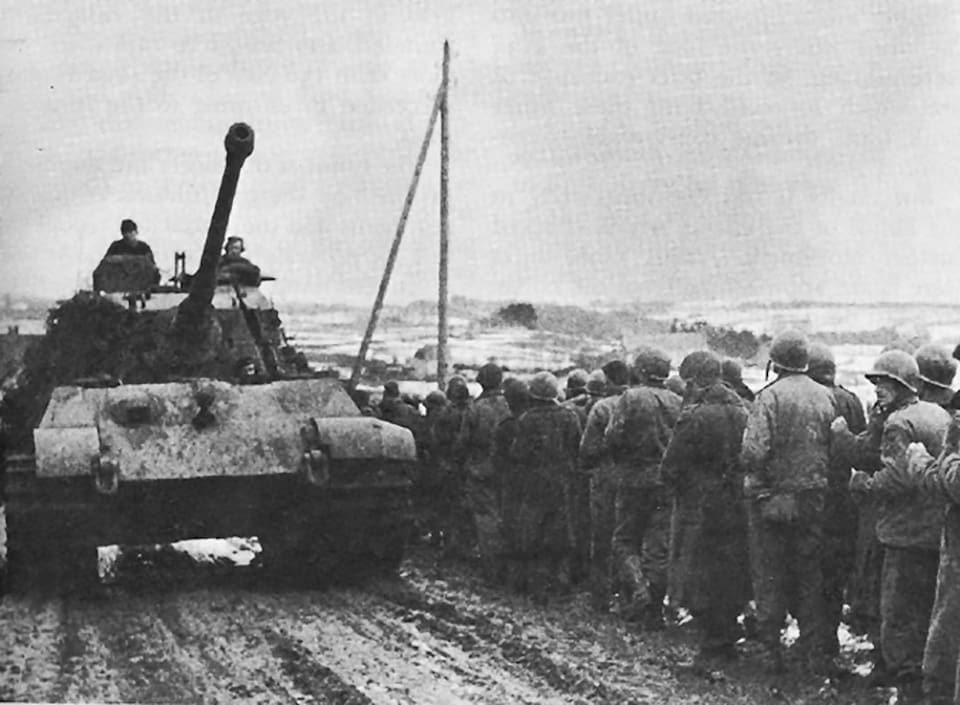
Battlefield & Strategy Tips
|
|
|
|
|
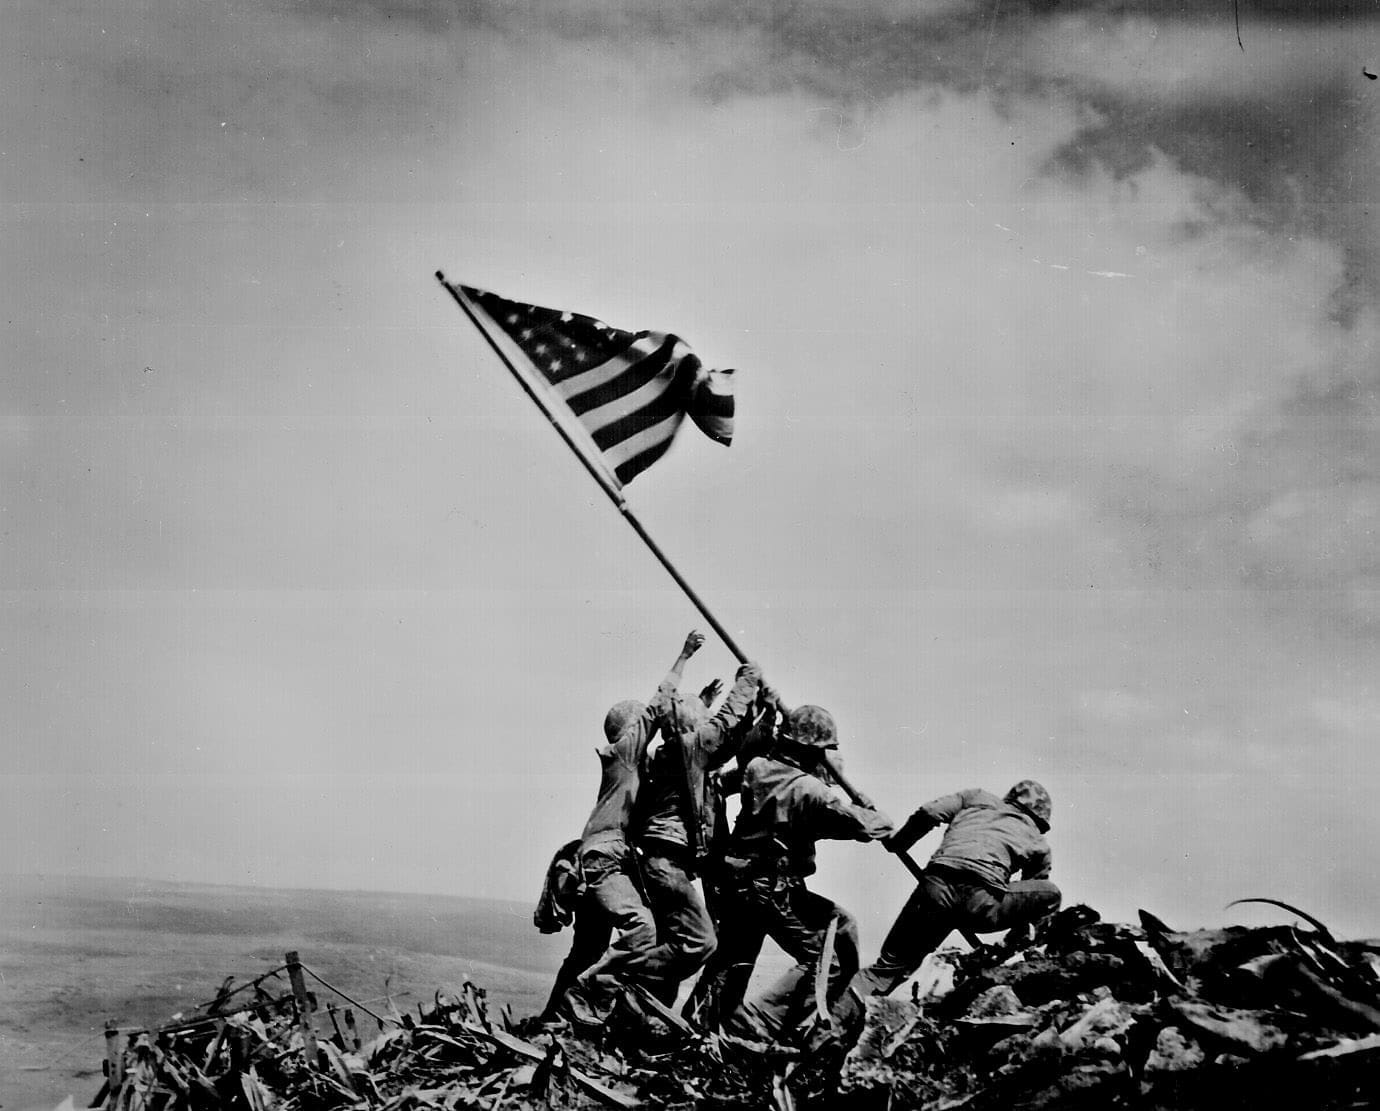
Events, Sitelinks, & Resources
|
|
|
|
|
|
|
|
|
|
|
|
|
|
|