
Arnhem Bridge
Listen up! Arnhem Bridge was no Sunday stroll — it was a fight for the throat of Germany. Market Garden was a bold gamble, a thrust straight through Holland to end the war by Christmas. The plan was simple: grab those bridges, roll our armor across, and cut into the Reich’s belly.
But Arnhem was the lynchpin, the prize. The British Red Devils dropped in with guts and steel, holding that bridge like bulldogs against tanks, artillery, and everything the Germans could throw at them. For days they fought, house to house, street to street, under constant fire. Outnumbered, outgunned, and cut off, they refused to quit.
In the end, the bridge could not be held, and the operation fell short of its lofty goal. But don’t mistake it for failure — Arnhem showed the world the courage of men who held their ground against impossible odds. They didn’t just fight for a bridge; they fought for honor, and you know what? They earned it.
~~ General Howitzer
5 VP’s
![]()
Card Balance:
6 – 6
Complexity:
3
Conditions:
Countryside

Location:
Netherlands
Year:
1944
Theater:
Western Front
Codename:
Operation Market Garden
Context:
Historical
Summary:
Despite its apparent simplistic appearance, this scenario presents some interesting strategy, as it really is all about the Arnhem bridge crossing.
Objectives:
This is a five VP scenario, with no other objective medals.
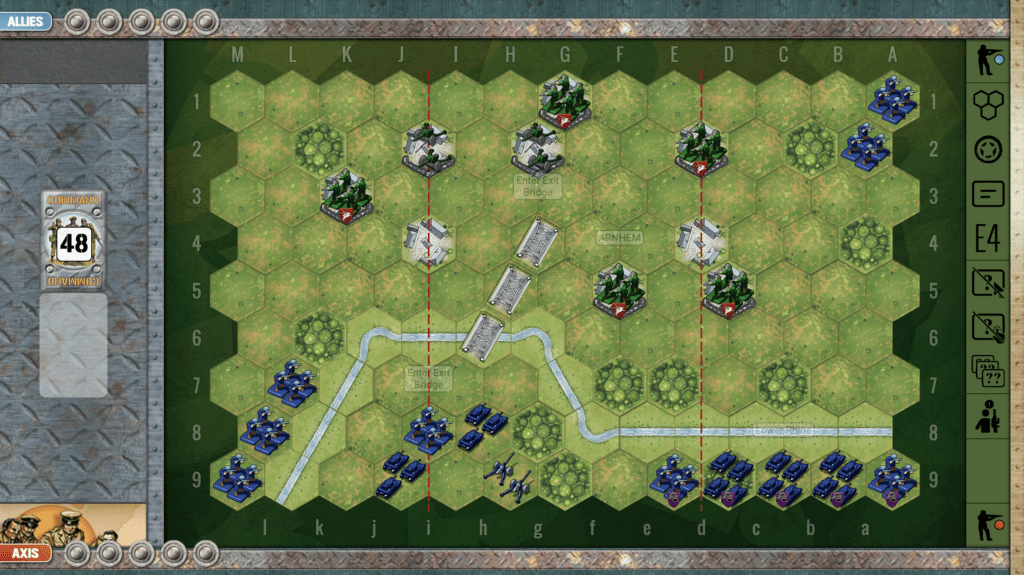
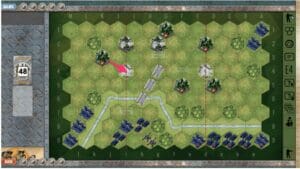
Battlefield:
The principle battle field characteristics are the lower Rhine River cutting across the width of the field, and of course, Arnhem Bridge which is the focus on the planned Axis invasion.
Troops:
Although the Axis have more forces, many of them are trapped in the right flank behind the impassable Rhine River.

🔥 Winning as Allies
1. Your artillery will be your most powerful defensive protection in this scenario. Use your center Section cards to keep pounding the enemy. Make sure that you always keep at least one central section card in reserve, should the enemy try to make a run across the bridge.
2. When you are not defending against a bridge run in the center, use your long-range artillery to slowly degrade the forces on each wing. Because if they come at you with full force, you will have a difficult time holding them off.
3. Do your best to keep your infantry safely behind the sandbags until you are totally ready to come out for an attack. Although your most forward infantry can become easy prey to the enemy still behind the river, so if you can move that infantry back towards your side of the battlefield, do so. That will provide you with one extra infantry force to attack the enemy in the flanks.
4. Your other weak infantry is the one on your right flank at K3. In many instances, it gets picked off by the three enemy Infantry in that sector. If you move it over to the town hex at ‘i3’, on the borderline, it will be in a better position to be protected by your Artillery, and also to attack any enemy forces that try to make a run on Arnhem Bridge.

🔥 Winning as Axis
1. The main problem: Axis must get out from behind the river blockade, by crossing the Arnhem bridge without being destroyed, once across.
2. Flank Attacks: The extra infantry in each corner can be used to maximum advantage to clear out the enemy, or at least distract them, while you cross the bridge. But you will need to wait until you have the right combination of cards to be able to launch an attack from one of the flanks.
3. Do not rush it: while you remain on the far side of Arnhem Bridge you are generally safe from enemy attacks unless they get an extraordinary collection of Combat cards. The principle mistake made by Axis is to rush out too quickly across the bridge and then to get slaughtered in the kill box which awaits you across the Arnhem Bridge. So take your time to assemble your forces, and move extra troops into the central section, ready to cross the bridge.
4. With the right combination of cards, you can begin an attack on one (or both!) flanks, while you attempt to cross the bridge. The goal is to distract the enemy, and force them to divide their defensive energies so that your forces can cross the bridge successfully.
Class Battlefield Reports:
(percentage of Allied victories)
81%

Author:
Days of Wonder
Link: